CLI Setup
CLI System Requirements
Minimum System Requirements
The system requirements are general guidelines and may vary depending upon the size of the Coalesce project. Projects with a large number of nodes may have higher system requirements.
- OS: 64-bit Windows 10, macOS 11, Linux kernel version 5.0+
- Processor: AWS t2.medium 4X vCPU or equivalent / Apple M1 / Intel Core i3-10100 4 Core or better / AMD Ryzen 3 1200 4 Core or better
- RAM: 8 GB+ RAM
- Storage: 1 GB+ free space
- Network: Access to Snowflake Instance and Coalesce Cloud
- Node Version: v20.x
Recommended System Requirements
If you are utilizing Coalesce with a high volume pipeline, having thousands of nodes or more in your environment, we recommend the following configuration:
- OS: 64-bit Windows 10, macOS 11, Linux kernel version 5.0+
- Processor: Apple M1 or newer (preferred) / AWS t2.medium 8X vCPU or equivalent / Intel i3 8X Core or higher / AMD Ryzen 3 8X Core or better
- RAM: 16 GB+ RAM
- Storage: 1 GB+ free space
- Network: Access to Snowflake Instance and Coalesce Cloud
- Node Version: v20.x
Installation Prerequisites
- Install Node.js version 20.x
- Clone the repository connected to your Coalesce account into your home directory. There are different ways to accomplish this, review your provider for more.
Windows
Before installing, you'll need to install Git. You can download git from https://gitforwindows.org/.
Installation
To install Coalesce CLI globally, run: npm install -g @coalescesoftware/coa. If you need to update run,npm upgrade -g @coalescesoftware/coa.
Generate Your Token
-
Sign into Coalesce.
-
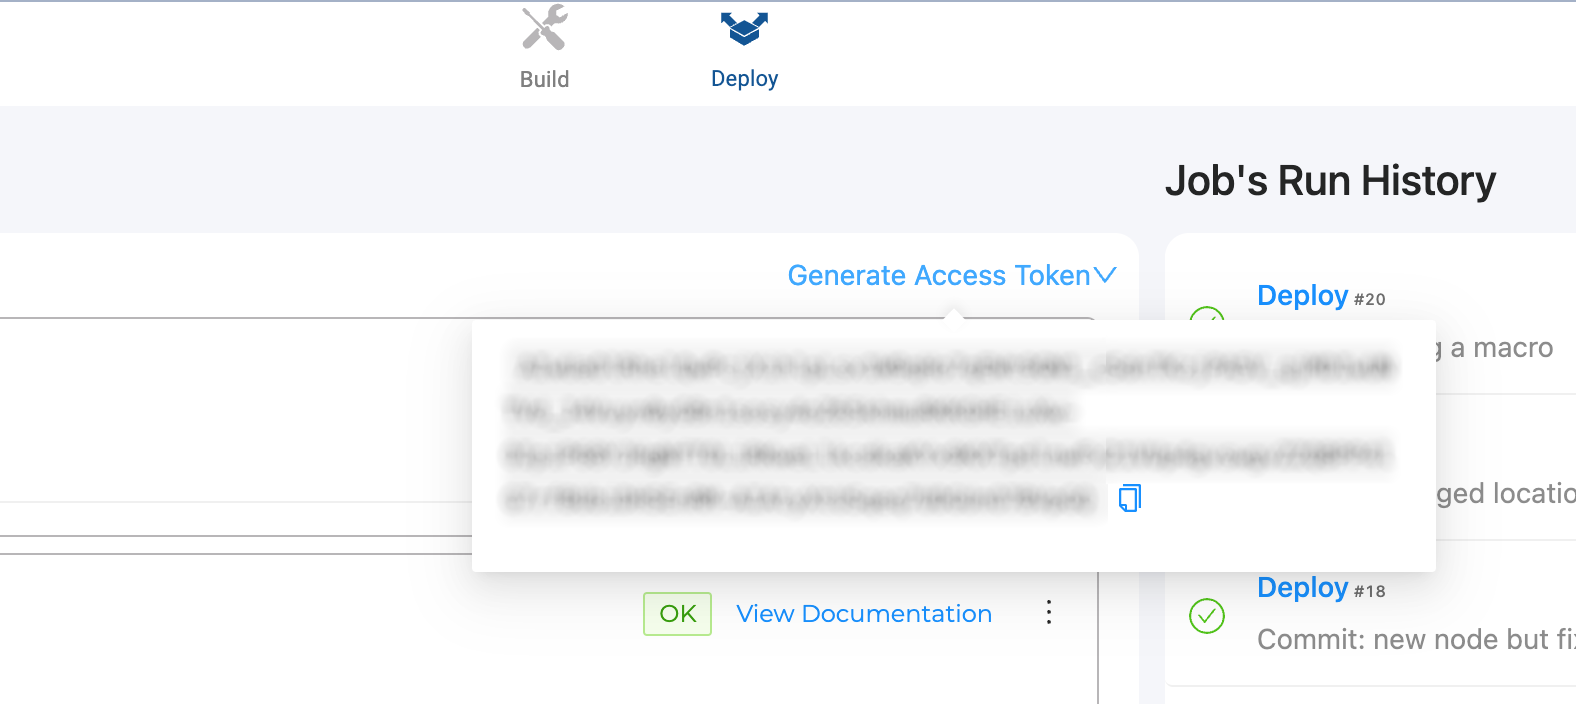
Click on the Deploy tab at the top.
-
Hover over Generate Access Token and copy the token that appears.
SSO users will need a new token for each new environment created.
Set Up Your Configuration File
In your operating system's home directory, create a hidden folder .coa and an empty file with no extension called config inside.
If you are using MacOS and try to create a folder or file starting with a period, you'll get a reserved names error. Use the Terminal to create the folder, mdkir .coa.
Copy and paste the following information into your config file. Fill in the information based on your Snowflake instance. If you are a PrivateLink or Non-U.S. based customer, you can set your domain by using the domain field
In Coalesce, profiles allow you to run commands against different configurations, making it possible to tailor settings for various environments, such as testing or production. Each CLI command includes the --profile option, which enables you to specify a profile for the scenario you're working with. If no profile is specified, the system defaults to using the [default] profile. While you must have a [default] profile, additional profiles can be named and configured as needed for different scenarios.
The default profile is required
[default]
token=yourtoken
domain=your deployment server. For example, https://app.eu.coalescesoftware.io
snowflakeAuthType=Basic or KeyPair
snowflakePassword=password
snowflakeKeyPairKey=path to the file containing the key (if using KeyPair)
snowflakeKeyPairPass=private key passphrase (if using KeyPair and if applicable)
snowflakeRole=SYSADMIN (or other role)
snowflakeUsername=username
snowflakeWarehouse=COMPUTE_WH
environmentID=one of your non-dev environments

[testing]
token=yourtoken
domain=your deployment server. For example, https://app.eu.coalescesoftware.io
snowflakeAuthType=Basic or KeyPair
snowflakePassword=password
snowflakeKeyPairKey=path to the file containing the key (if using KeyPair)
snowflakeKeyPairPass=private key passphrase (if using KeyPair and if applicable)
snowflakeRole=SYSADMIN (or other role)
snowflakeUsername=username
snowflakeWarehouse=COMPUTE_WH
environmentID=one of your non-dev environments
Create a Plan
You can use the CLI for many different actions. Some of the main uses are Deploy Using the CLI and Refreshing an Environment.
A plan details the target environment, nodes, jobs, and other information needed deploy or refresh.
coa plan
This will generate a coa-plan.json. You can review this file, but we don't recommend editing directly. If you want to make changes, make them using the API or the Coalesce app. Then commit your changes and regenerate your plan.
Authentication
The CLI stores basic authentication credentials locally.
What's Next?
- Some things you can use the CLI for is Deploy Using the CLI and Refreshing an Environment.
- Read the available CLI Commands.