Documentation index: llms.txt. This page is also available as markdown: append .md to this URL or send Accept: text/markdown.
Install and Manage Packages
Coalesce Packages are custom Node Types that are accessed from the Coalesce Marketplace.
Coalesce Marketplace is a centralized library that provides data teams with templated collections of code, known as Packages. Every Package provides a curated selection of different Snowflake objects (known as node types in Coalesce), which are bundled together for a particular purpose, such as building out declarative data pipelines or implementing a Data Vault.
Install Packages
You can install packages from our Coalesce Marketplace. Packages are installed on the Workspace level only.
-
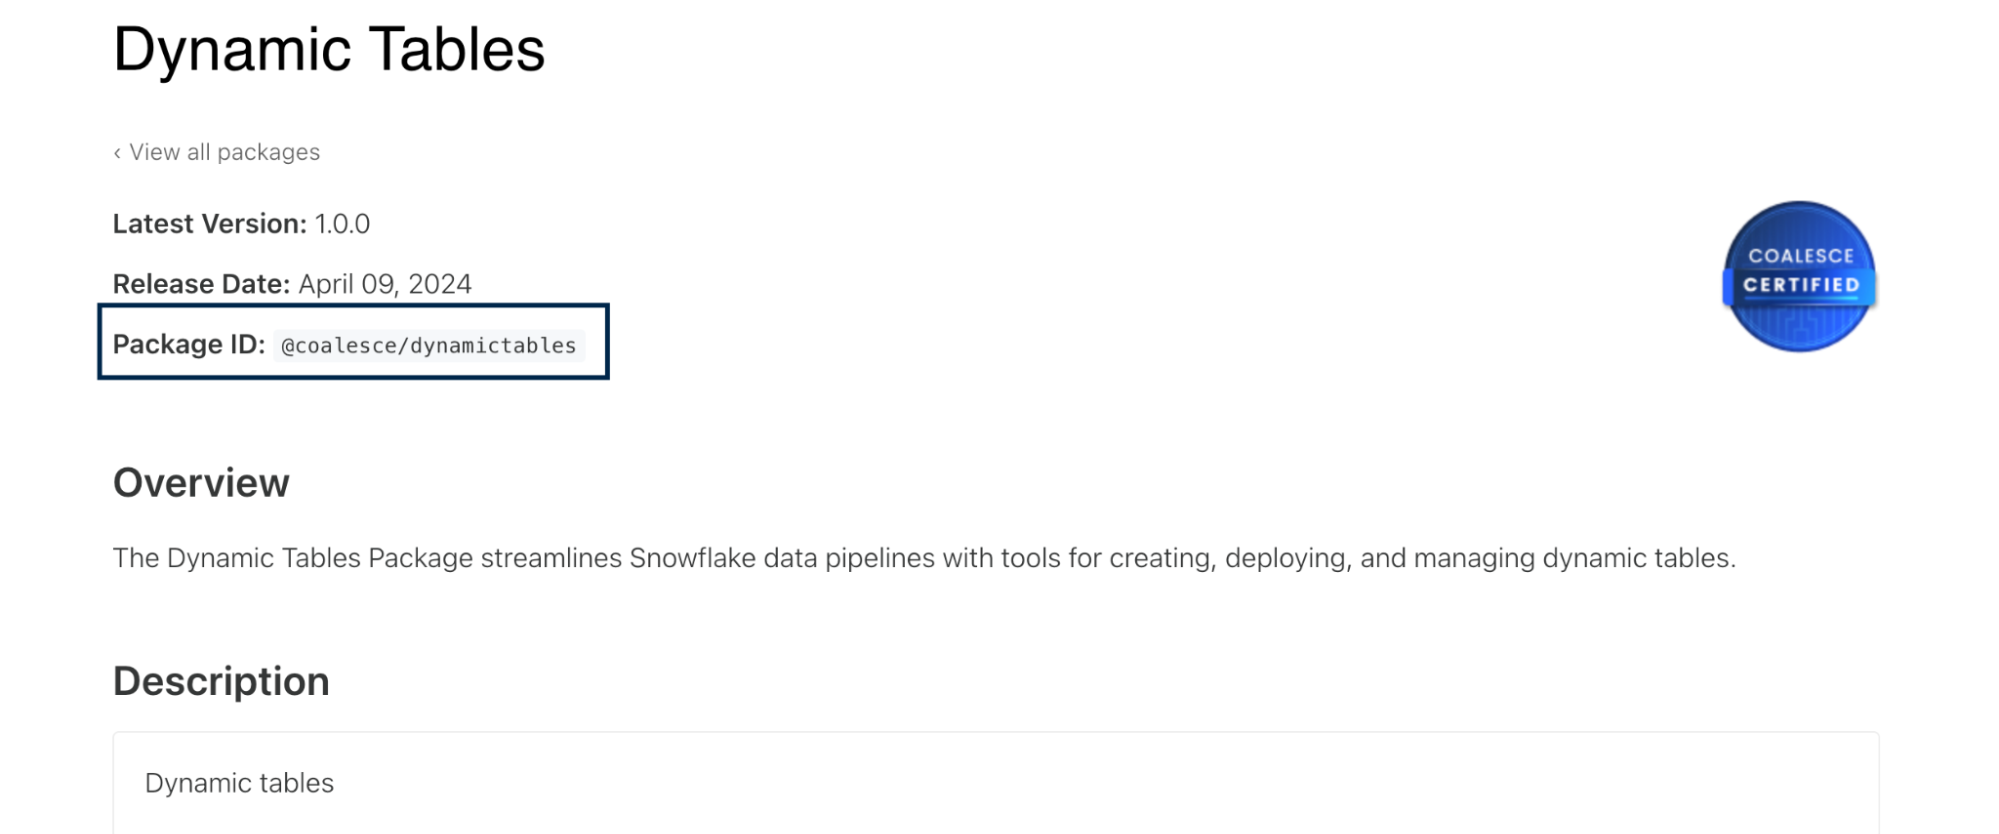
Choose a package from the Coalesce Marketplace.
-
Make note of the Package ID.
-
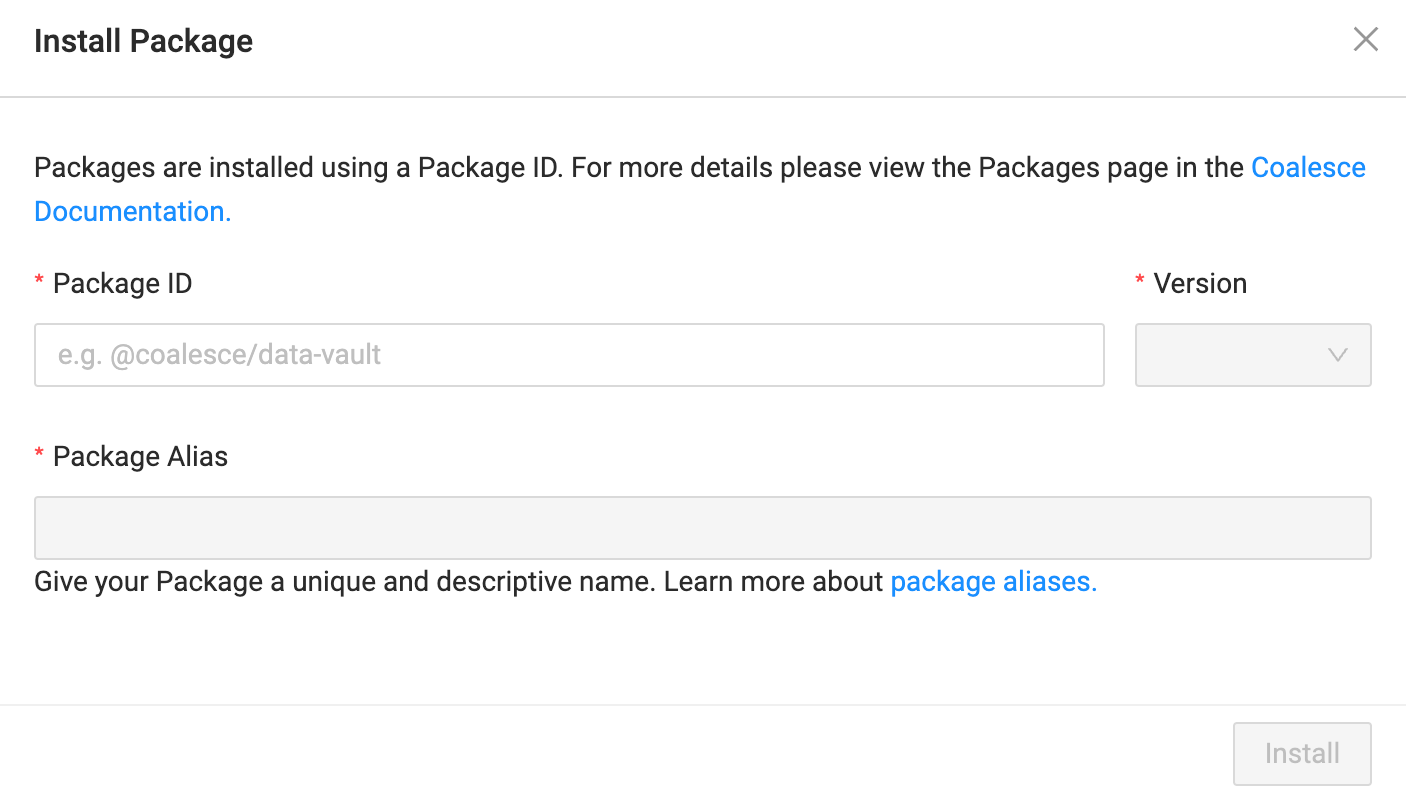
In the Coalesce App, go to Build Settings > Packages. Click Install.
-
Enter the Package ID you previously copied.
-
Select the version you want to install.
-
Enter a Package Alias. The alias is a unique and descriptive name for the package so you can easily identify it later.
- A package alias can only contain letters, numbers, and dashes. It can’t contain consecutive dashes.
- Package aliases can’t start or end with a dash.
-
Install your package.
Use a Package
Once a package is installed, you can use them like any other Node. Create a new Node in the Mapping Grid or change the node type in the Node Editor.
Manage Your Packages
Packages can come installed with multiple Macros and Node Types.
Use Package Macros In Your Workspace
If your Package includes macros, you can use them in any Node. First, add them to your Workspace macros so they’re available throughout your Workspace.
- Go to Build Settings > Macros.
- Select the Workspace macros from the list.
Next, import the macros in your Workspace macros:
{% import "<package-alias>" as <friendly-name> with context %}
After importing, call the macro using its alias:
{{ <friendly-name>.<package-macro-name>(<parameter>, <parameter>) }}
Example Using Package Macros
If you installed the @coalesce/test-utility Package with the alias testUtils and want to use a macro called expect_table_row_count_to_be_between in a Node test:
-
In your Workspace macros, add:
{% import "testUtils" as testUtils with context %}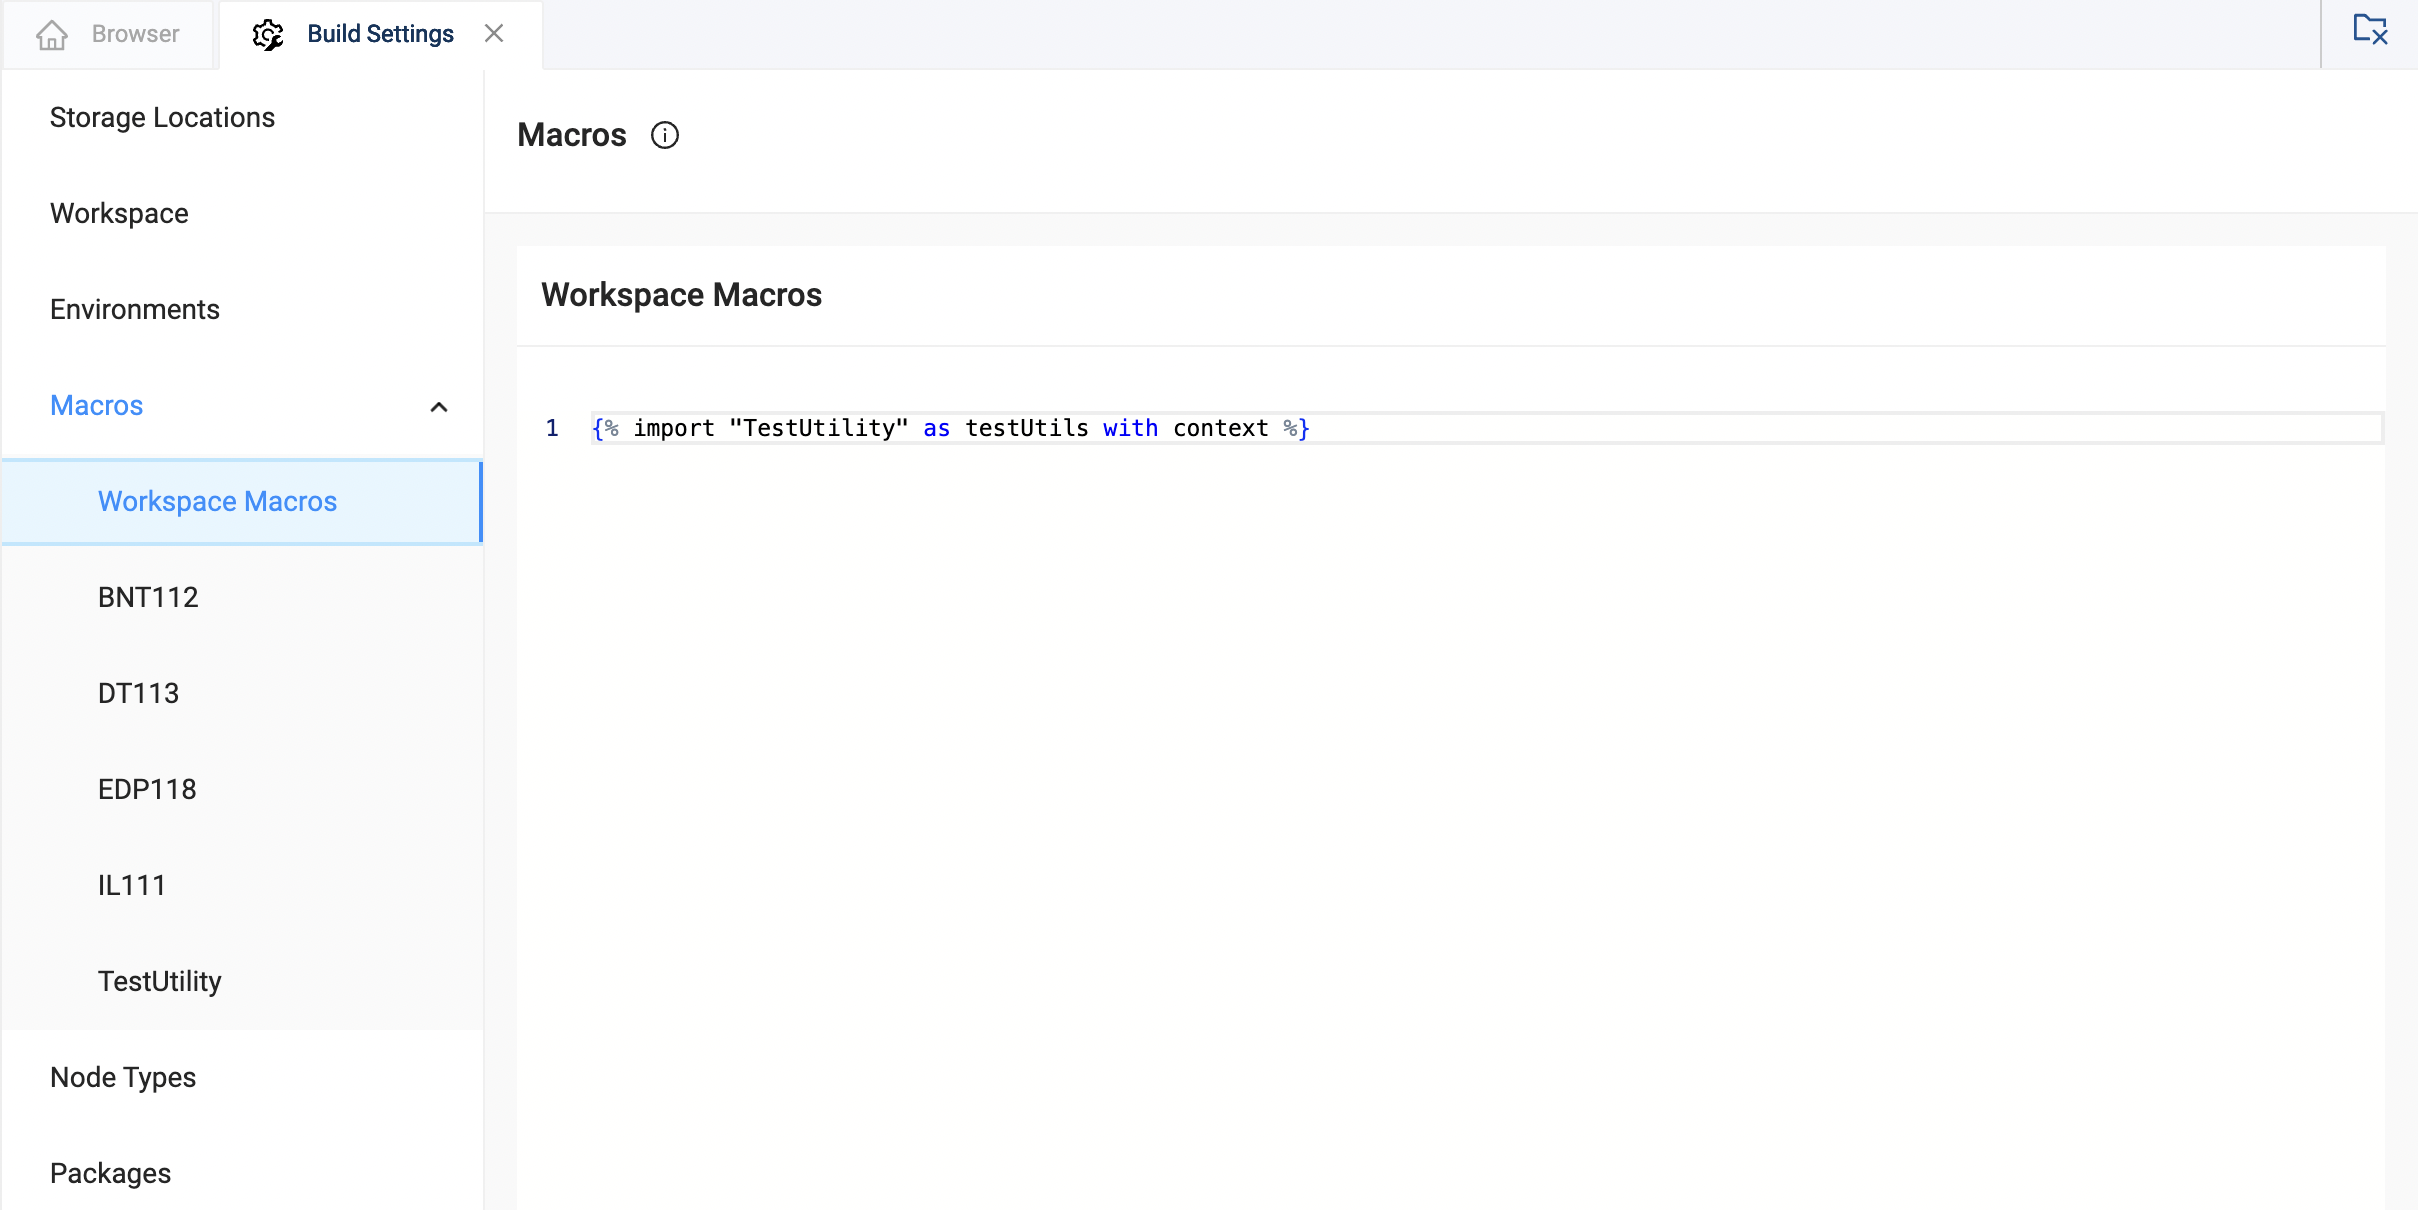
-
Call the macro:
{{ testUtils.expect_table_row_count_to_be_between('{{this}}', 1, 5) }}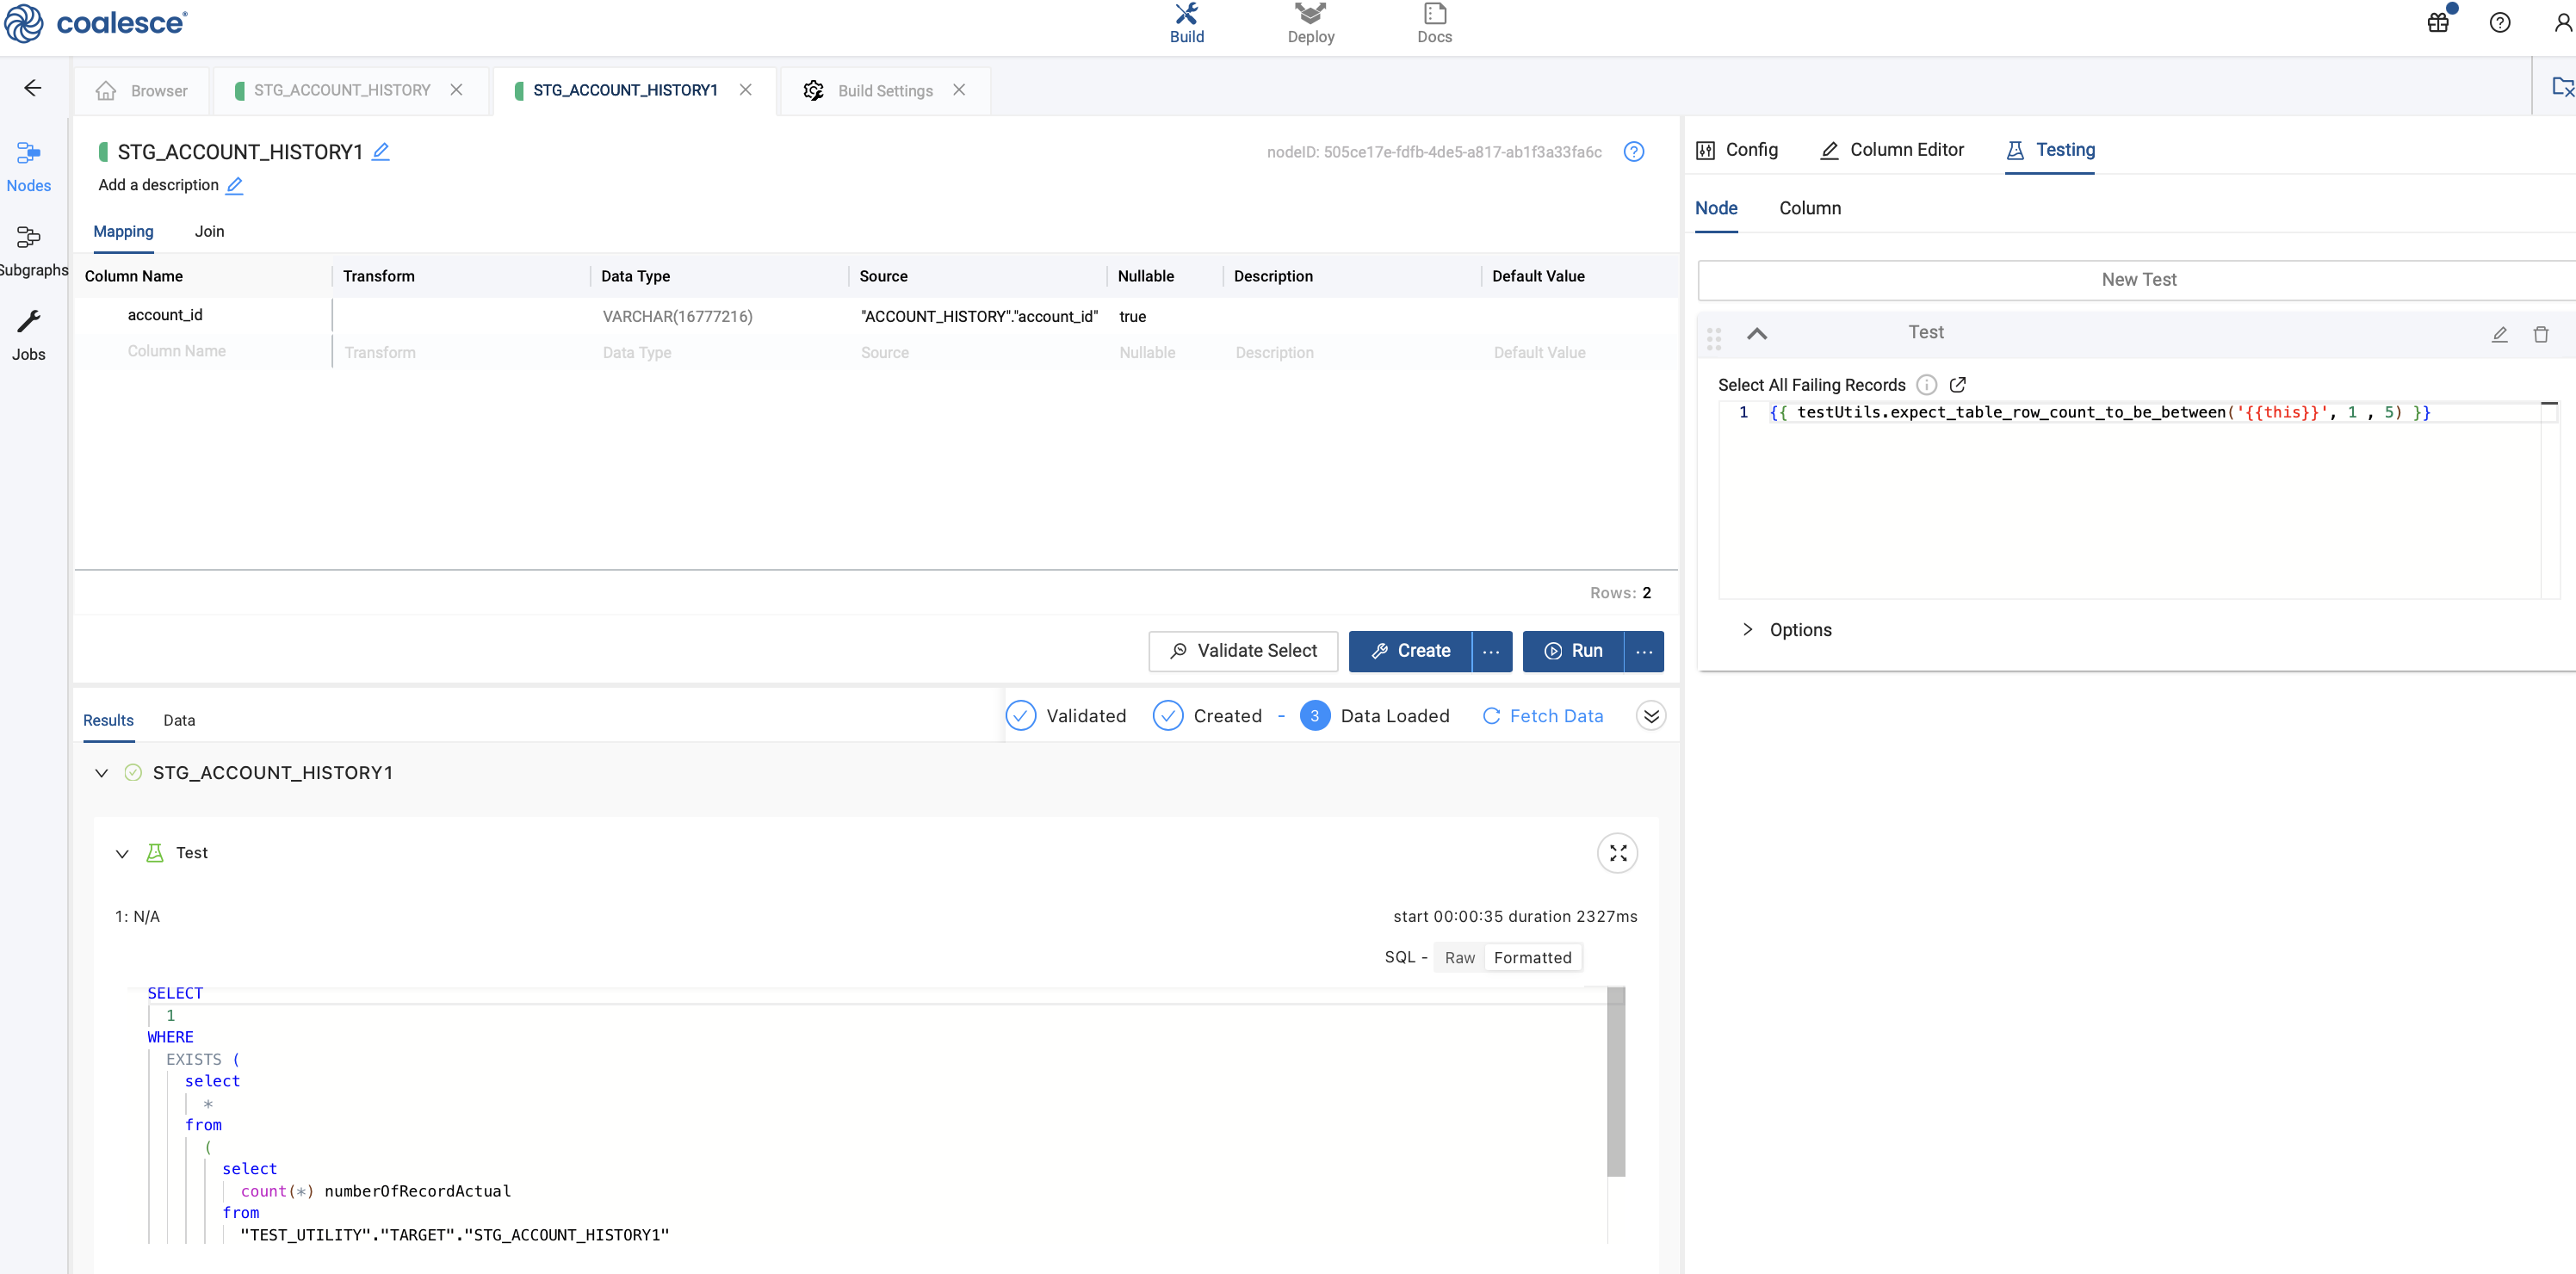
Workspace Macros
If you want to use Workspace macros in a package node, you can use them as normal. The import syntax isn’t needed.
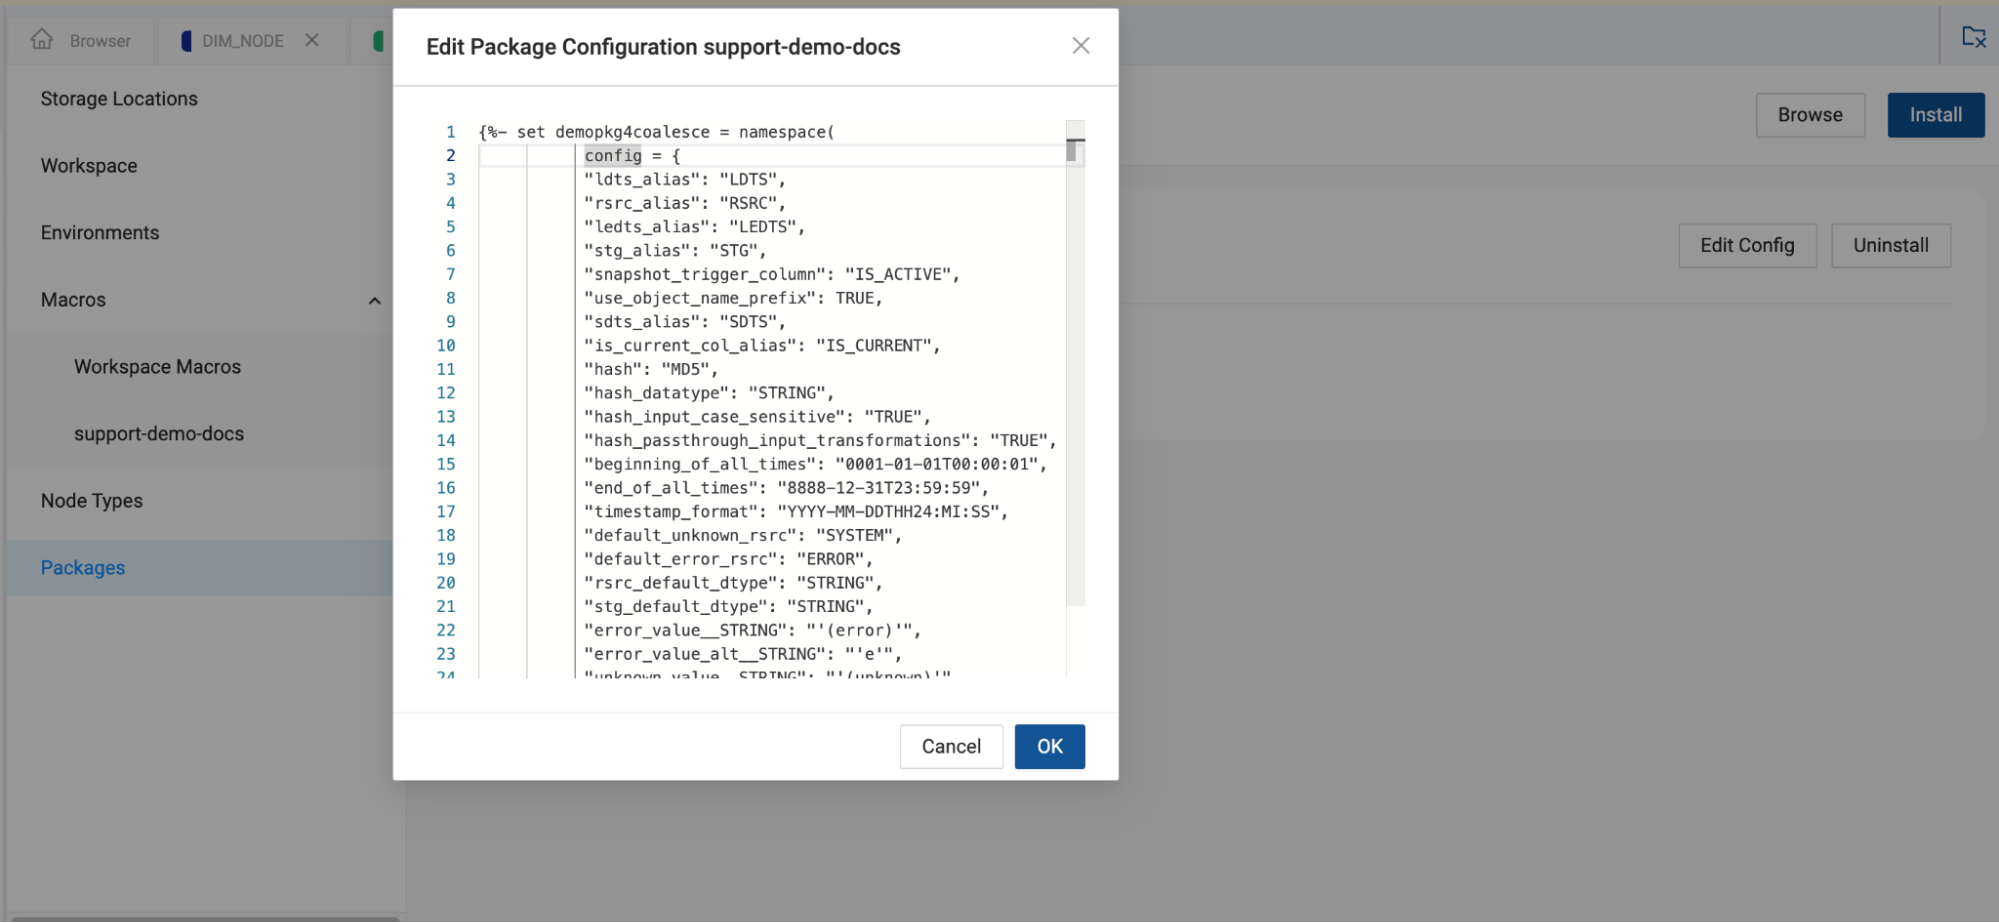
Edit the Package Configuration
The package configuration is a set of variables you can set values for to customize the package for your use. The available configuration options depend on the package. Not all packages have a configuration. For example, timestamp_format would let you set the format to HH:MM:SS.
- Go to Build Settings > Packages.
- For the package you want to edit, click Edit Config.
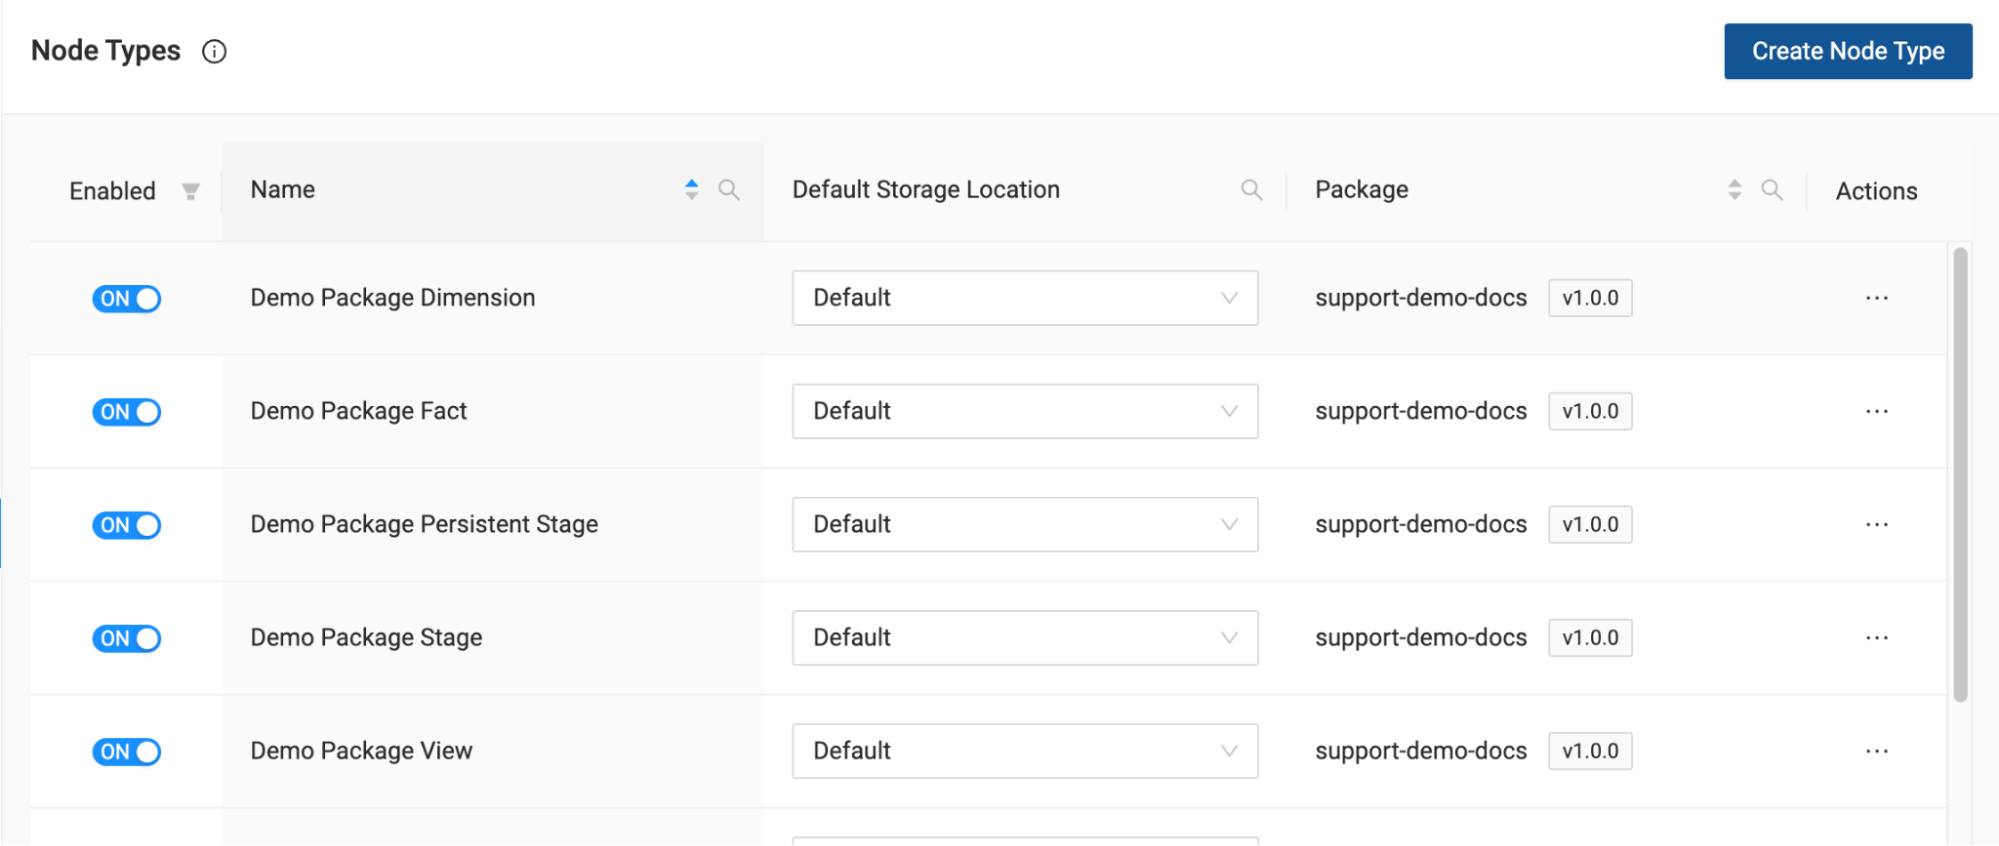
Enable or Disable Package Nodes
Packages will be listed by the package alias created during installation.
Go to Build Settings > Node Types, to toggle the node.
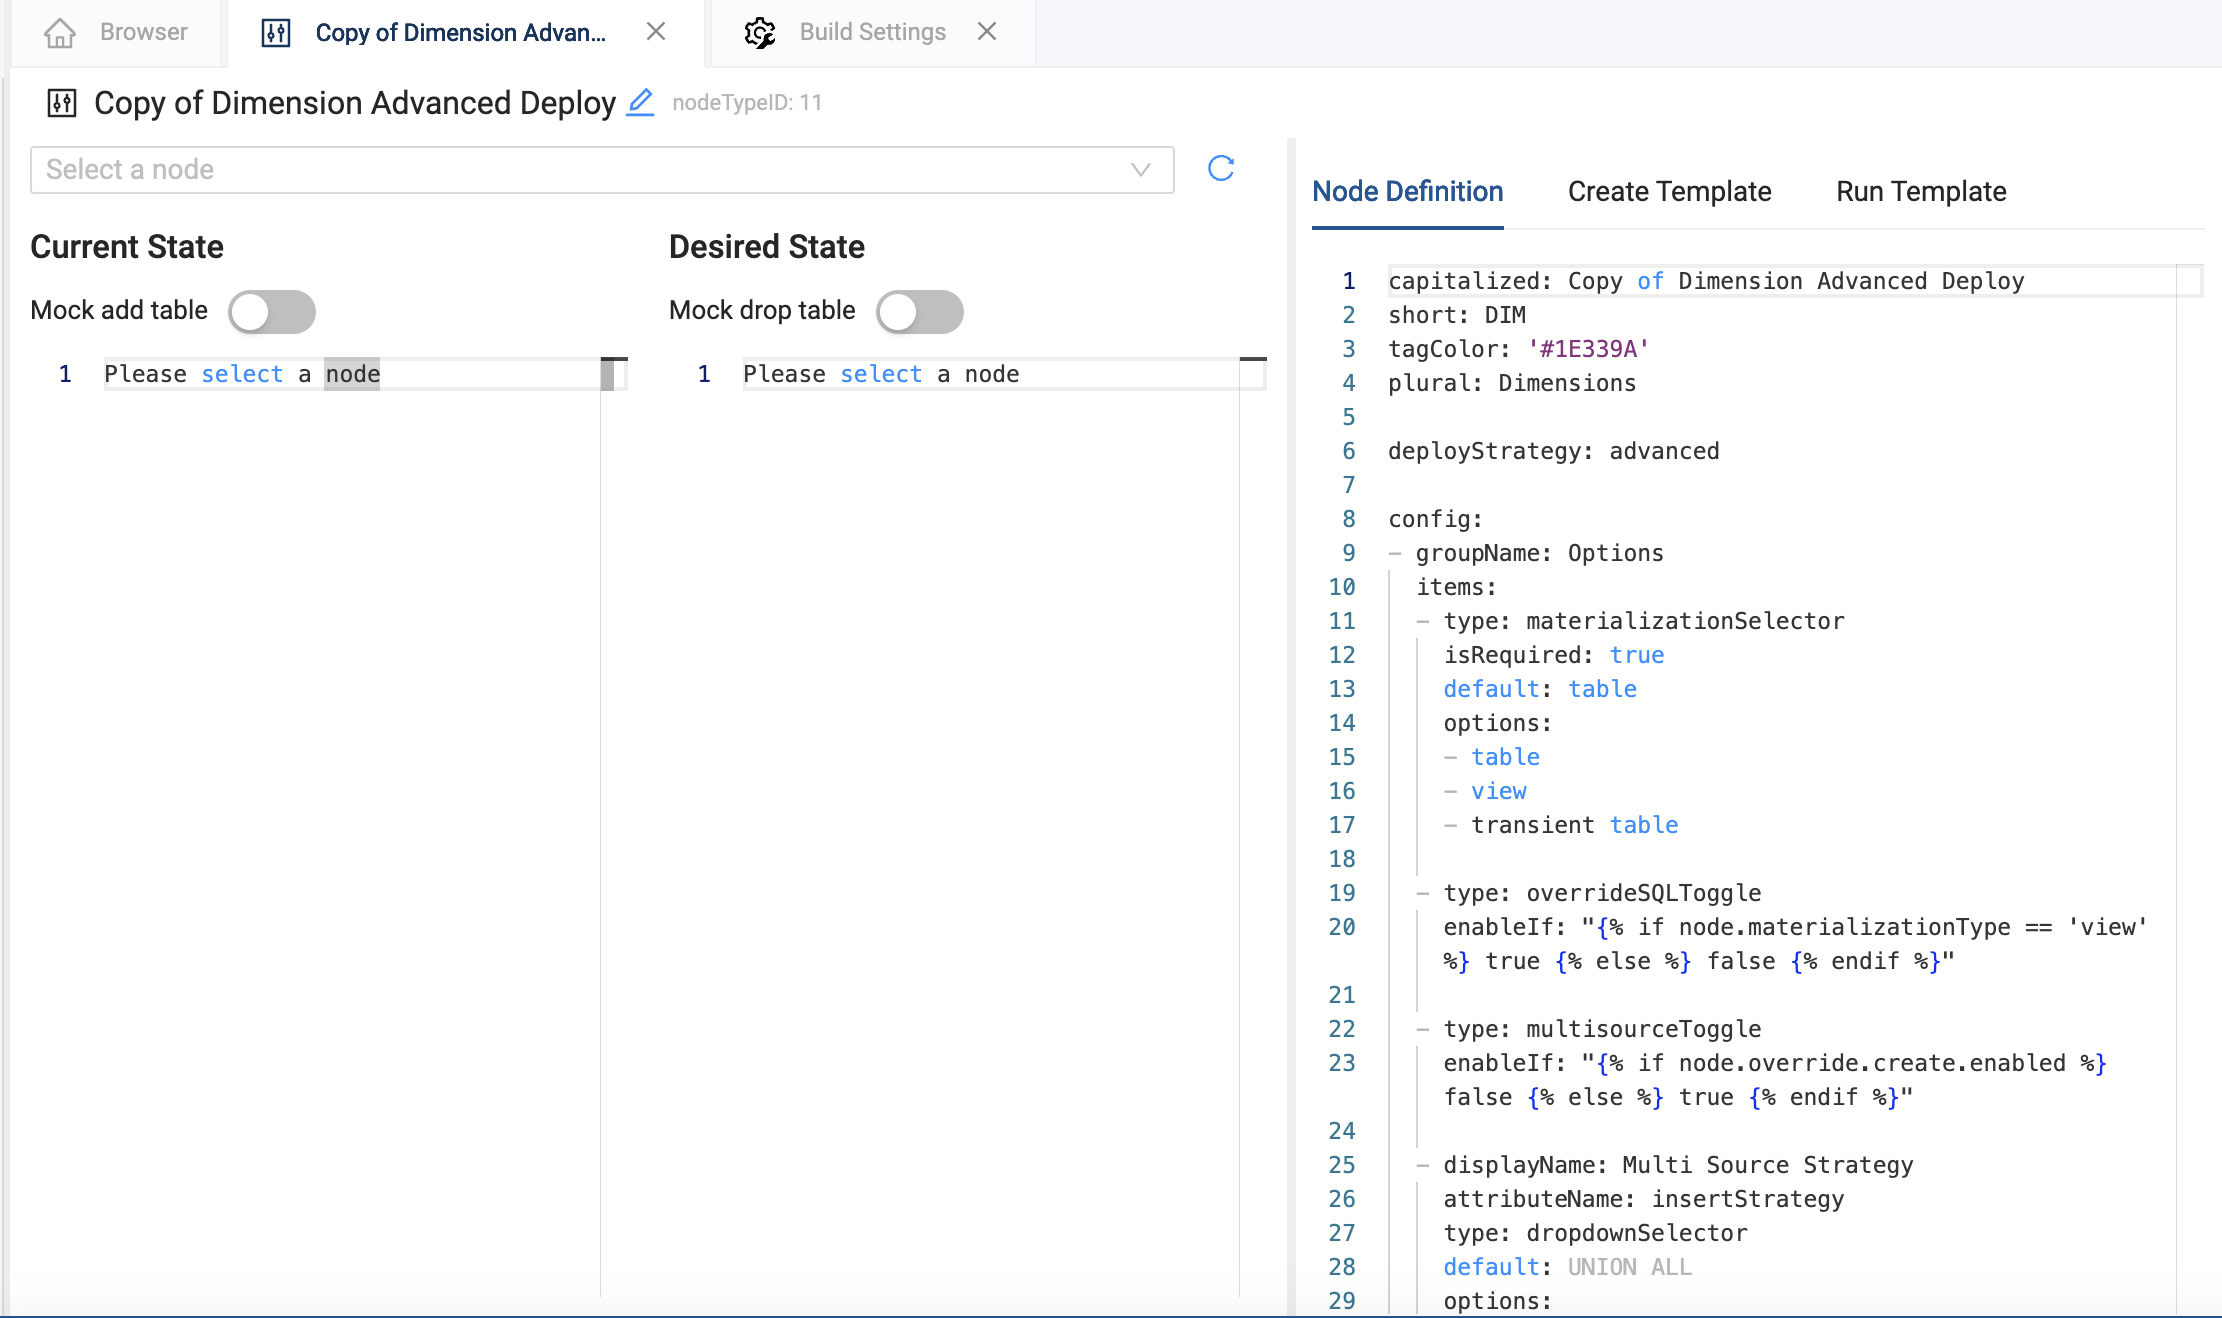
Duplicate or Copy Packages
You can duplicate packages by going to Build Settings > Node Type and selecting Duplicate next to the package you want to copy. Duplicating a package allows you to customize the package Node Types.
Upgrading Packages
- Install the new package version. You'll follow the same steps as installing a package, just choose the version you want to install.
- Copy the package configuration from the old package to the new package.
- Bulk update the node types of any nodes you want to move.
- Uninstall the old package version.
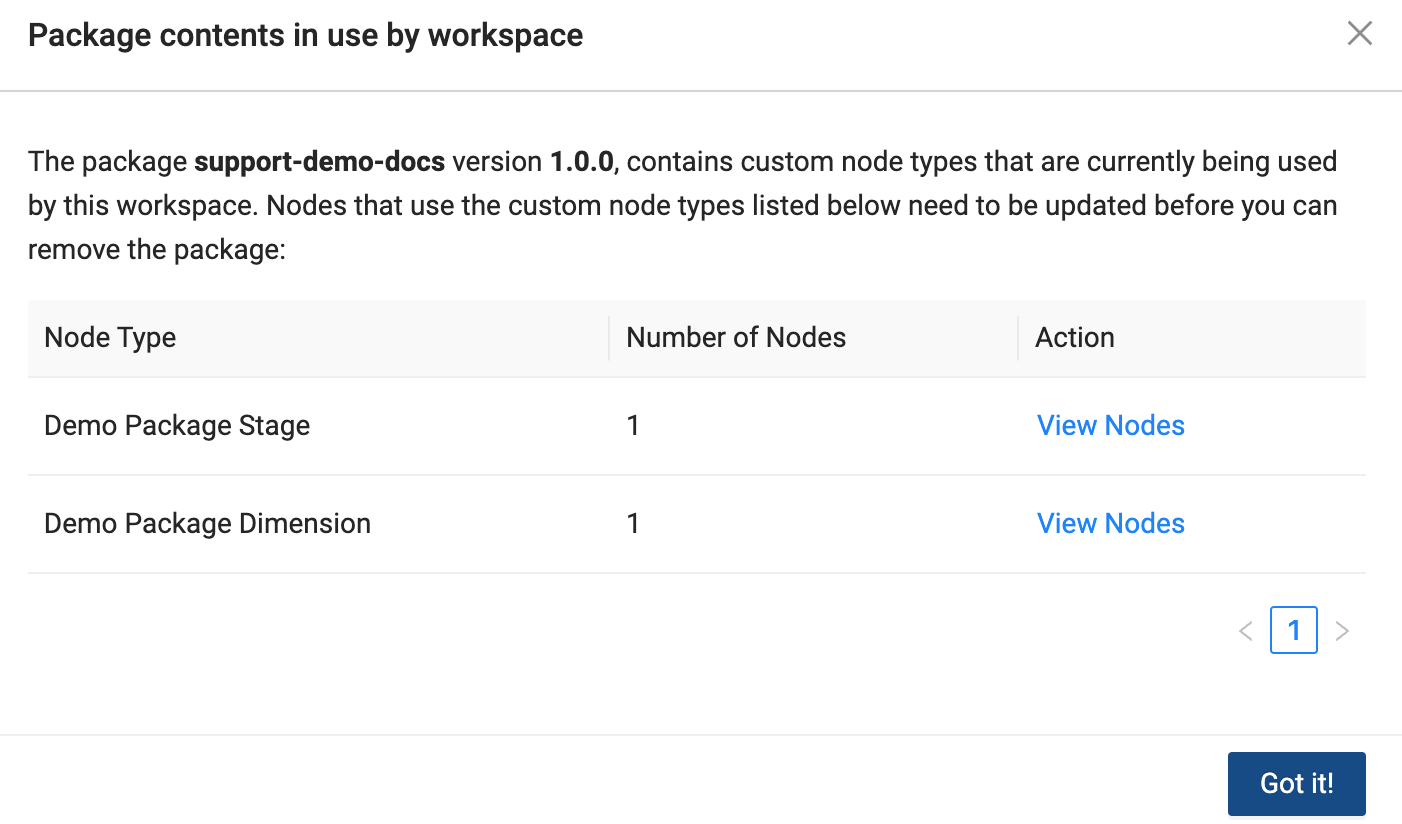
Uninstall a Package
Packages can only be uninstalled if they aren’t in use. In use packages will return a list of locations the package is in use. You’ll need to remove those locations before you can delete them.
To delete a package:
- Go to Build Settings > Packages.
- Click Uninstall next to the package you want to delete.
- This will remove the package from the current workspace.
Your packages are committed using the package alias you created during installation. The file will contain the package ID.
Git and Packages
Your packages are committed using the package alias you created during installation. The file will contain the package ID.
To see an example of a Git Commit, review What Gets Committed.
