Documentation index: llms.txt. This page is also available as markdown: append .md to this URL or send Accept: text/markdown.
Coalesce Tips and Tricks
Learn how to get the best out of the Coalesce App.
Editing Code
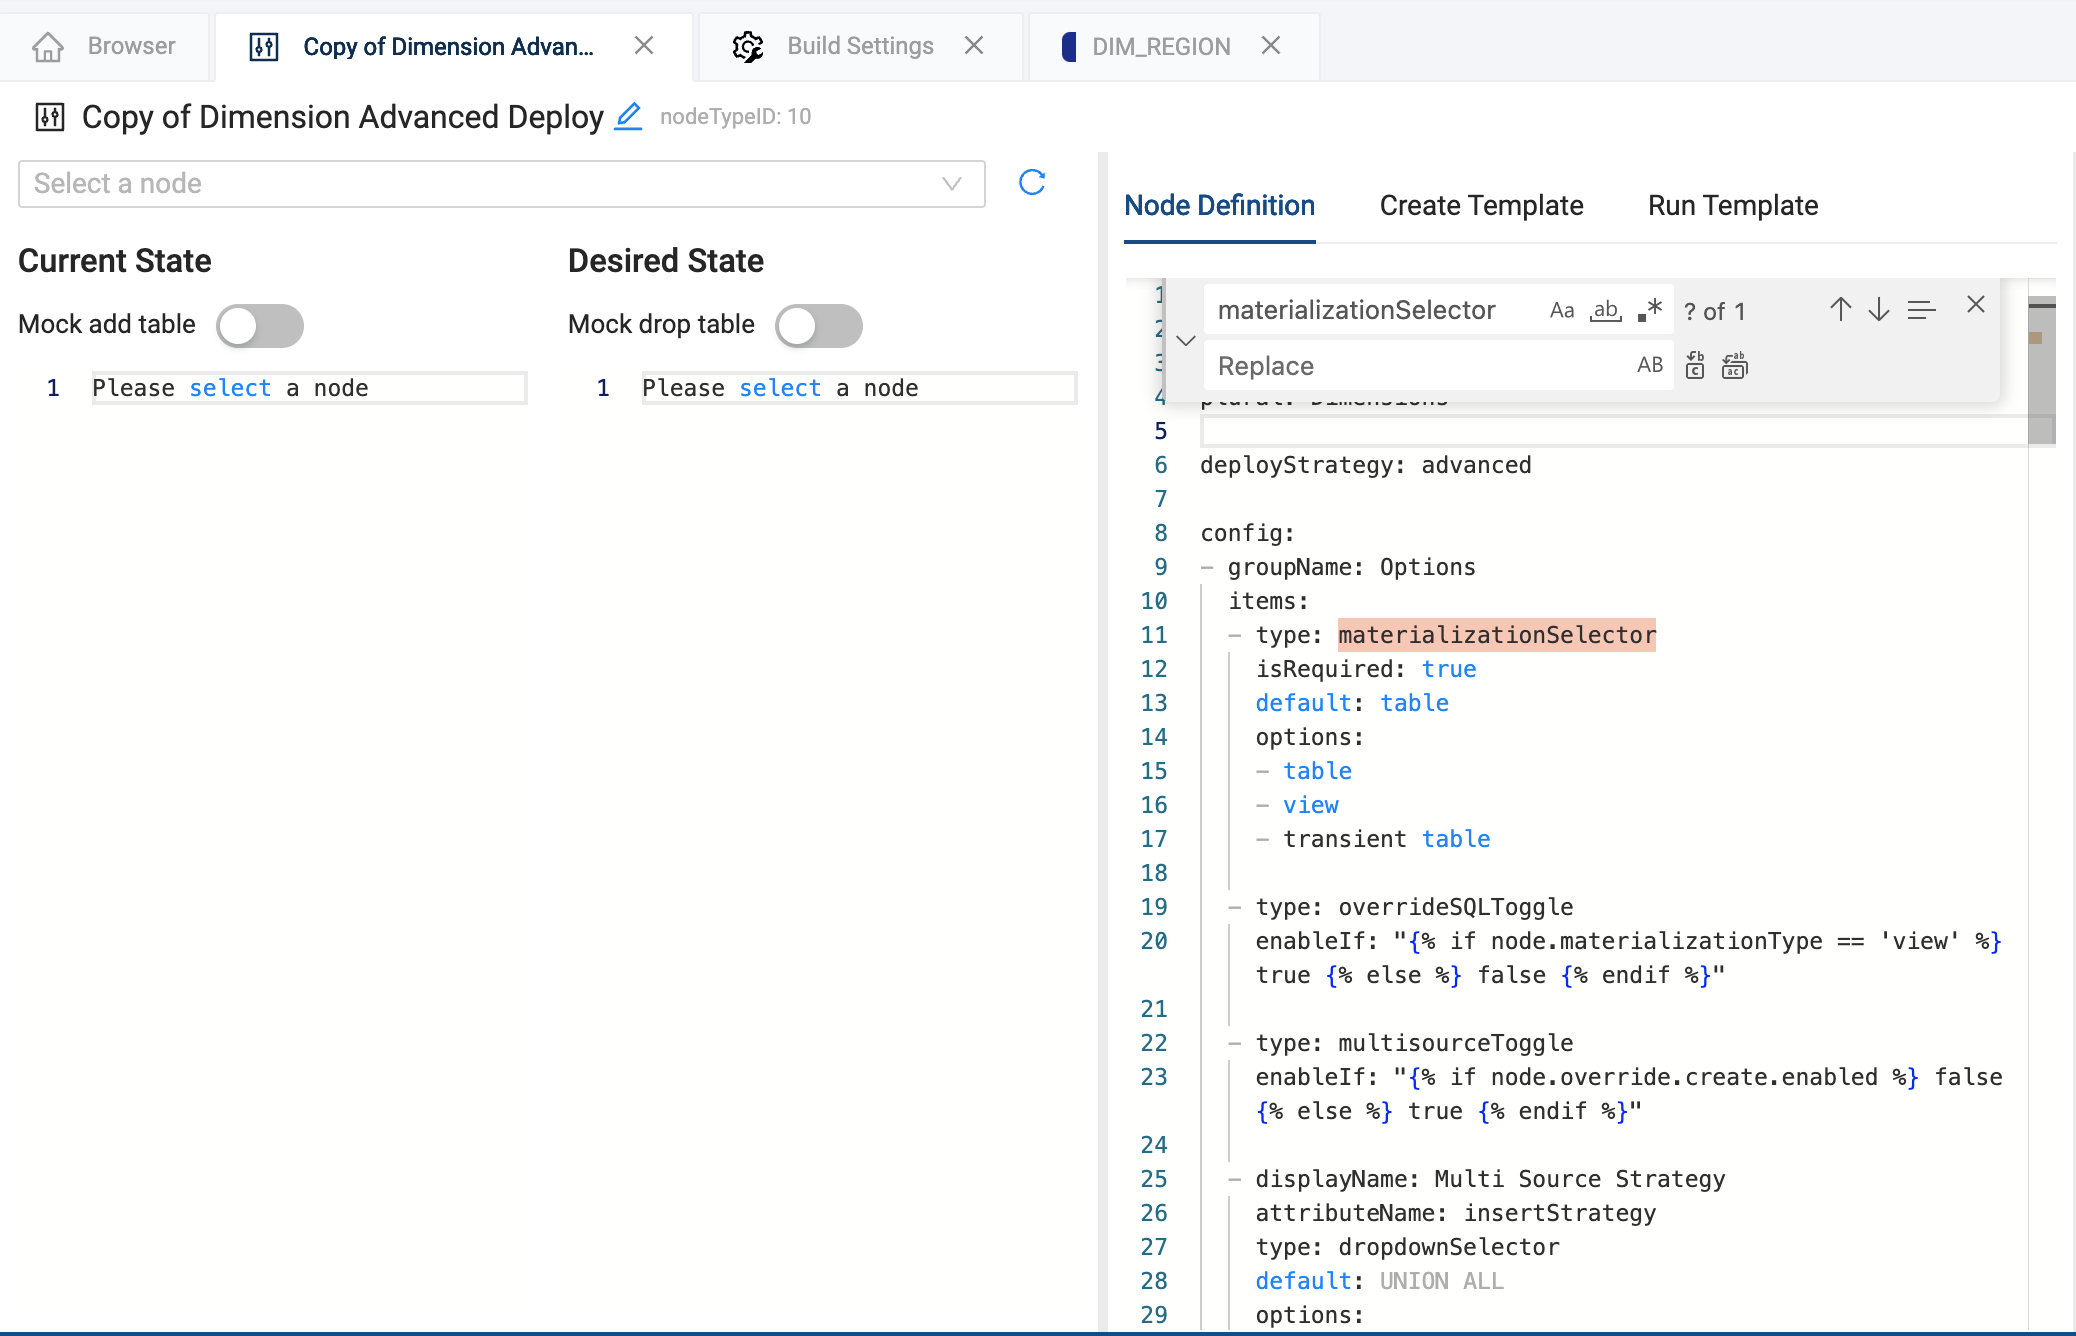
In any code editor in Coalesce, you have access to a number of functions. Right click in the box to bring a sub-menu that has different actions, along with the available keyboard shortcuts.
Selecting Command Palette(F1) brings up a full menu of options, along with the keyboard shortcuts.
Find and Replace
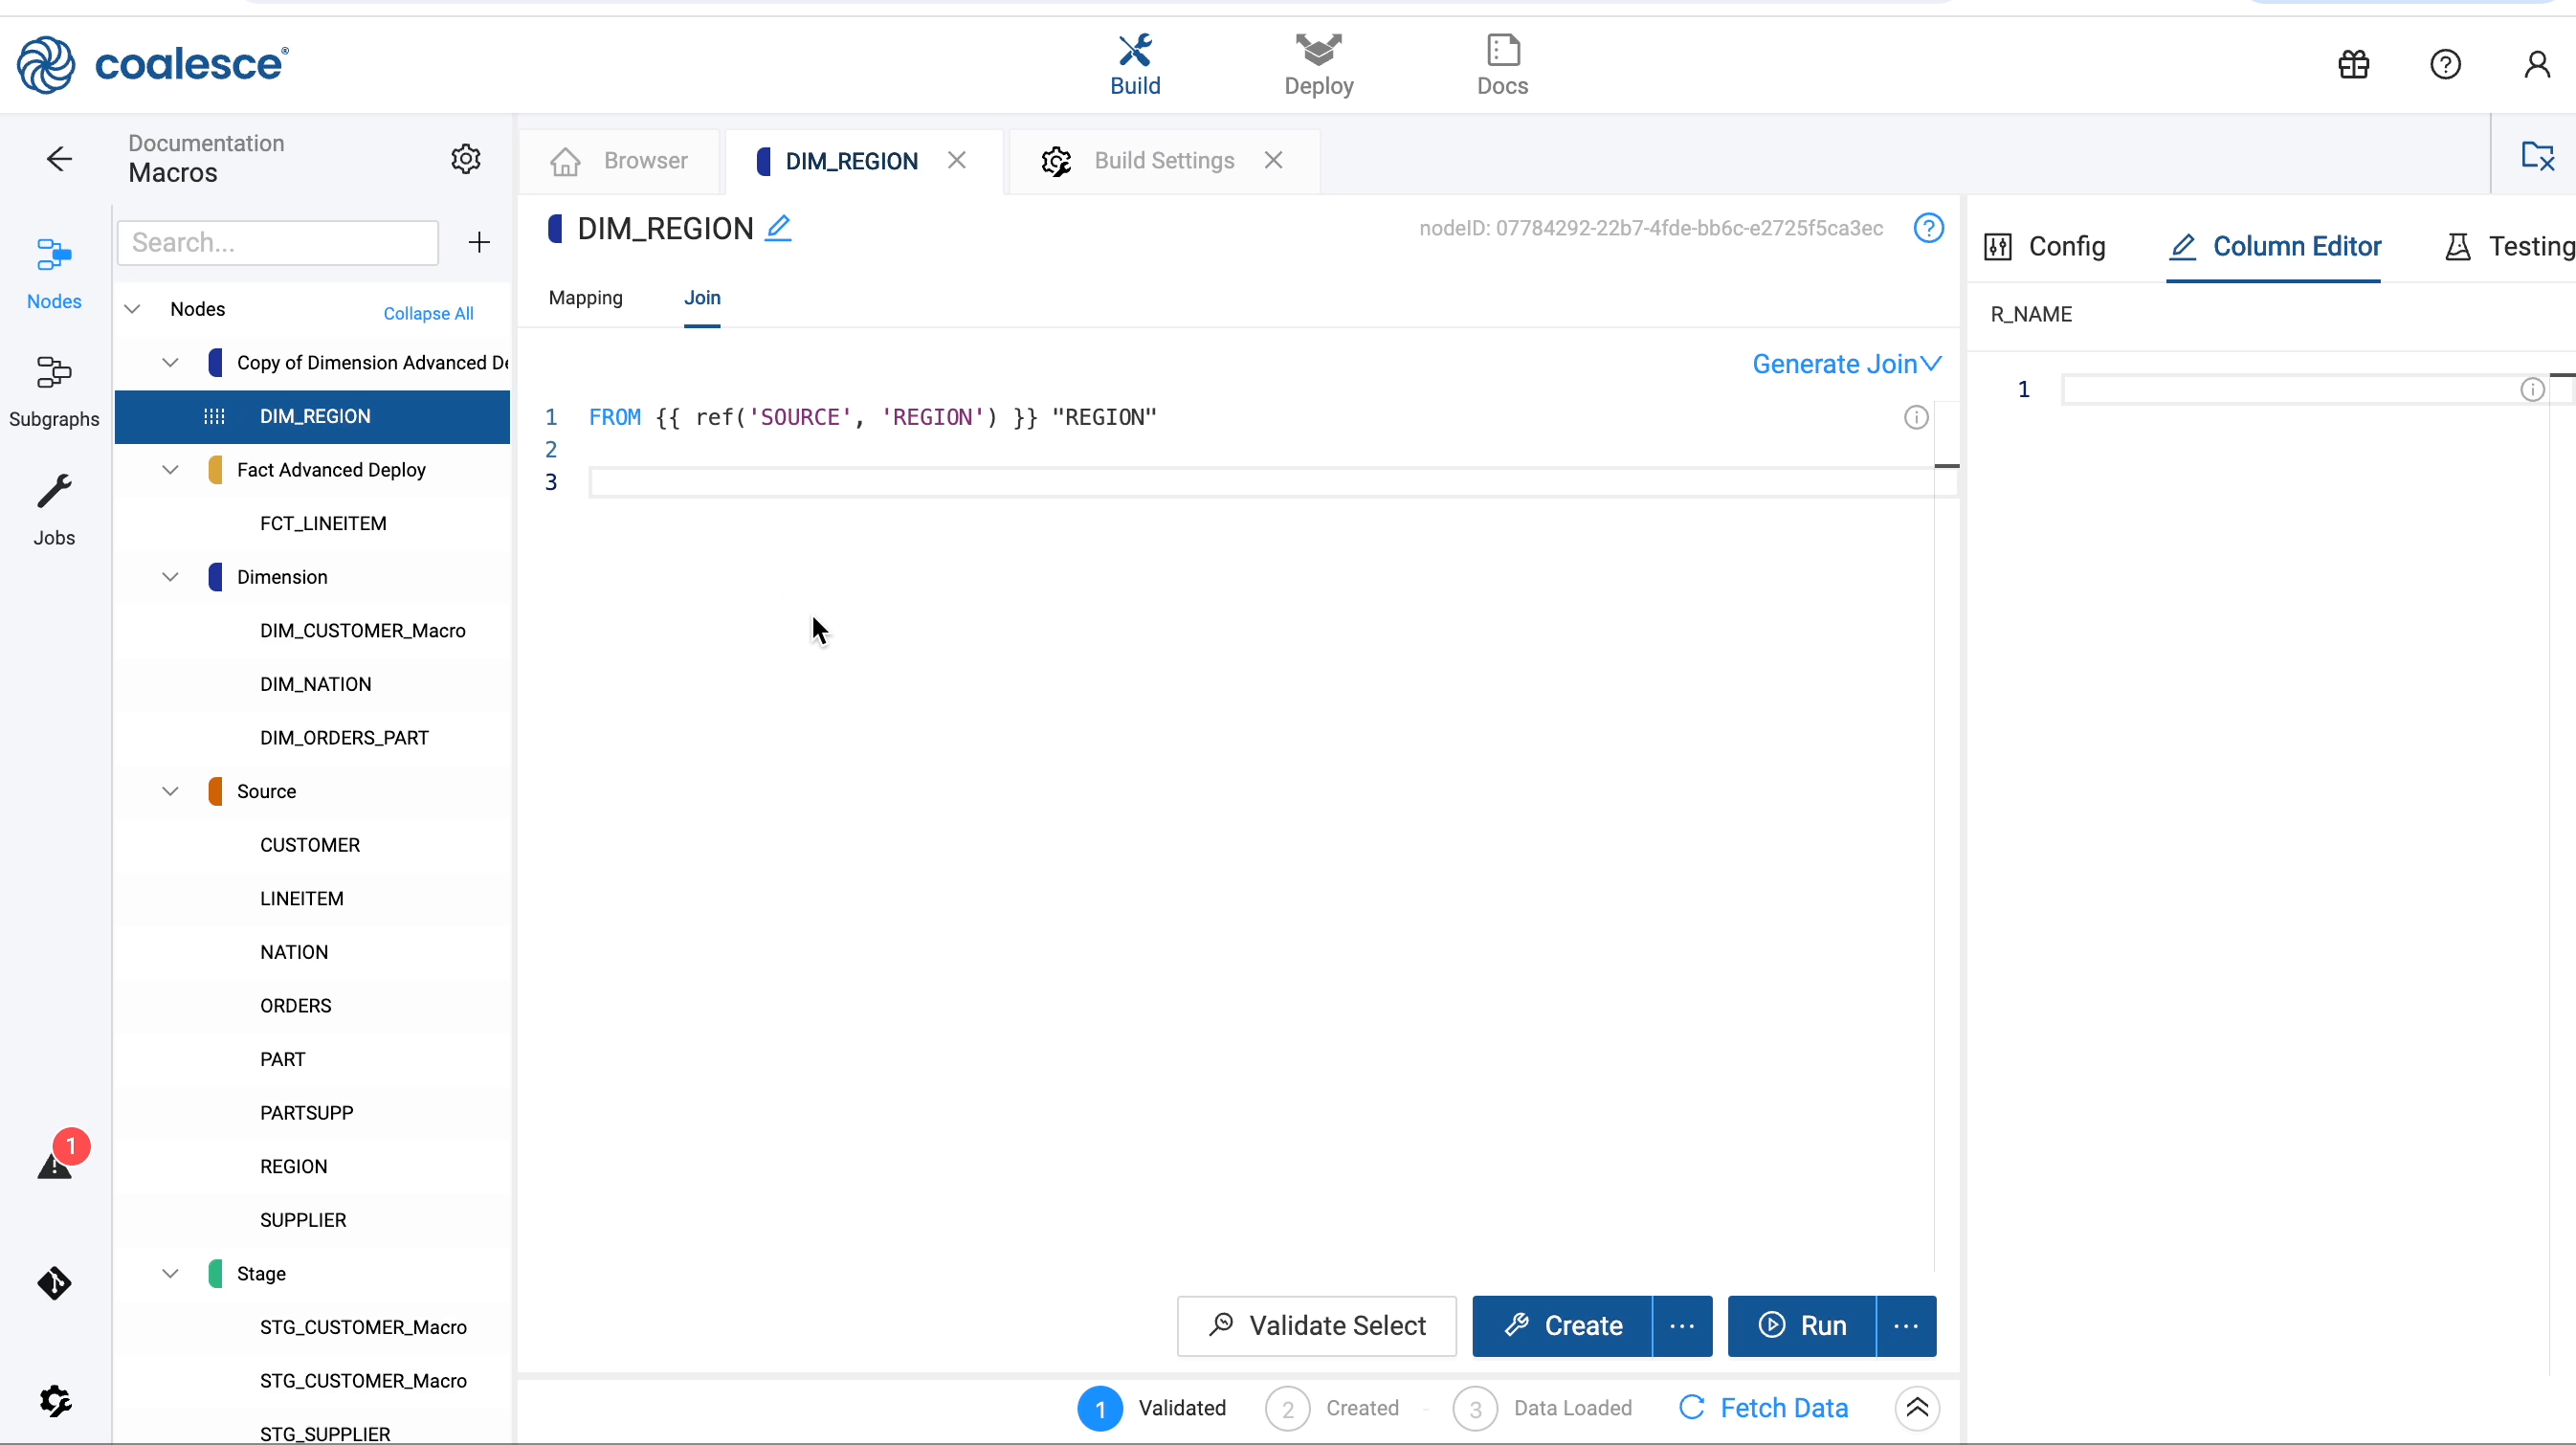
You can use CTRL+F on Windows or CMD+F Mac to search, find and replace text any location in Coalesce that has a code editor.
- Node Configuration
- Join Tab
- Column Editor
- Column Testing
- Pre-SQL and Post-SQL
- Git Modal (read only)
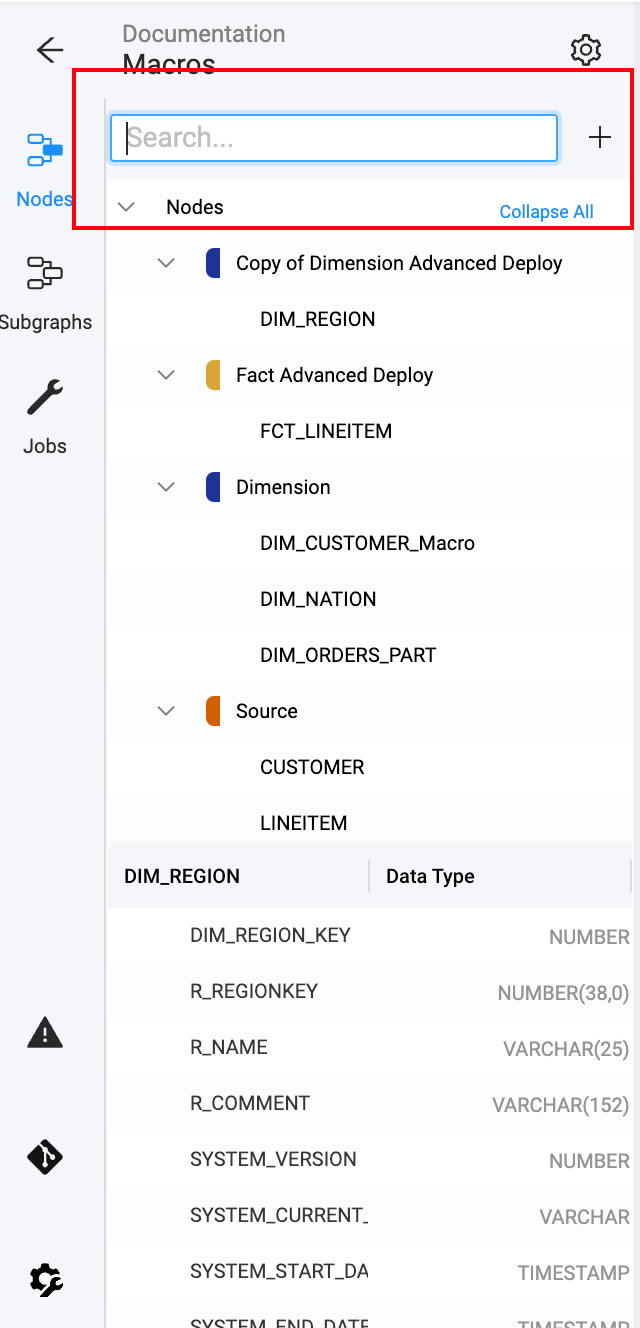
Searching Nodes
You can search for the name of a Node in the Build Interface sidebar.
Drag and Drop Columns
You can drag and drop columns in multiple ways in Coalesce.
- Multi Source Nodes
- Ordering columns in a Node
- Adding columns to a Node
- Add Nodes to Jobs
Information Bar
At the bottom of the screen, an information bar is shown. It contains the current information about your Workspace.
From left to right:
- Branch: The current Git branch. You can click this to open the Git modal.
- Last committed: Date of the last commit.
- Data Platform: The data platform account name.
- User: The email of the data platform account.
- Role: The role of the data platform account.
- Email: The email of the user logged into Coalesce.
- Org: The organization and user name logged into Coalesce.

If you are on the Project page, it will show the Git URL and the Git account name given during setup.
Tooltips
Throughout the app, you'll see the information icon. Hover over it to find useful information related to the section.
Close All Tabs
Quickly close all open tabs while working by clicking on the folder.

Viewing Your DAG
On the Build page, there are several options that can help you view your DAG. From left to right:
- Node View Options
- All - View all Nodes
- Upstream - Shows all Nodes that feed into the selected Node.
- Downstream - Shows all Nodes that depend on the selected Node.
- Related - Shows both upstream and downstream Nodes for the selected Node.
- Spotlight - Shows both upstream and downstream Nodes up to four levels deep.
- Mini map - The mini map shows a view of the entire graph and highlights your current view port so you can jump quickly to any area.
- Draw optimized graph - This will attempt to adjust the DAG view so the connections between nodes are easier to see at first glance. It doesn't change the order of execution.
- Zoom out and Zoom in - Zoom in and out on the DAG.
- Full screen- Full screen attempts to fit the entire DAG within the given space.

Sort Table Data
You can sort column data by a single column or multiple columns.
Single Column Sort
Click a column header to sort by ascending, descending, and to remove the sort and rest the order.
Multi-Column Sort
Multi-column sort lets you select multiple columns to first sort your data by one column and then further sort it by another.
To select multiple columns, use the keyboard shortcuts:
- macOS:
CMD+SHIFT - Windows:
CTRL+SHIFT
As you select columns, they have will have 1, 2, 3, etc appear next to them indicating the order they were selected and will sort by.
- Primary Sort: Begin by sorting your table based on the main column. For example, if you have a lot of sources, and you want to first group by source.
- Secondary Sort: This is the second column you want to sort on. Using the same example, After sorting by sources, then you might sort by Storage Location.
- Tertiary and Additional Sorting - You can continue to sort data with the selected columns. Continuing the previous example, after sorting by sources, Storage Locations, you can sort by column name to see them alphabetically.