Schedule Your Pipelines with Azure DevOps
Before You Begin
- Access to an Azure DevOps account and project. Sign up for free here.
- Git must be set up and configured in your Coalesce Org. Azure DevOps Pipelines are flexible and can be configured with all git providers that Coalesce supports.
Agent Setup
Azure DevOps has multiple configurations for agents that include self-hosted or Microsoft-hosted (requires an Azure subscription). Coalesce can use an existing agent pool if your organization already has pre-configured agents.
- Details on setting up an Azure DevOps agent can be found in Microsoft's documentation.
- Take note of the agent pool name when setting up the agent as you will need this when defining the
poolin your pipeline definition (azure-pipelines.yml). In the examples below, we will usepool: defaultsince that is how our agent pool is configured.
Upload Secure File
To follow best practices, Coalesce recommends that you upload your coa config file as a secure file within the Azure DevOps Pipeline.
- From within your Azure DevOps Project, select Pipelines and subsection Library from the left sidebar.
- Select + Secure File to upload your coa config. By default this file is in
~/.coa. Take note of the file name for the next section.

Create a Deploy Pipeline
-
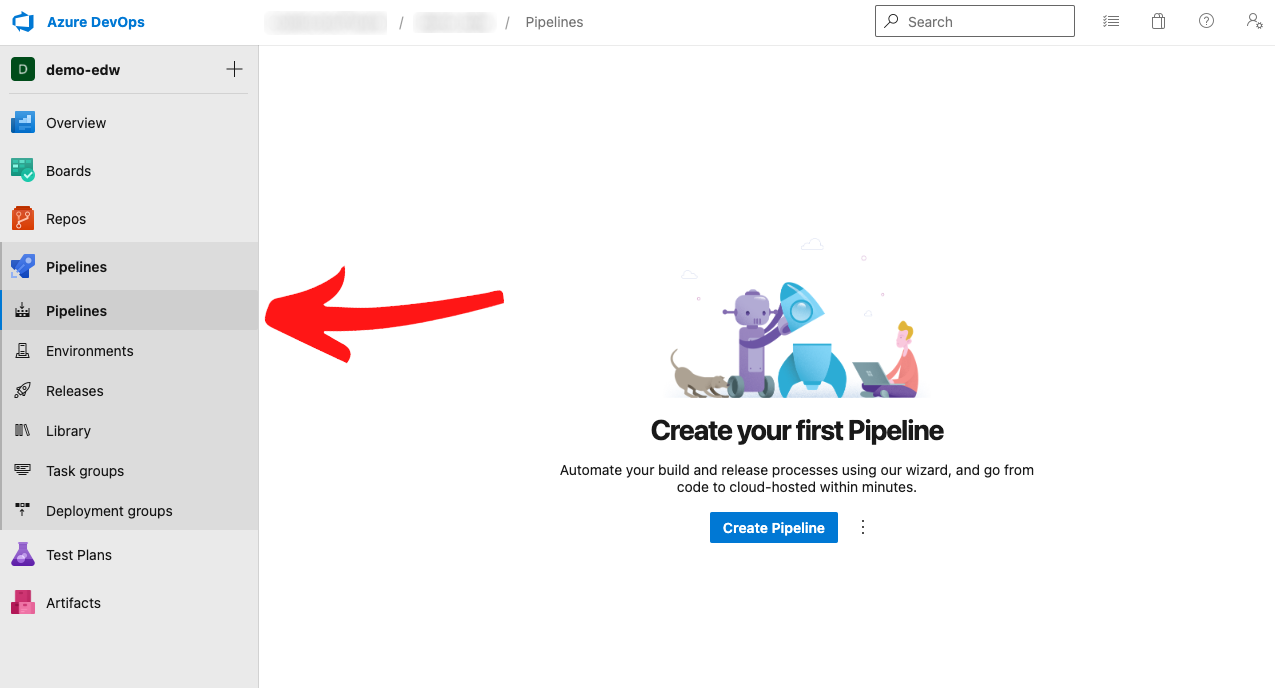
From within your Azure DevOps Project, select Pipelines and subsection Pipelines from the left sidebar.
-
Select Create Pipeline and follow the wizard to connect your git repository to the Azure DevOps Pipeline.
-
When prompted to Configure your pipeline, select Starter pipeline
-
When prompted to Review your pipeline YAML, replace the
azure-deploy-pipelines.ymlcontents with the following code.
pool: default

variables:
 - name: coalesceCliVersion
   value: latest # Before utilizing this pipeline in production scenarios, it is advised to pin a specific version. This practice aims to reduce potential disruptions. You can find the released versions on NPM at this link: https://www.npmjs.com/package/@coalescesoftware/coa

trigger:
  branches:
    include:
    - main

steps:

- task: DownloadSecureFile@1
  name: coaConfig
  displayName: 'Download coa config'
  inputs:
    secureFile: 'config'

- task: CmdLine@2
  inputs:
    script: |
      # Install Coalesce CLI tool, if not installed
      npm list -g | grep "@coalescesoftware/coa@$(coalesceCliVersion)" || npm install -g @coalescesoftware/coa@$(coalesceCliVersion);

      # Create Deployment Plan
      coa plan  --config $(coaConfig.secureFilePath);

      # Execute Deploy
      coa deploy  --config $(coaConfig.secureFilePath);
Create a Refresh Pipeline
-
From within your Azure DevOps Project, select Pipelines and subsection Pipelines from the left sidebar.
-
Select Create Pipeline and follow the wizard to connect your git repository to the Azure DevOps Pipeline.
-
When prompted to Configure your pipeline, select Starter pipeline.
-
When prompted to Review your pipeline YAML, replace the
azure-refresh-pipelines.ymlcontents with the following code. -
Remember to click Save.
-
Now manually test your new pipeline by selecting Run to kick off your refresh.
The below is an example for an hourly refresh on the main branch, although it could be modified for a daily deploy, a different branch, or other options.
pool: default

variables:
 - name: coalesceCliVersion
   value: latest # Before utilizing this pipeline in production scenarios, it is advised to pin a specific version. This practice aims to reduce potential disruptions. You can find the released versions on NPM at this link: https://www.npmjs.com/package/@coalescesoftware/coa

schedules:
- cron: "0 * * * *"
  displayName: Hourly Refresh
  branches:
    include:
    - main

steps:

- task: DownloadSecureFile@1
  name: coaConfig
  displayName: 'Download coa config'
  inputs:
    secureFile: 'config'

- task: CmdLine@2
  inputs:
    script: |
      # Install Coalesce CLI tool, if not installed
      npm list -g | grep "@coalescesoftware/coa@$(coalesceCliVersion)" || npm install -g @coalescesoftware/coa@$(coalesceCliVersion);

      # Start refresh
      coa refresh  --config $(coaConfig.secureFilePath);