Set Up Version Control
You’ll set up version control when creating a new project in Coalesce.
Get an Authentication Token
Many cloud Git providers have transitioned from traditional username and password authentication for remote repository access to a more secure method known as token authentication or Personal Access Tokens (PAT). Coalesce requires a PAT.
- GitHub - Create a fine grained access token. You'll need to select which repositories you want Coalesce to have access to. Use the following permissions:
- Contents: Read and Write
- Bitbucket Token Generation Instructions. Use the following permissions:
- Repositories: read & write
- GitLab Token Generation Instructions. Use the following permissions:
- read_repository
- write_repository
- Azure DevOps Token Generation. Use the following permissions:
- Work Items: Read, write, & manage
- Code: Read, write, & manage
- Packaging: Read, write, & manage
Git Fields
You’ll need the following information ready to connect your account.
| Field | Description | Example |
|---|---|---|
| Account Nickname | Friendly description of this git account | GitHub |
| Git Username | Your git username/account name | jack-bauer |
| Token | The git user's authorization token | ghp_abcdefghijklmnopqrstuvwxyz0123456789 |
| Author Name | Name of the git user | Jack Bauer |
| Author Email | The git user's email | jack.bauer@example.com |
Git Username in Repo URL
By default, some Git providers include a Git username in the repo URL. Example https://myusername@bitbucket.org/customer_projects/my-edw.git.
While URLs like this are currently allowed, any authentication information in them is ignored since git URLs can be shared across multiple Coalesce users.
Coalesce will instead use the value of Git Account when authenticating.
Self-Hosted Git Repo
Your self-hosted repository used with Coalesce must be accessible on the public internet.
Allowed IP Addresses For Your Git Provider
If you are using allowed IP addresses or using a self-hosted instance with a firewall, review Network Requirements to allow inbound traffic from Coalesce.
If you are using Coalesce with AWS PrivateLink or Azure Private Link, these requirements may not be required. Interested in learning more about our AWS PrivateLink / Azure Private Link capabilities? Contact Us for more information.
Create a New Project
- Make sure you are on the Projects page. If you are on the Build page , select the back arrow.
- Click the plus sign(+) next to Projects.
- Fill out the Project Details.
- Enter your Git repo URL.
- Coalesce supports many providers .
- Then select a Git account to use. It should be able to view and make requests to the Git repo in the previous step.
- If you don't a Git repo configured, then select Add New Account.
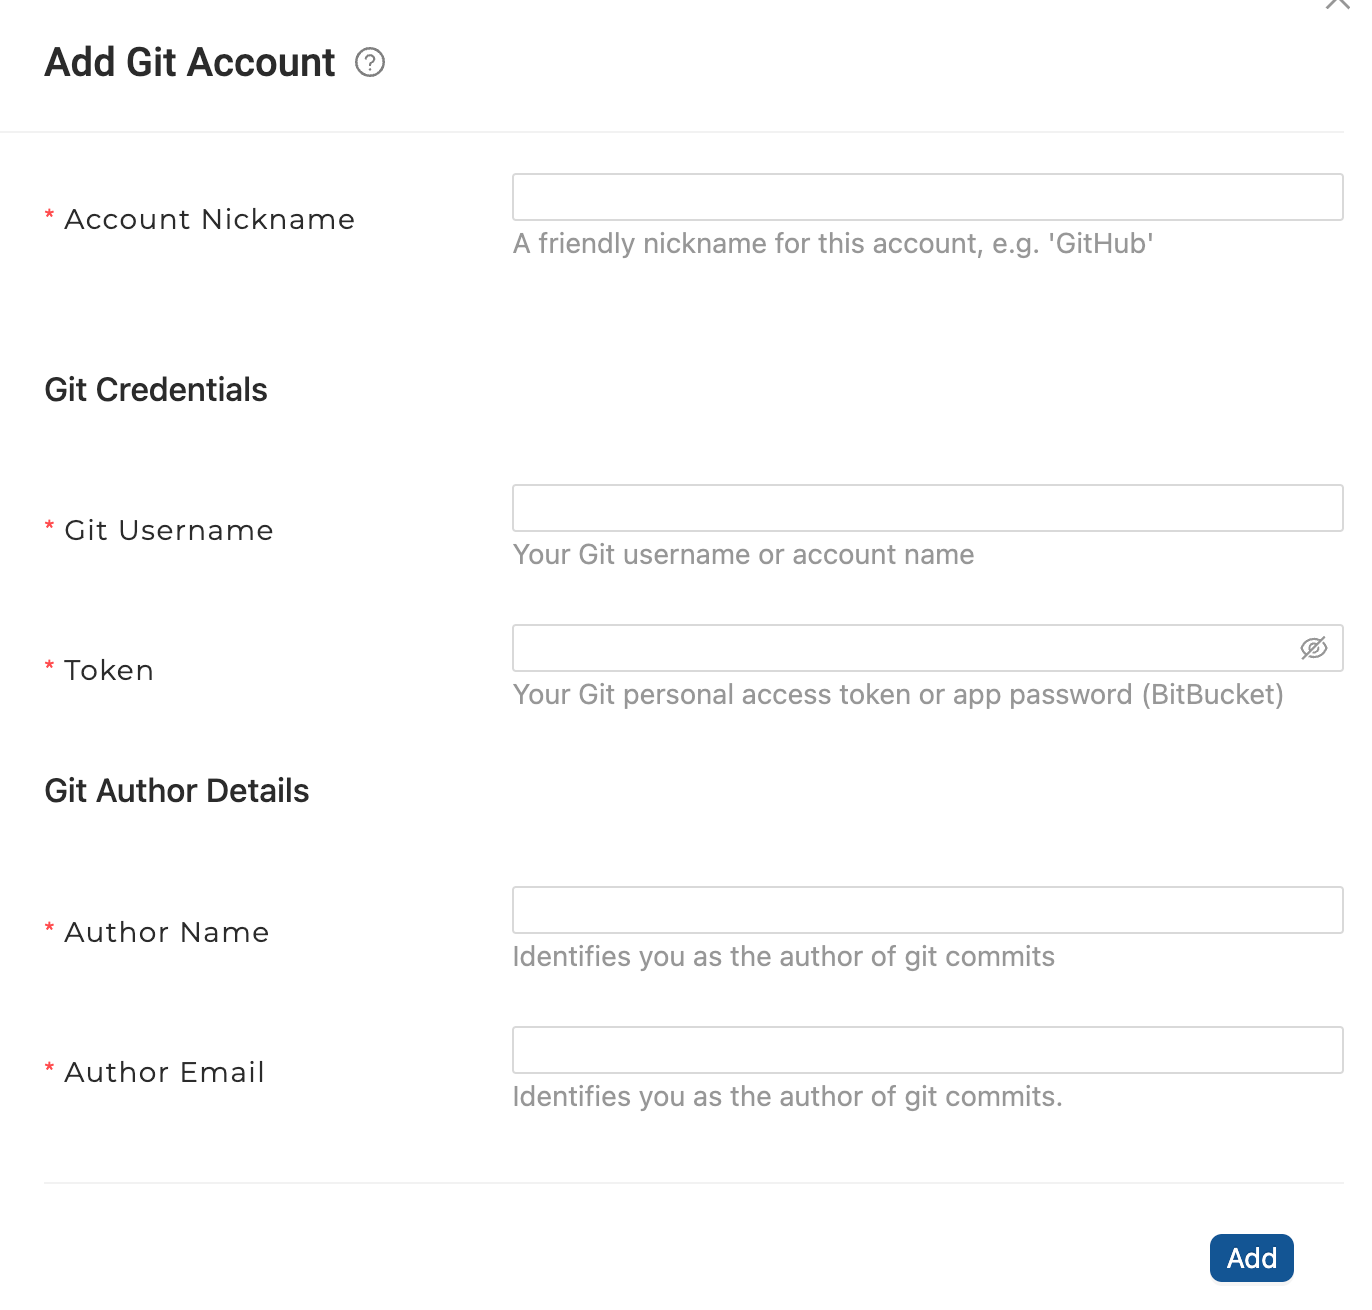
- Enter an account nickname. This will displayed in the interface.
- Enter the Git username and token. This will be either the GitLab, Git, Azure, or BitBucket App Password.
- Enter the Author Name, which identifies the committer.
- Enter the Author Email, which identifies the committer email.
- Click Add.
- Select the Git account you just created in the drop down, then click Test Account.
- Once successful, click Finish.
- Now that you've added a Project, you need to add a Workspace.
Add Git to an Existing Project
There are two places you can add Git to an existing project, either through the Problem Scanner or the Project Dashboard.
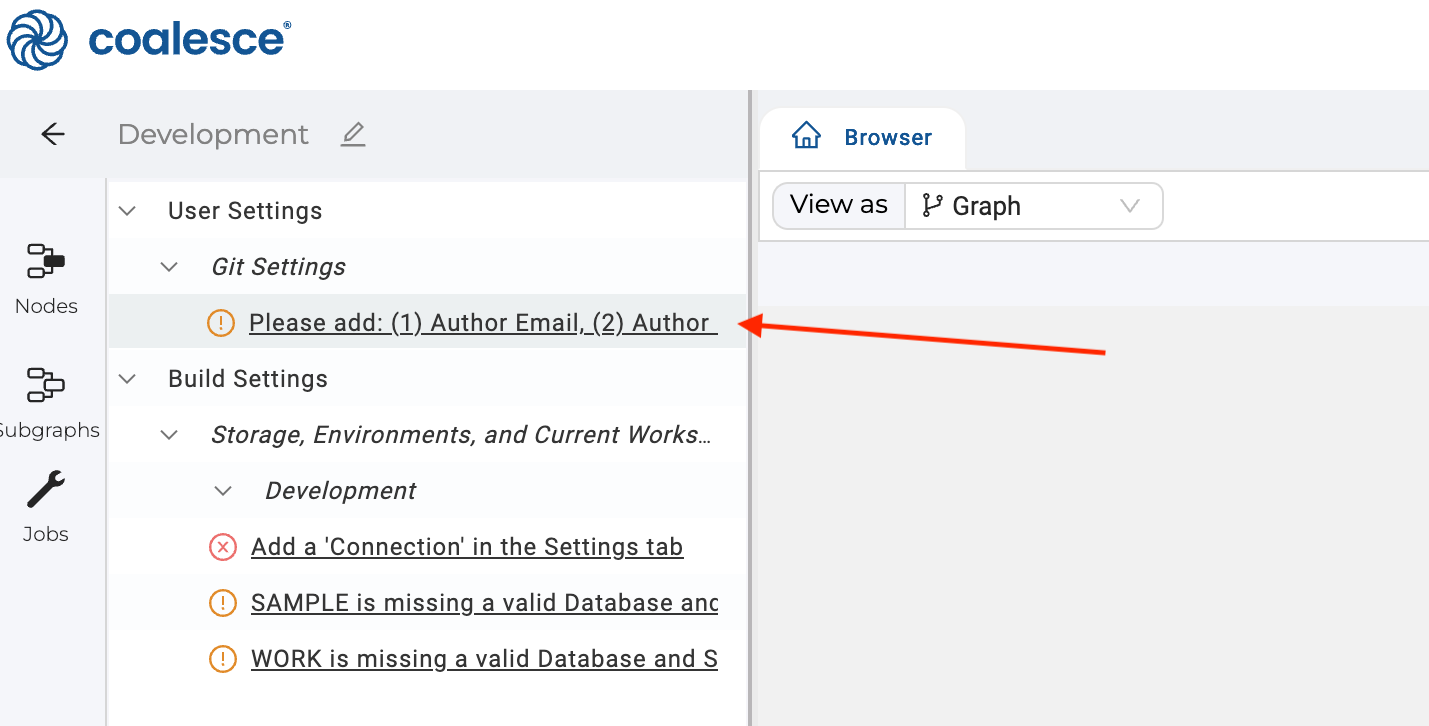
Add Git Using the Problem Scanner
Go to your Development Workspace, click the relevant Problem Scanner entry, then follow on-screen prompts to edit URL and select the desired git account for that Workspace Project.
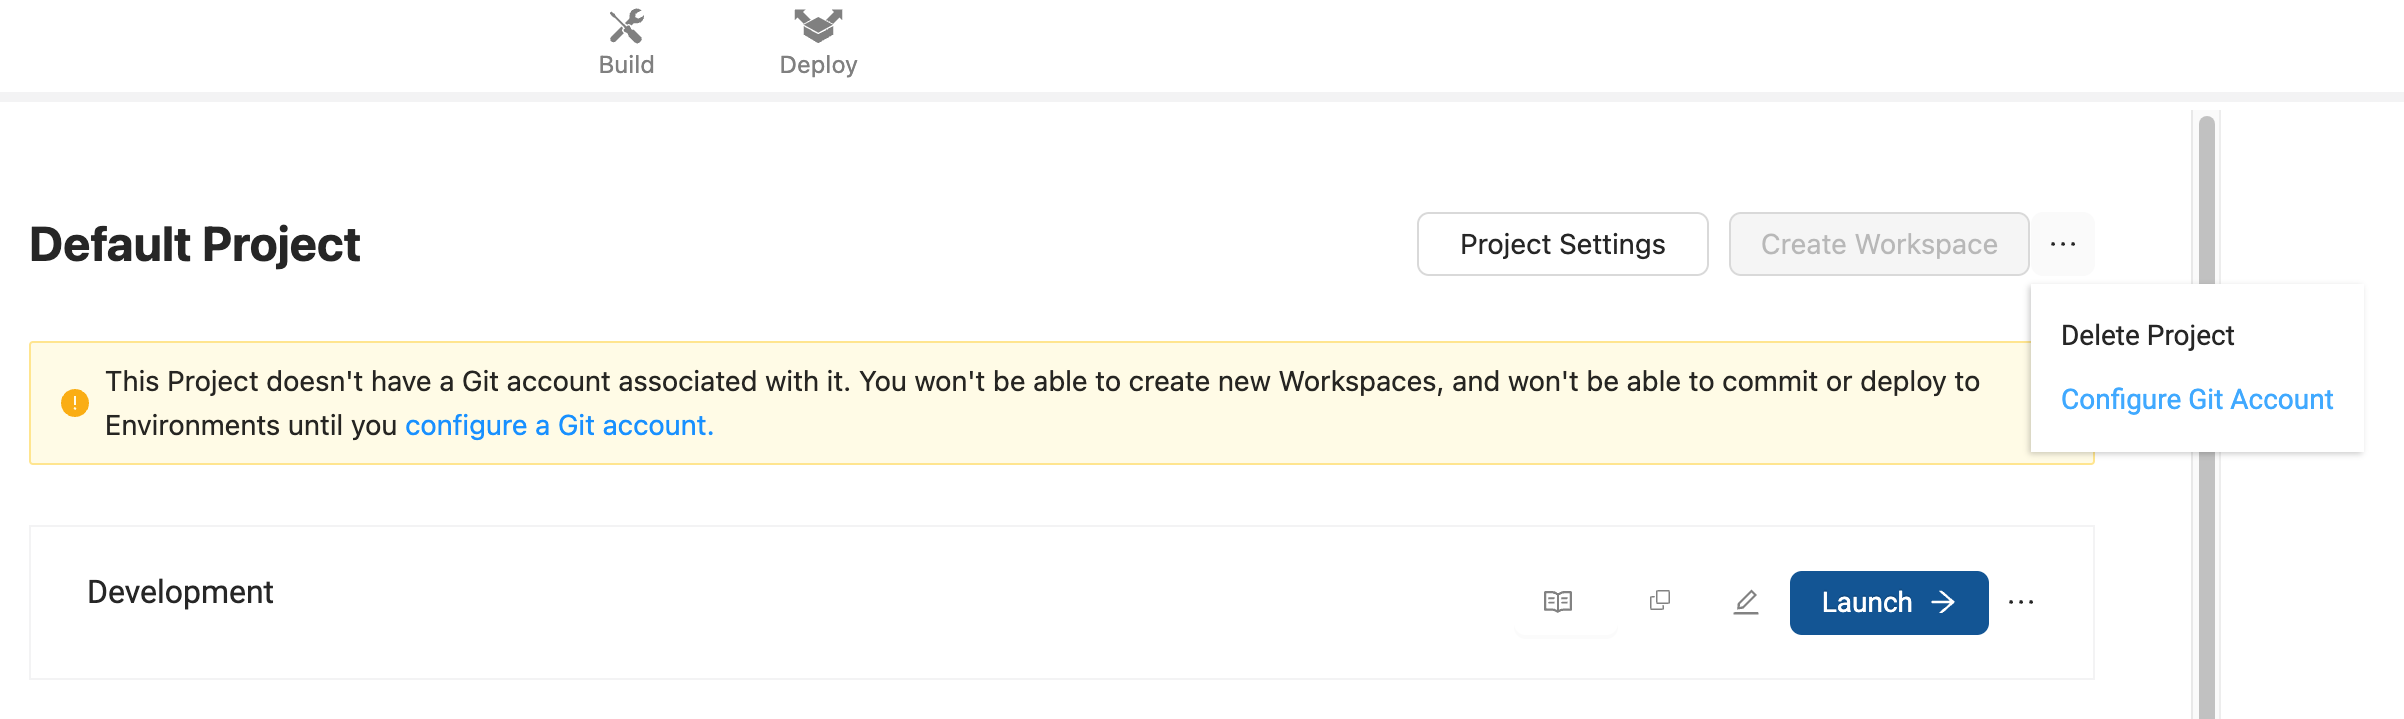
Add Through the Project Dashboard
Next to Create Workspace, select the ellipses and Configure Git Account.
Add a Git Account
In the Coalesce App, go to User Menu > User Settings > Git Accounts. Click Add. Fill in the account information.
Git Author Information
The Author Name and Email in your Git Settings do not have to match the name and email that are registered on your Git Account. No verification is completed on these values. These two values, Author Name and Author Email, are used when making commits to your Git repository to identify the person who made the commit.
The Git username you input in your Git Settings must match your username in your Git provider.