Documentation index: llms.txt. This page is also available as markdown: append .md to this URL or send Accept: text/markdown.
Step 4: Add a Data Source
This page explains how to turn tables and views that already live in your connected data platform into Source Nodes on the Build canvas. You'll confirm prerequisites, walk through Add Sources, and know where to look when expected tables do not show up. You'll also see how Marketplace packages add optional Node patterns on top of the standard source flow.
Before You Begin
Use this checklist before you open Add Sources:
- You have a Project with version control configured, and a Workspace where you can develop.
- Your Workspace is connected to your data platform with valid credentials. Platform-specific steps, including Test Connection where the wizard exposes it, are in Create a Workspace and the Connection guides.
- You've configured Storage Locations and Storage Mappings for the Workspace so Coalesce knows which databases and schemas map to your logical locations. See Storage Locations and Storage Mappings.
- The tables or views you want to model already exist in the warehouse context your credentials can read. Coalesce Transform models existing objects; it does not replace your usual ingestion or loading tools that land data in the warehouse.
How Source Nodes Relate to Your Warehouse
A Source Node is the Coalesce representation of a table, external table, or view that already exists in your data platform. After you add sources, downstream Nodes read from those objects during refresh. Source metadata is treated as read-only input to the pipeline; you change location or description where the product allows, not the underlying warehouse definition here. For a full tour of Node types, see Nodes and Node Types.
How to Add Sources From the Build Screen
On the Build screen, add existing warehouse tables and views as Source Nodes with these steps:
-
Open Build for your Workspace.
-
Select the
+control, then Add Sources.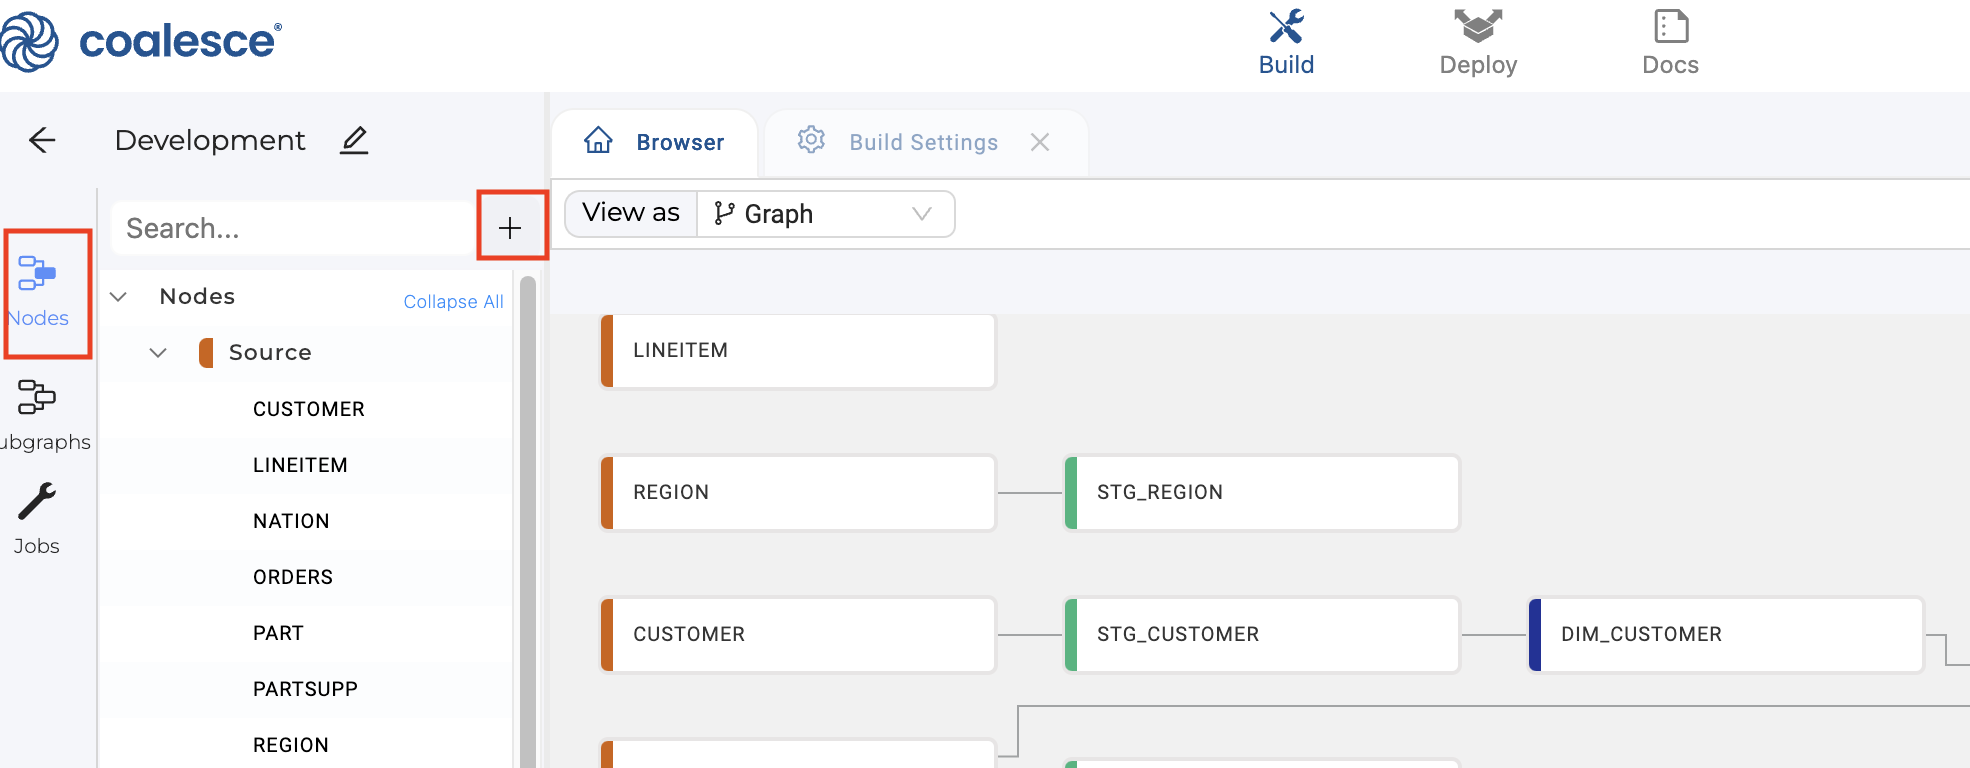
-
Select the sources to add, then confirm with Add Sources. You can inspect a preview for each selected object.
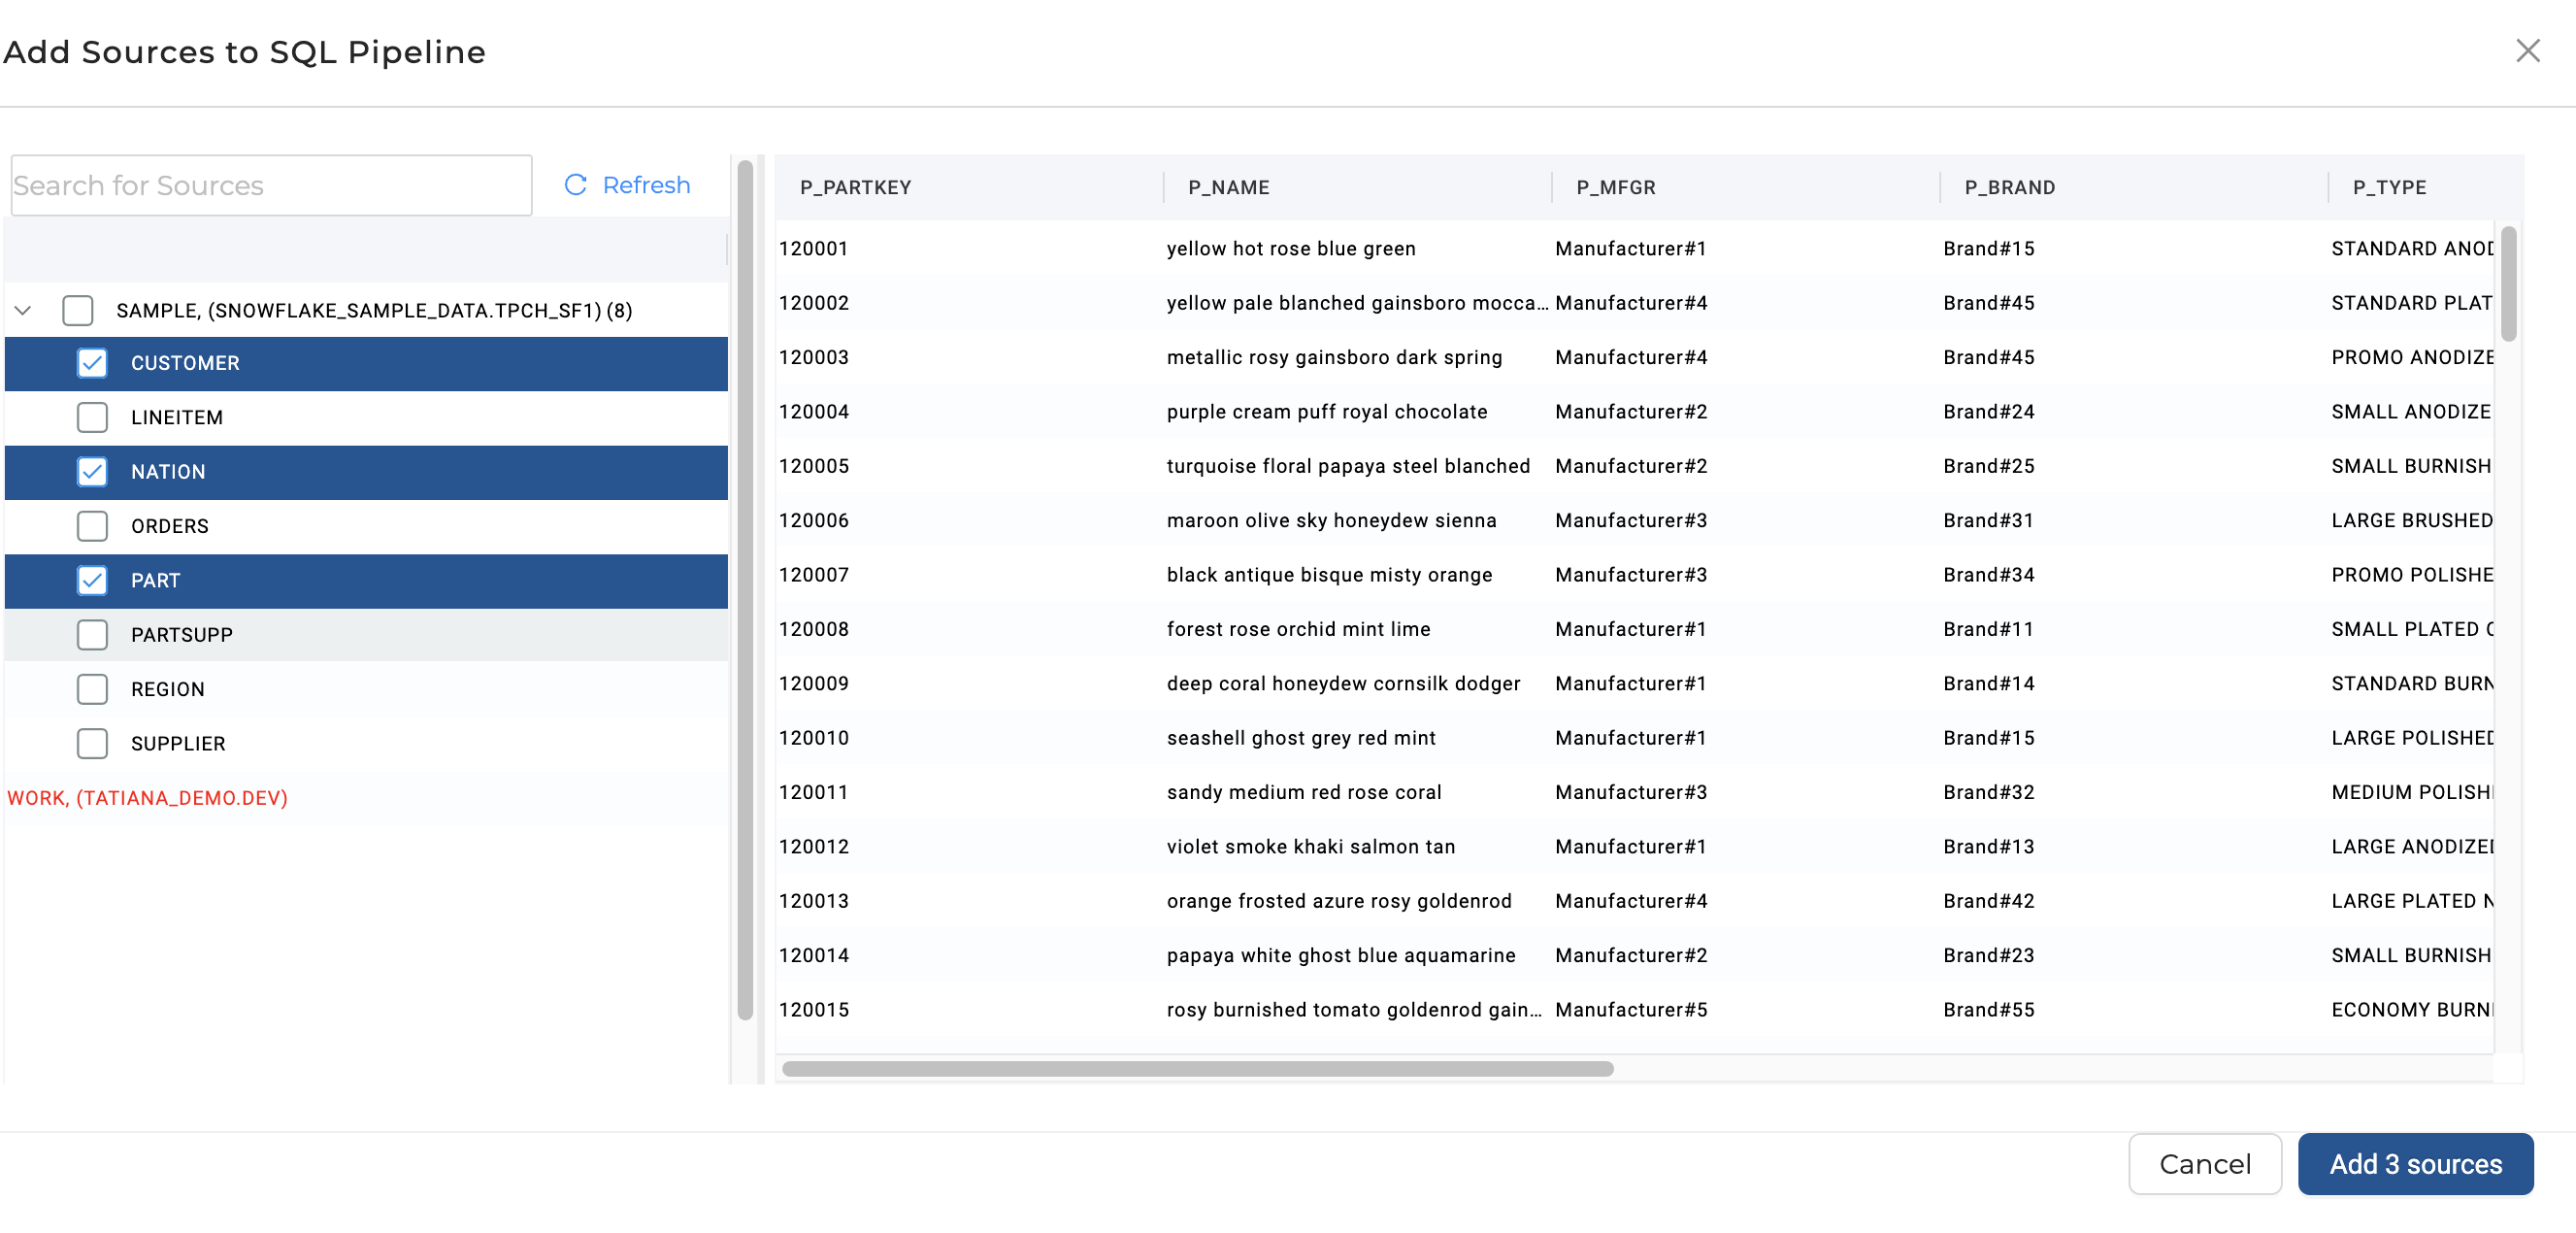
Source Nodes reflect warehouse objects you selected. Treat the underlying source data as read-only in this workflow; you're not editing raw table definitions inside Coalesce.
If Source Tables Do Not Appear in Add Sources
Work through these checks in order:
- Confirm Storage Locations and mappings - If mappings are missing or point at the wrong database or schema, objects outside the mapped context will not list as expected. Revisit Storage Locations and Storage Mappings and your Workspace settings.
- Confirm the Workspace connection - In Build Settings, open Workspace settings and verify account URL, authentication, role, and warehouse as required for your platform. Run Test Connection when it is available, then save. For Environment-specific deploy and refresh credentials, see Create Your Environments.
- Confirm platform grants - The role Coalesce uses needs read access to the databases and schemas that hold your source data. Your administrator can align grants with the paths you mapped.
- Confirm you're in the right Project and Workspace - Sources are scoped to the Workspace connection and mappings. Switching Workspaces or branches can change which objects are visible.
What's Next?
- Building Your Pipeline - Lay out Stages, Dimensions, Facts, and the rest of your graph from your new sources.
- Using Coalesce Marketplace to Build First Class Data Pipelines - Practice package-driven patterns after your sources are on the canvas.
- Nodes and Node Types - Deepen how Source Nodes interact with other Node types.