Documentation index: llms.txt. This page is also available as markdown: append .md to this URL or send Accept: text/markdown.
Step 2: Create a Project
This guide goes over the steps to create a new Project in Coalesce.
Project Best Practices
Create a New Project
-
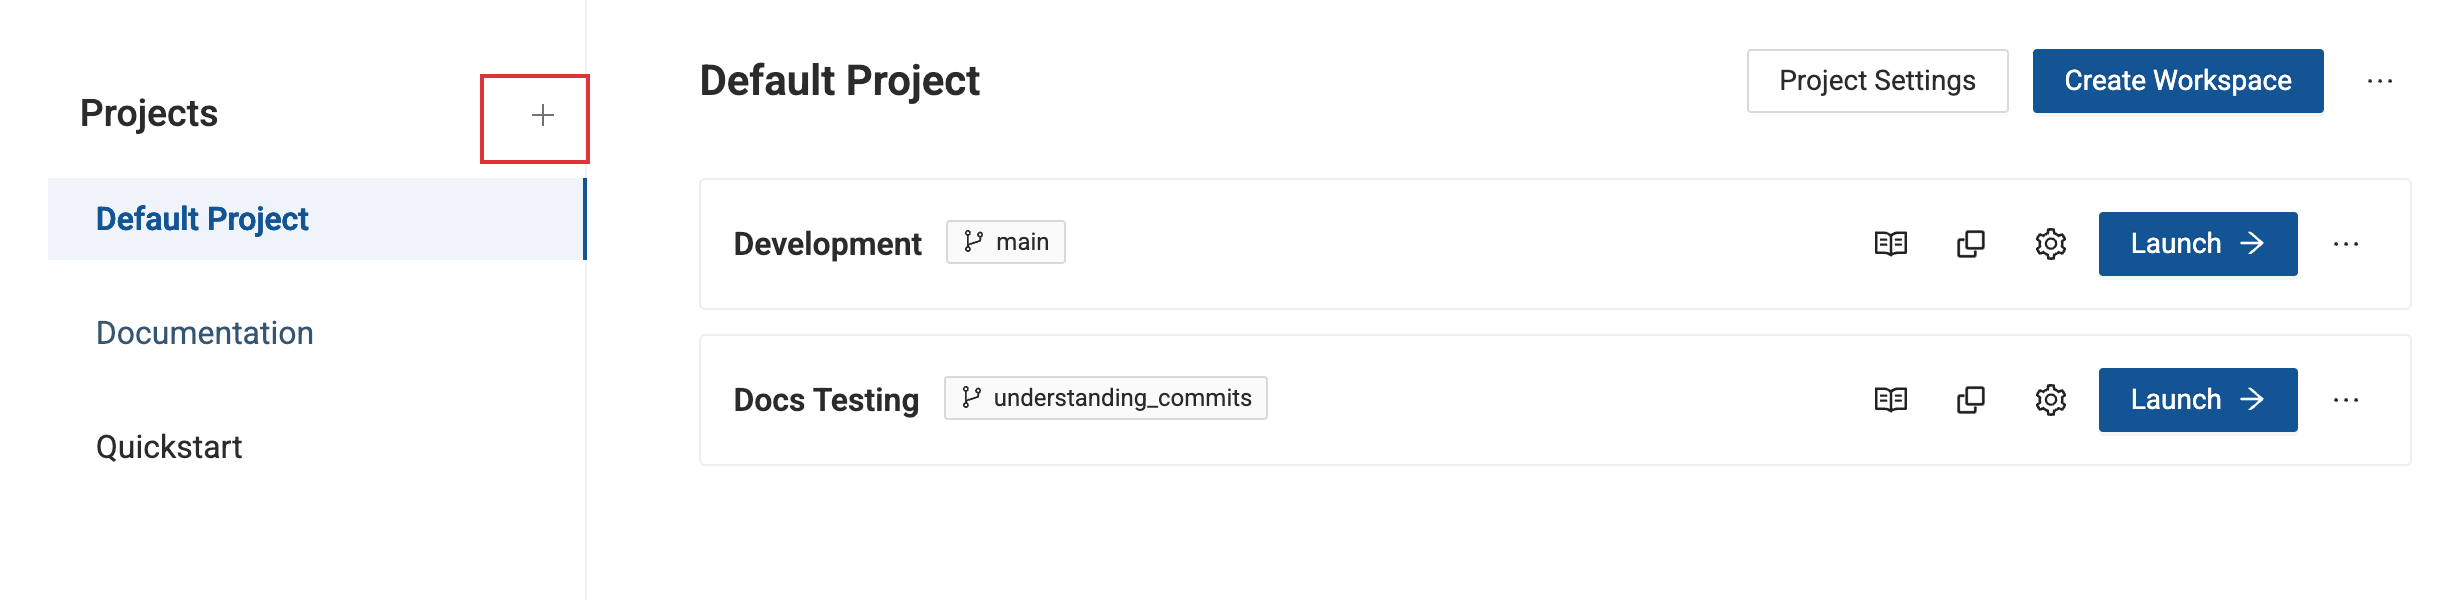
Go to the Project page. If you are on the Build page , click the back arrow.
-
Click the plus sign(+) next to Projects.
-
Enter the Project name and description. Click Next.

-
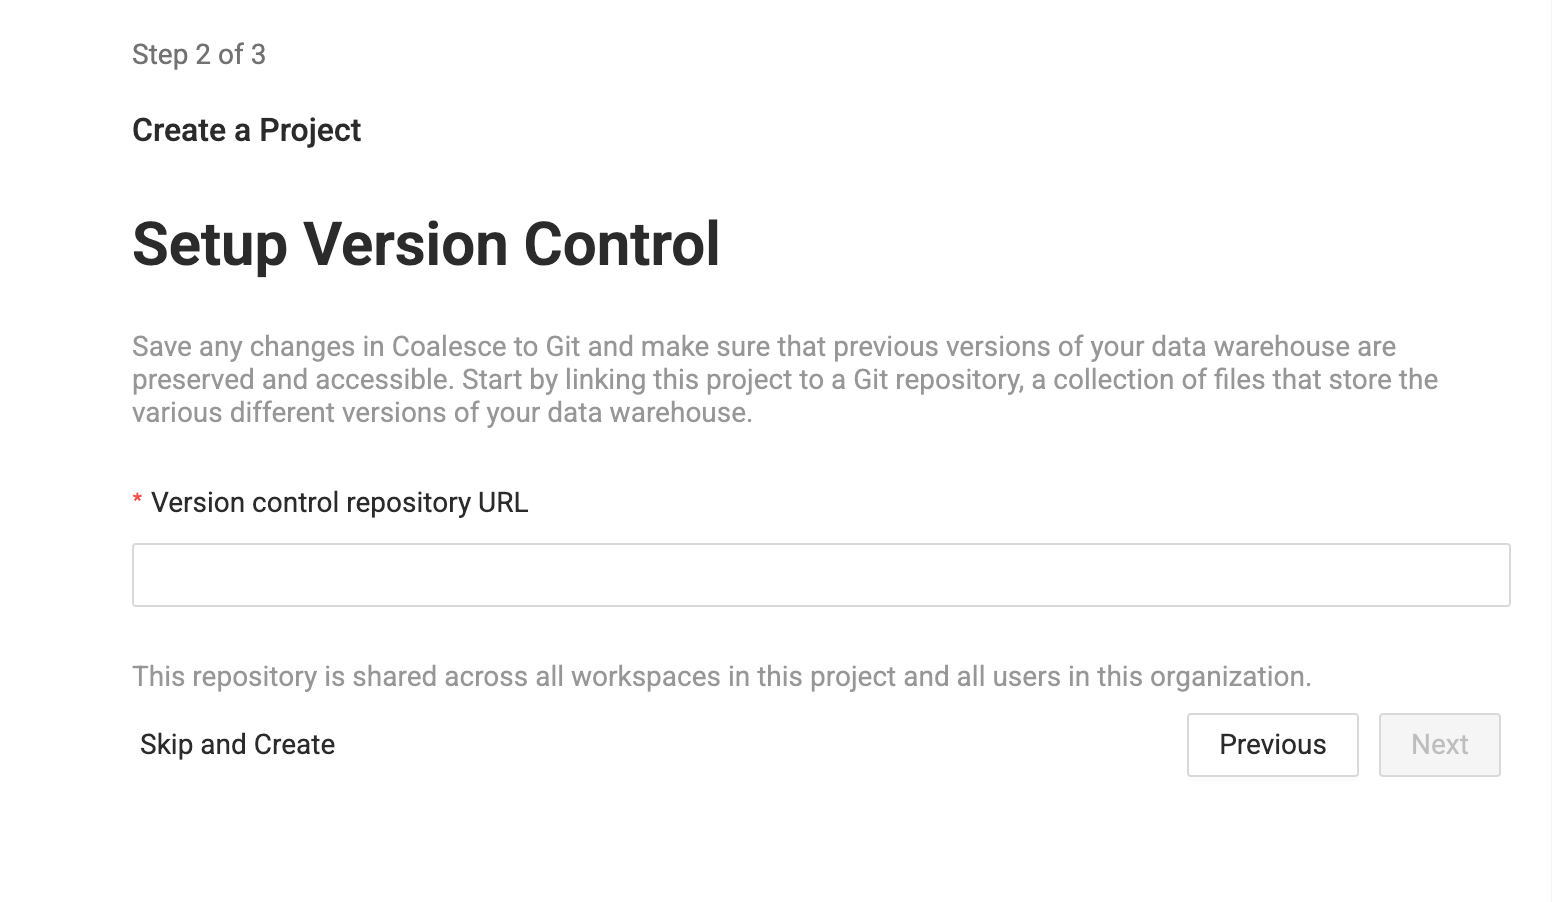
Enter you version control repository URL. You can Skip and Create to start using the project, but you won't be able to deploy.
- Coalesce supports many providers.
-
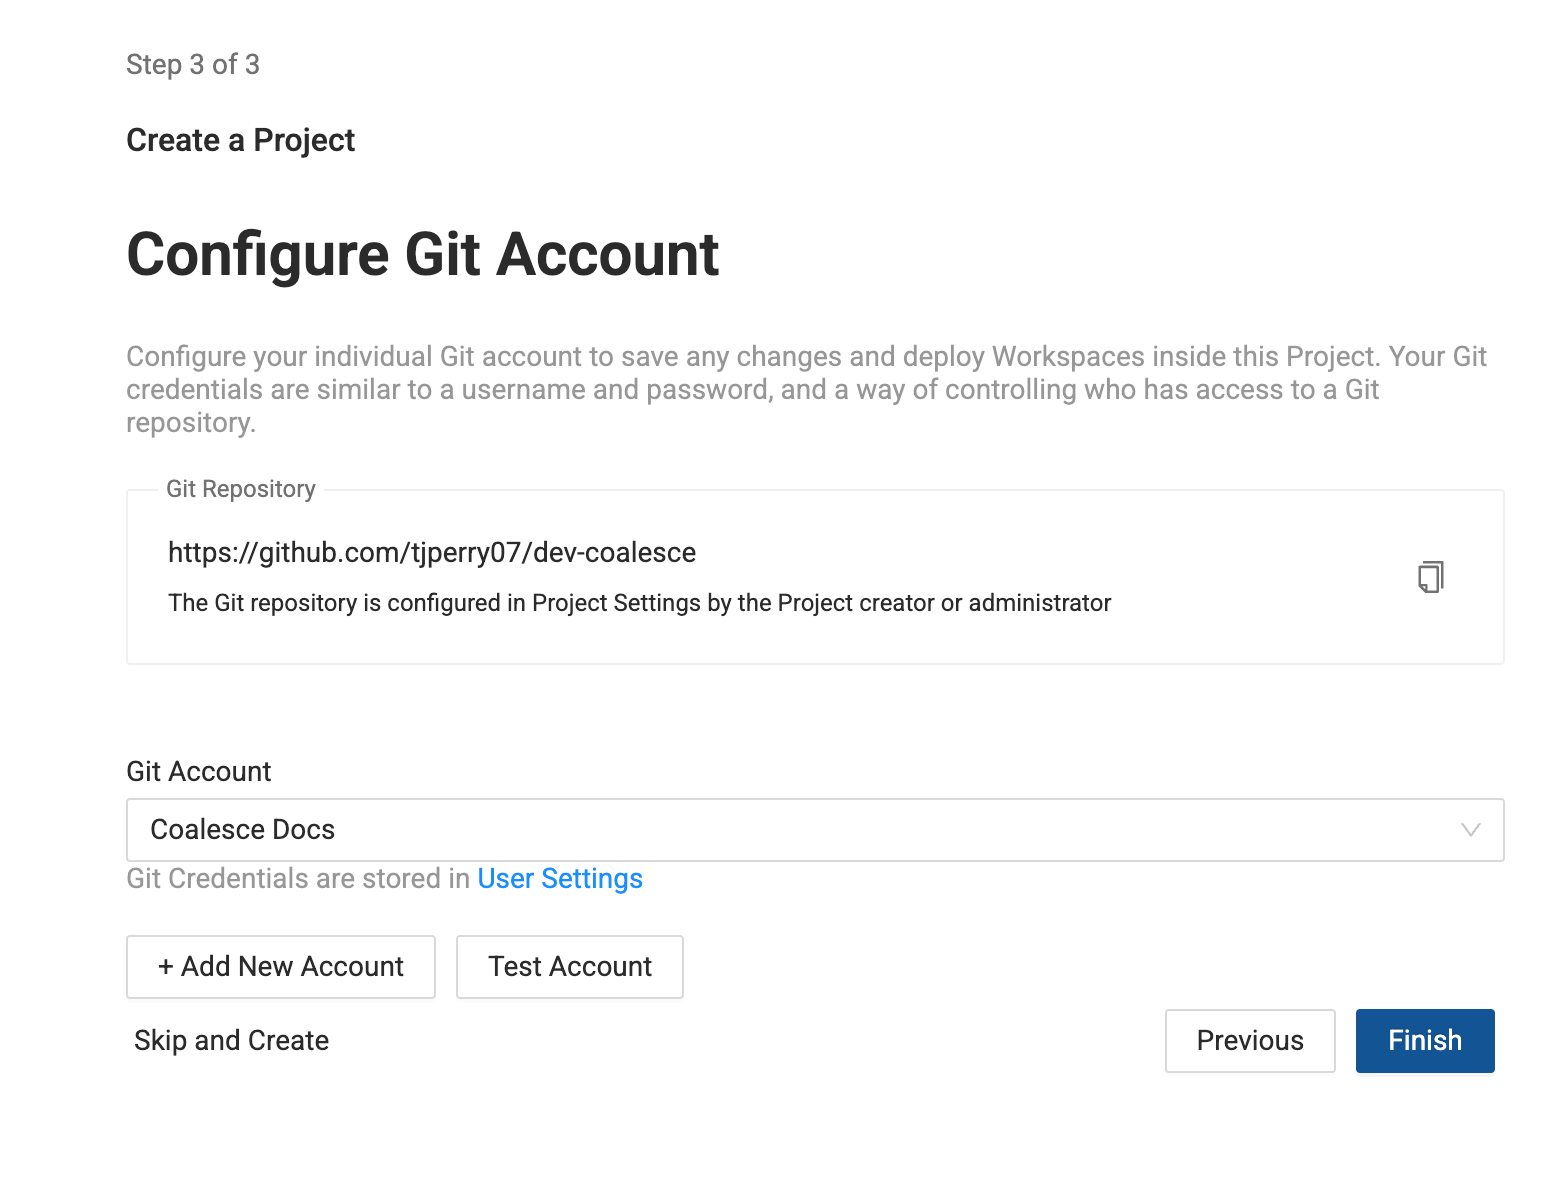
Then select an account to use. It should be able to view and make requests to the Git repo in the previous step.
-
If you don't a repo configured, then click Add New Account.
- Enter an account nickname. This will displayed in the interface.
- Enter the Git username and token. This will be either the GitLab, Git, Azure, or Bitbucket token. If you are using Bitbucket repo tokens, enter the user name as
x-token-auth. - Enter the Author Name, which identifies the committer.
- Enter the Author Email, which identifies the committer email.
- Click Add.
- Select the Git account you just created in the drop down, then click Test Account.
-
Once successful, click Finish.
-
Now that you've added a Project, you need to add a Workspace.
What's Next?
- Coalesce Git Requirements - Review the requirements to using version control in Coalesce.
- Set Up Version Control - Learn how to set up version control.
- Projects - Learn more about projects in Coalesce fundamentals.