When To Use Copy Objects, Duplicate, or Create New Project
| What Happens | Objects Copied | Objects Not Copied | When To Use | |
|---|---|---|---|---|
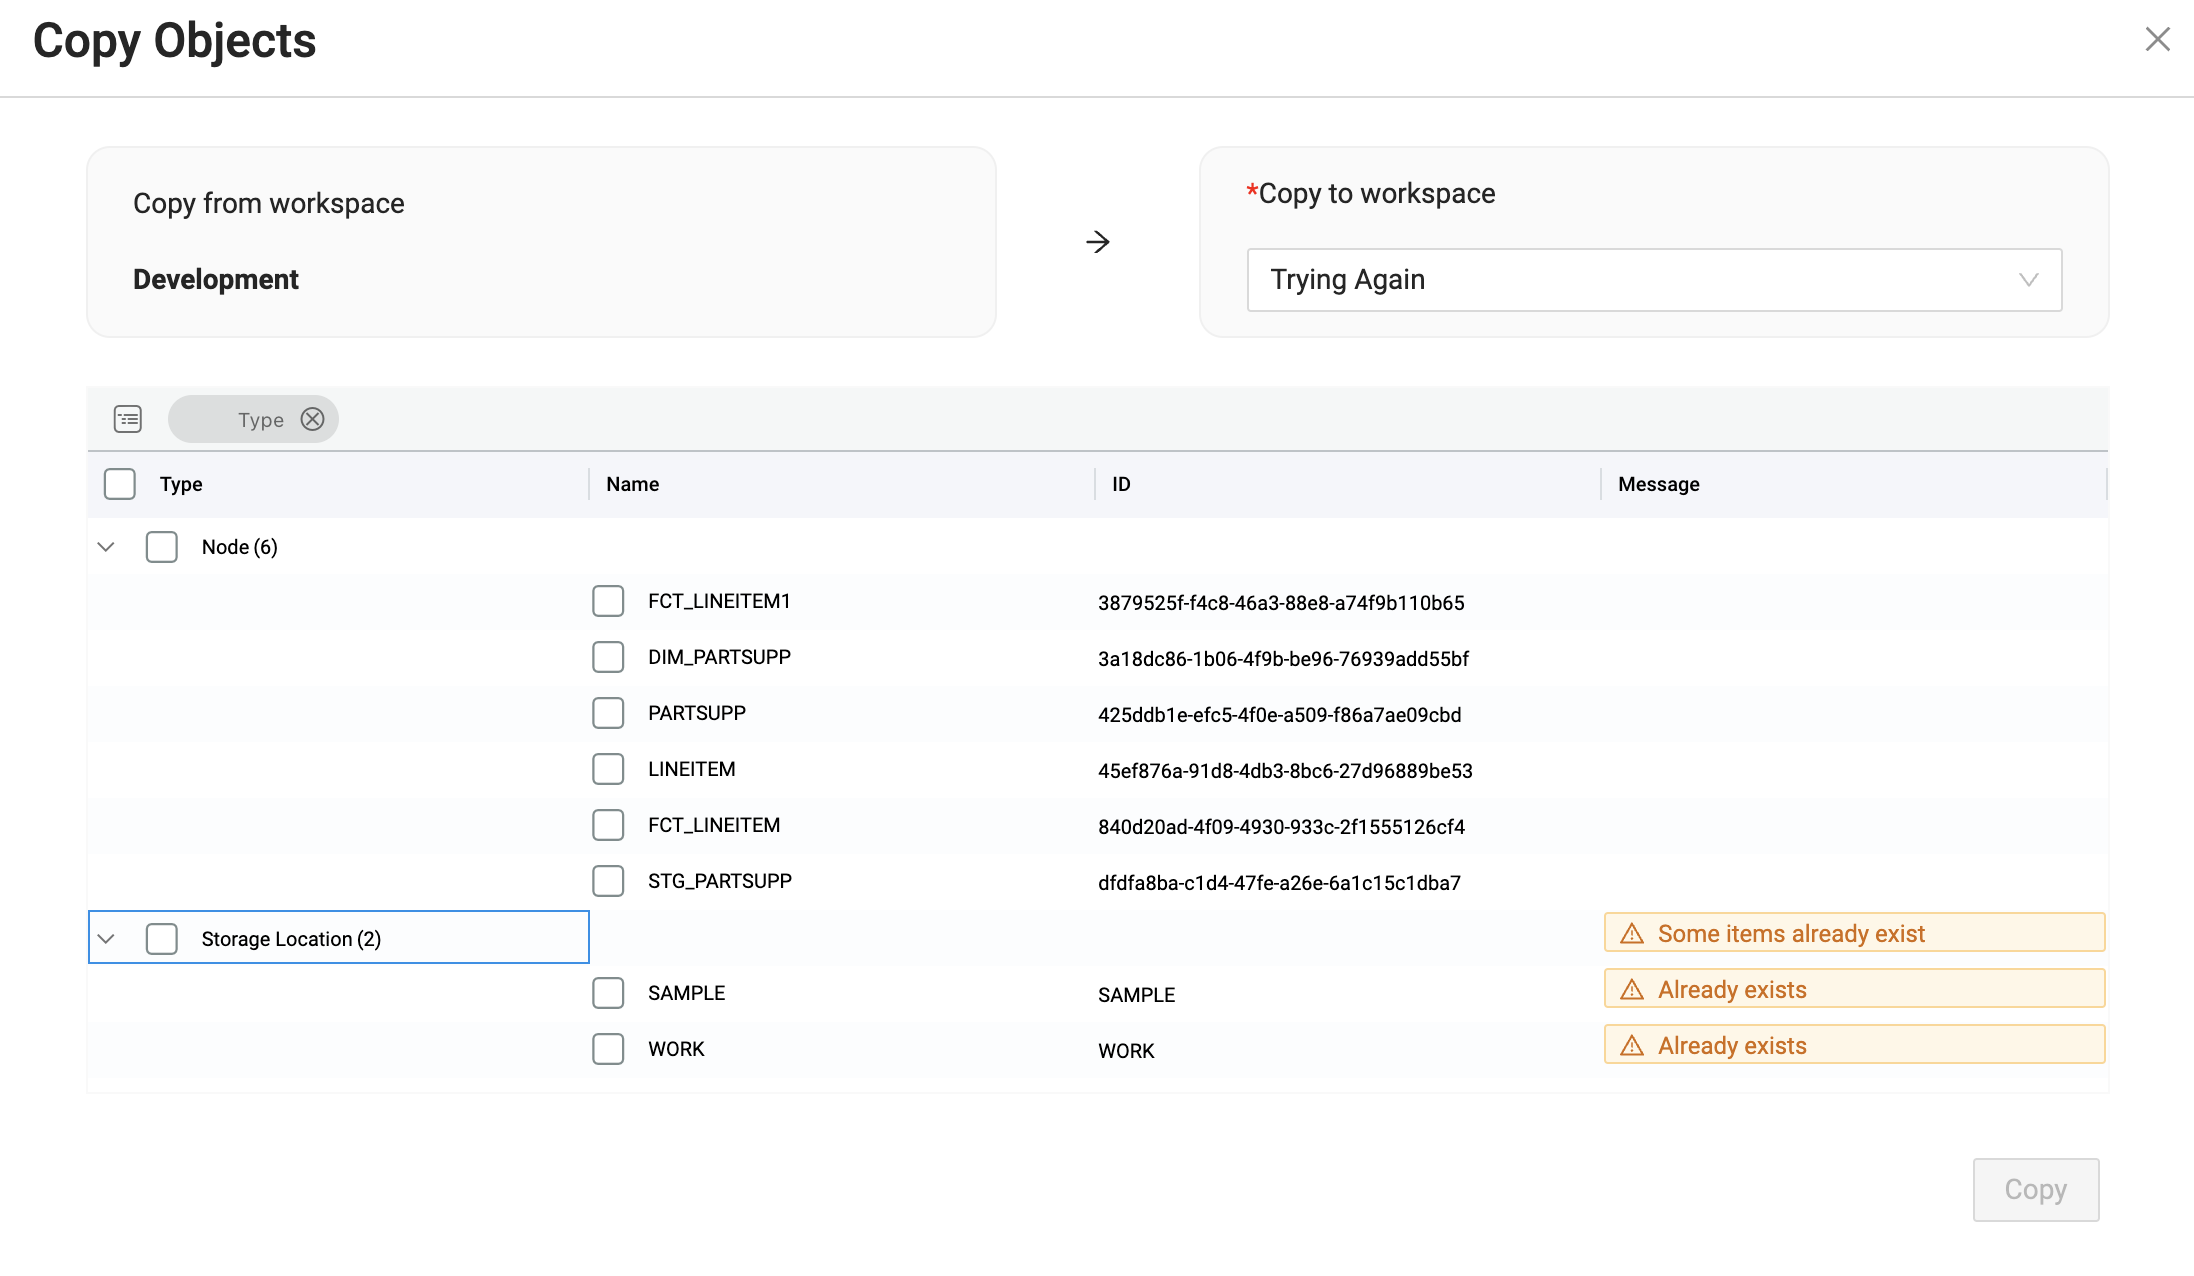
| Copy Objects from Workspace | Makes a copy of objects in a workspace to another, existing workspace. Information. The objects don't have to be committed. Uses the same Git repo as the Project. | Node, Packages, Jobs, Subgraphs, Macros | Connection Settings and Storage Location and Storage Mappings | When you need to move information between workspaces, but don't need the Storage Location or Storage mappings. |
| Duplicate Workspace | Duplicates an existing Workspace into a new Workspace. Uses the same Git repo as the Project. | Anything that is part of the commit and branch. This includes Nodes, Storage Location, Storage Mappings, and the connection account URL. | Connection Settings. You'll need to re-authenticate. | When you want to create a workspace quickly that is based on a certain commit and has the same Storage Locations and Storage Mappings as the original workspace. |
| Create Workspace | Creates a new workspace. Uses the same Git repo as the Project. | Storage Locations are copied over. You can add more or edit them after the Workspace is created. | Connection Settings and Storage Mappings | When you want to start a new Workspace and don't need the Storage Mappings or connection settings. |
| Create Project | Creates a brand new project. You can either use an existing Git URL or add a brand new Git URL. | None. Even if using an existing Git URL, no information is copied. | N/A | Want to start fresh or working on a new business initiative. |
Copy From Workspace
-
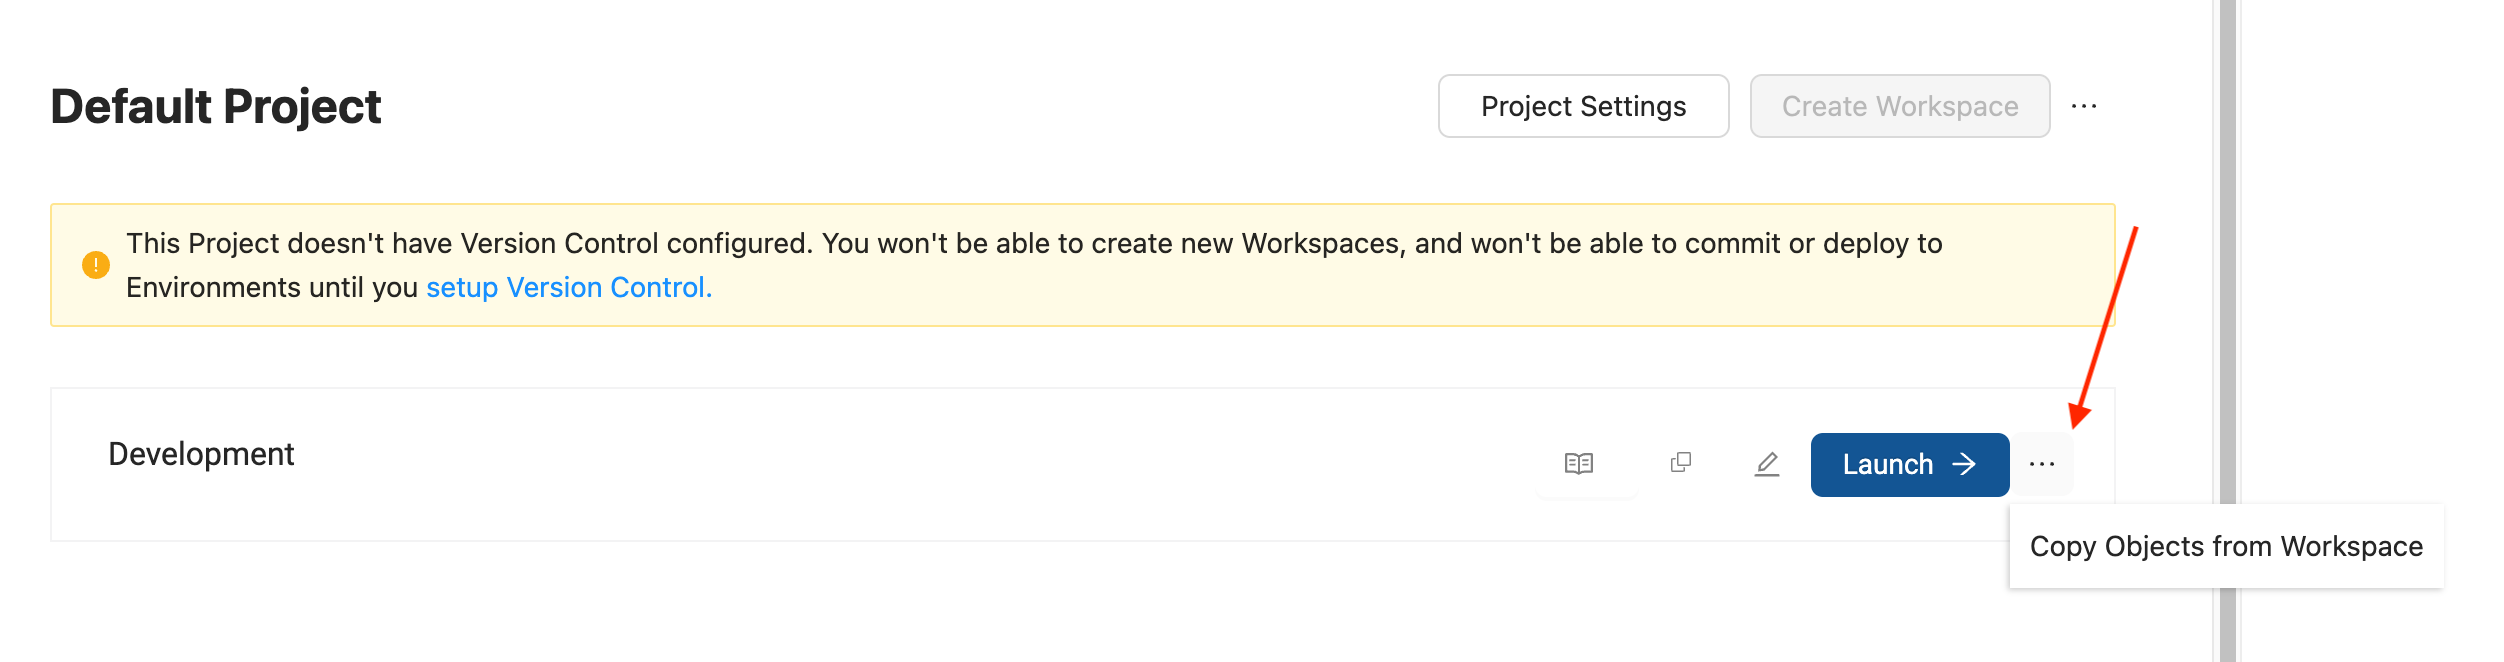
Select Copy Objects from Workspace for the workspace you want to copy.
-
Select the objects you want to copy. You'll get alert if the object already exists based on the ID. You can decide to copy over an object if it already exists, the information will be overwritten.
Duplicate Settings
-
Click Duplicate Workspace next the workspace you want to duplicate.

-
Follow the set up wizard to complete duplicating the Workspace.
Create a New Workspace
-
Click Create Workspace.

-
Follow the set up wizard to complete creating a new Workspace.
Create a New Project
- Make sure you are on the Projects page. If you are on the Build page , select the back arrow.
- Click the plus sign (+) next to Projects.
- Fill out the Project Details.
- Enter your Git repo URL.
- Coalesce supports many providers .
- Then select a Git account to use. It should be able to view and make requests to the Git repo in the previous step.
- If you don't a Git repo configured, then select Add New Account.
- Enter an account nickname. This will displayed in the interface.
- Enter the Git username and token.
- Enter the Author Name, which identifies the committer.
- Enter the Author Email, which identifies the committer email.
- Click Add.
- Select the Git account you just created in the drop down, then click Test Account.
- Once successful, click Finish.
- Now that you've added a Project, you need to add a Workspace .