Documentation index: llms.txt. This page is also available as markdown: append .md to this URL or send Accept: text/markdown.
Metadata Editor
The Metadata Editor lets you make bulk changes to owners, tags, descriptions, and more across your Catalog assets. Admins can perform bulk metadata edits. When your account uses custom ownership labels, you can also use Replace owner to apply labels to existing assignments without changing the principal.
For Tables, Dashboards and Knowledge
Actions you can perform in bulk on your assets are:
- Owners - Add owners, use Replace owner to update the assignment or assign a custom ownership label while keeping the same principal, or remove owners
- Add tags
- Certify or uncertify
- Deprecate or undeprecate
It's a 3-step process:
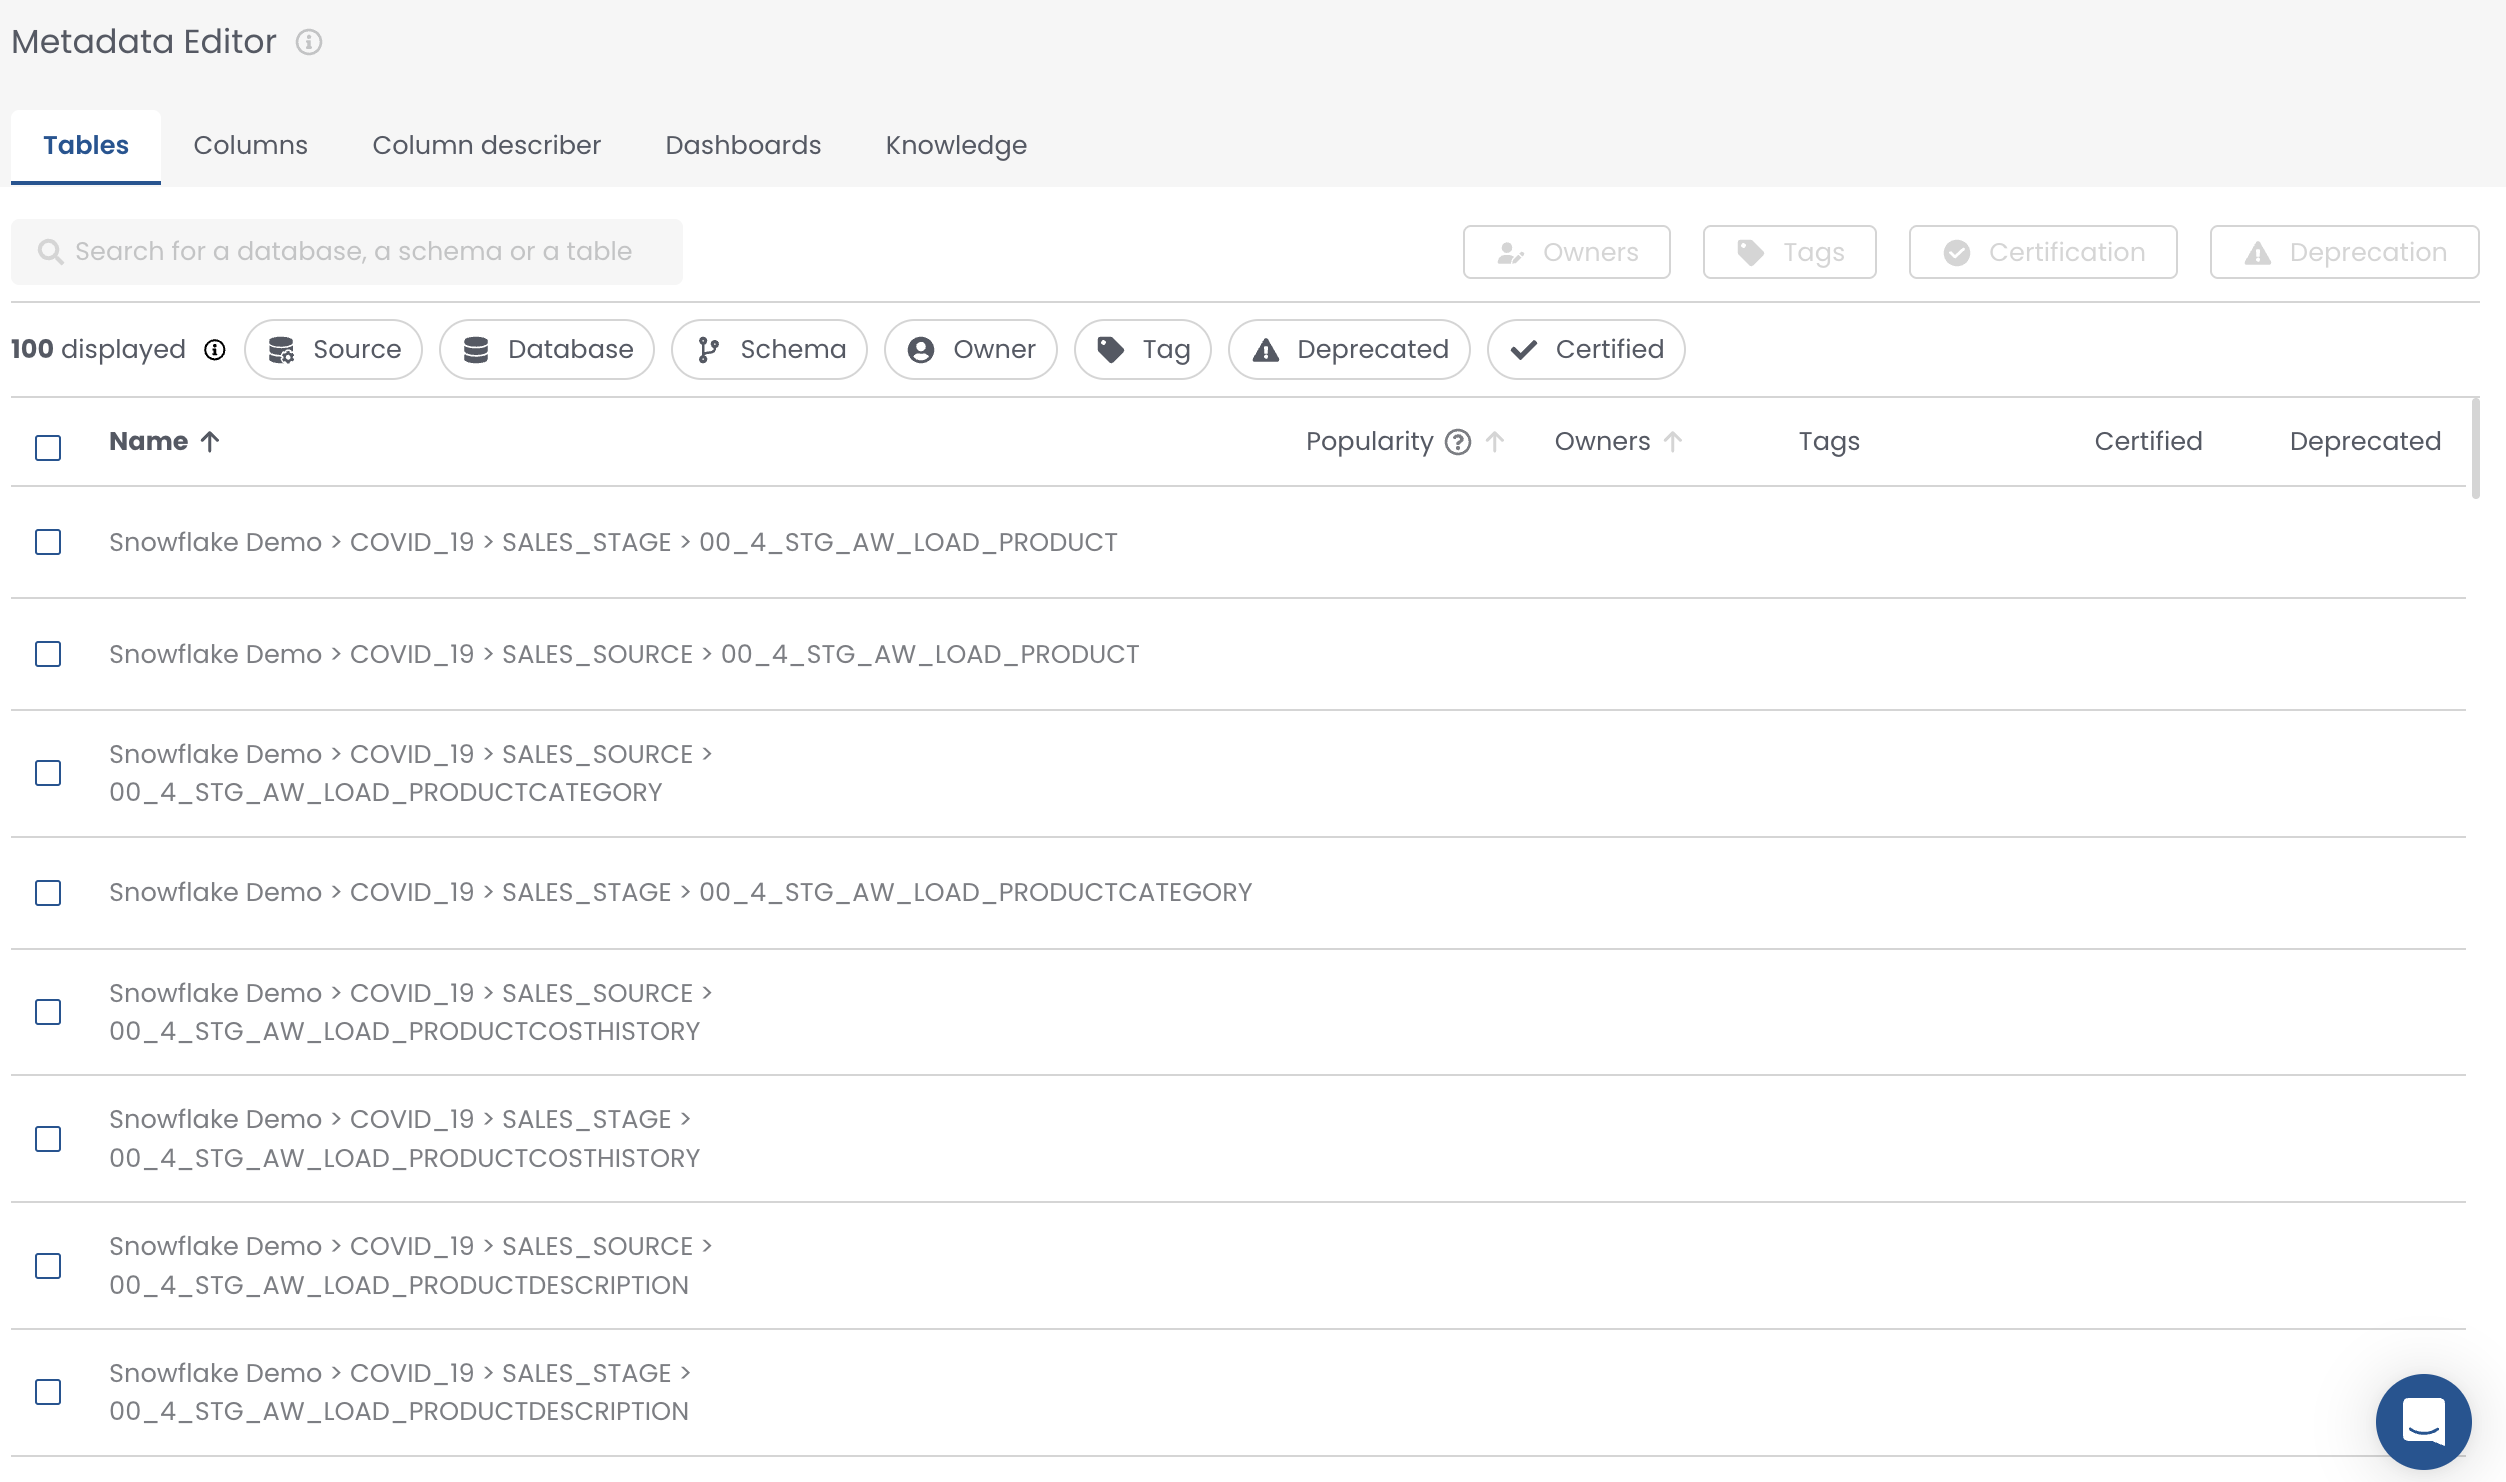
Step 1: Select the Tables You Want to Modify
Use the enhanced filtering system with intelligent cascading filters and lineage-based options.
Basic Filters
These filters narrow assets by location, tags, and owner:
- Source, Database, Schema: Hierarchical selection where database options depend on selected sources, and schema options depend on selected databases
- Tags: Filter by existing tags
- Owner: Filter by asset owners
Advanced Lineage Filters
These filters use lineage to find upstream relationships:
- Ancestors: Filter tables by their upstream dependencies using lineage relationships
- Supports flexible search formats:
database.schema.tableordatabase schema table - Case-insensitive search
- Considers all lineage types:
AUTOMATIC,MANUAL_CUSTOMER,MANUAL_OPS, andOTHER_TECHNOS
- Supports flexible search formats:
Smart Cascading Selection
The Source > Database > Schema filters work hierarchically to prevent invalid combinations. When you select a source, only databases from that source appear. When you select databases, only schemas from those databases appear.
Lineage-Based Filtering
Use the Ancestors filter to find all tables that depend on a specific upstream table. This is perfect for propagating ownership, tags, or other metadata changes downstream through your data lineage.
Step 2: Click on the Action You Want to Perform
After you select assets, use the toolbar to pick the bulk action, such as Owners, Tags, Certification, or Deprecation.
.png)
Step 3: Apply Your Changes
Complete the modal or panel for your chosen action, for example picking owners and confirming Assign owners.
.png)
Your assets are immediately updated.
Review Changes on Each Asset
Bulk updates apply to every asset in your selection or filter scope. To confirm what changed, open the History tab on individual tables, dashboards, or knowledge pages. History lists owners, tags, descriptions, certification, deprecation, and other metadata edits with author and timestamp. See History for the full list of logged change types and governance workflows.
Assign Custom Ownership Labels in Bulk
When your account uses custom ownership labels, existing owner assignments keep the No label status until you update them, even after admins create labels under Account Configuration > Ownership Labels. The steps here apply the right label while keeping the same owner or team on each asset.
If you enable labels but do not update existing rows, owners continue to show as No label anywhere Catalog groups or displays ownership by label.
Before You Begin
Admins create and manage label names under Account Configuration > Ownership Labels. You need at least one label before you can assign it from the Metadata Editor.
How to Apply Labels With Replace Owner
Use Replace owner when the accountable person or team stays the same and you only need to set or change the label.
- Open the Metadata Editor for tables, dashboards, or knowledge you plan to update.
- Use Owner filters so the grid lists the assets for one owner, or another scope you intend to change.
- Select the assets that should receive the same label for that owner.
- Choose Replace owner.
- Select the same owner or team, pick the ownership label you need, and confirm.
- Repeat for other owners or filter scopes until No label no longer appears where you expect labeled ownership.
For large result sets, you can use Select all matching assets and Apply All with the same care you use for other bulk actions. Read When There Are More Results Than the List Shows first so your filters match the assets you intend to change.
After migration, owners appear grouped by label wherever Catalog shows ownership that way. For new assignments when labels are enabled, choose a label that matches the relationship you are recording. For what ownership means in Catalog, see Ownership.
Advanced Use Cases
These patterns help when you need the same metadata change across many related assets.
Propagating Governance Downstream
The Ancestors filter is particularly powerful for data governance workflows.
Same Owner on Downstream Tables
You have a core customer table prod.core.customers and want to assign the same owner to all downstream tables that depend on it.
- In the Metadata Editor, use the Ancestors filter
- Search for
prod.core.customersorprod core customers - All tables with lineage relationships to this table will be displayed
- Select the tables you want to update
- Apply ownership changes in bulk
This eliminates the need to manually navigate through lineage tabs for each dependent table.
Multi-Source Environment Management
The hierarchical filtering system makes it easy to work across complex data environments.
Tags Across Multiple Snowflake Schemas
You need to tag all tables in specific schemas across multiple Snowflake databases.
- Select your Snowflake source first
- Choose the relevant databases. Only Snowflake databases from that source appear.
- Select the specific schemas. Only schemas from the chosen databases appear.
- Apply tags to all selected tables
This prevents accidentally selecting tables from the wrong source or invalid database and schema combinations.
Columns
Actions you can perform in bulk on your assets are:
- Add, replace, or remove descriptions
- Add, replace, or remove tags
- Flag as PII
- Flag as Primary Key
Columns that share a name often need a shared description. The following video walks through that workflow.
When you run Apply All on columns, you use the same Select all matching assets flow and limits as for other asset types. Before a large run, read When There Are More Results Than the List Shows for how paging works, how filters set scope, and the maximum number of assets you can include in one operation.
Bulk Descriptions Workflow
Use the Ancestors filter to select downstream tables that depend on a source table, then add or replace descriptions in bulk. This works well when column description propagation doesn't apply, for example columns with transforms or multiple parents.
For initial import of descriptions from a CSV, see Upload existing descriptions. Use the Metadata Editor for ongoing bulk updates after import.
When There Are More Results Than the List Shows
The Metadata Editor loads a limited number of matching assets at a time, for example the first 500. When your filters match more assets than appear in the grid, you can still update every matching asset in one operation.
Use Select all matching assets to start Apply All. Coalesce runs your metadata action against the full filtered set in the background, not only the rows you see on the page. While the job runs, watch the Metadata Editor header for progress and status. You can keep working, or check back when the job finishes.
Before you start Apply All, remember that filters set the scope for the whole run. Whatever filters are active when you start Apply All apply to every matching asset, not only the rows on the page. Narrow or widen filters first so the scope matches what you intend.
What's Different From Selecting Rows on the Page?
If you are choosing between selecting on the page and Select all matching assets, compare these two behaviors:
- Selecting checkboxes on the loaded page updates only those visible or selected assets.
- Select all matching assets targets all assets that match the filter, including those not yet loaded in the grid.