Snowflake Key Pair Authentication
Coalesce supports Snowflake’s key pair authentication for connecting Development Workspaces and Environments to Snowflake instances. Both encrypted and un-encrypted private keys are supported. Encrypted keys have a corresponding passphrase that is required to use them, while un-encrypted keys can be used directly. While keys are allowed to be encrypted with an empty passphrase by Snowflake, this is not supported in Coalesce and will result in an error.
We recommend using Key pair for automated actions.
Step 1: Get Your Snowflake Account Identifier
- Follow the instructions in Snowflake for Finding the organization and account name for an account.
- On the Account Details screen, copy the Account/Server URL. You'll need the first part. For example, if your URL is
ABC123-1234567.snowflakecomputing.com, you'll needABC123-1234567.
Step 2: Generate Key Pair in Snowflake
- Go through Snowflake’s key pair authentication steps to generate your keys.
- Make sure to generate a private key and save it for use in Coalesce.
- Generate your public key using the private key created for Coalesce.
- Assign the public key to your Snowflake user.
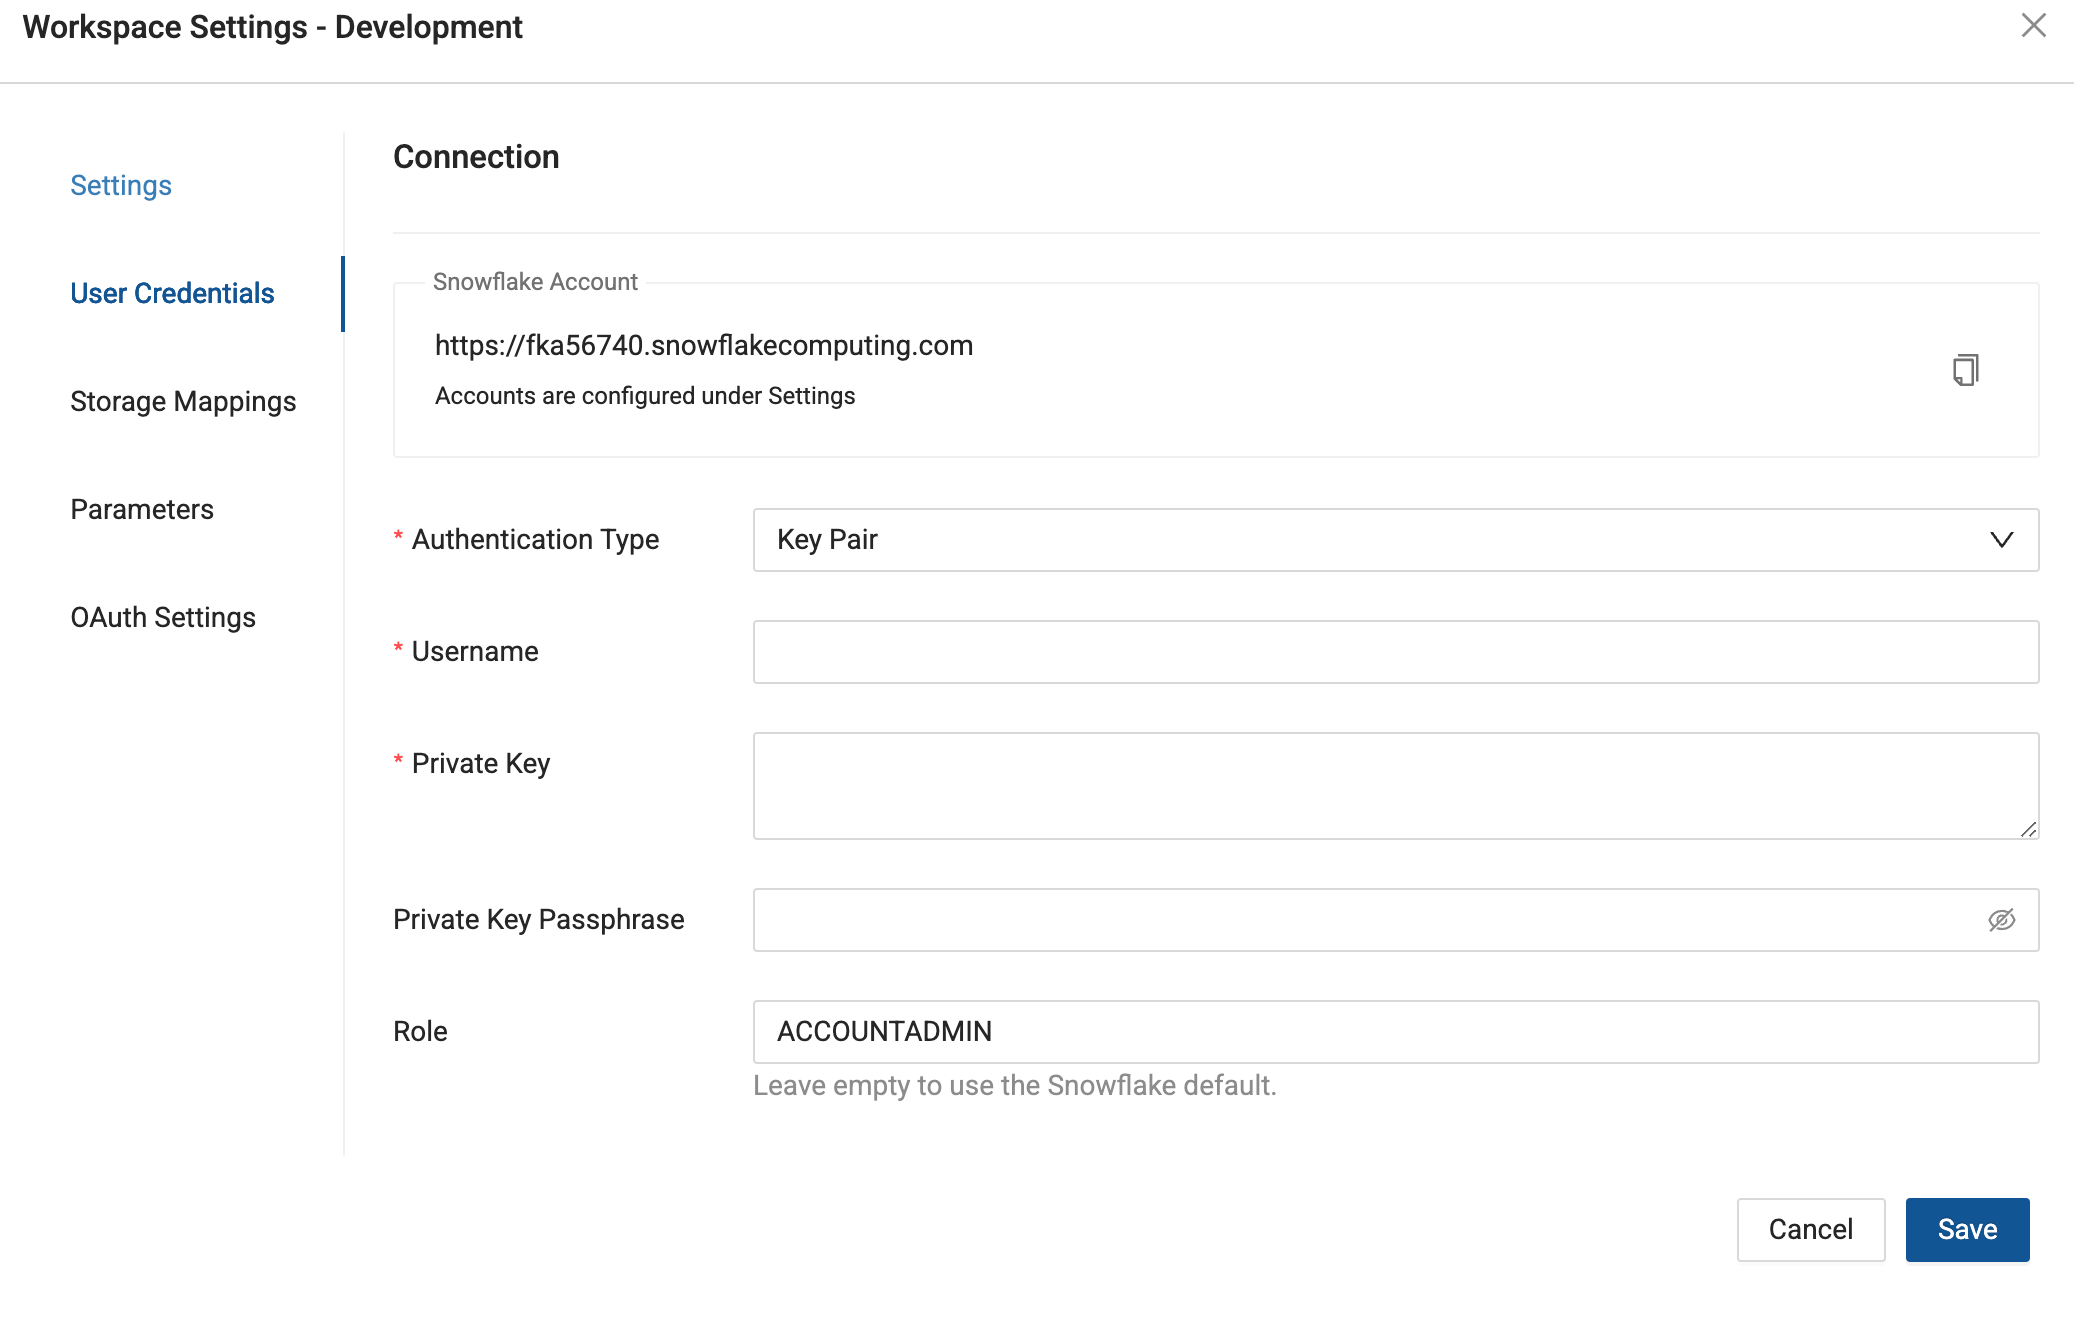
Step 3: Authenticate in Coalesce
- Navigate to Build Settings > Environments or Workspaces.
- Select Edit, , on the Environment or Workspace that you want to connect to Snowflake using Key Pair Auth.
- In Edit Environment or Workspace > User Credentials, select Authentication Type as Key Pair .
- Enter your Snowflake Username , Private Key, Private Key Passphrase (if applicable), Role and Warehouse into their respective fields and Save. Click Test Connection to ensure this works as expected.
Adding Your Private Key
When entering your private key, make sure it's formatted properly. It must include the full private key including the lines BEGIN ENCRYPTED PRIVATE KEY and END ENCRYPTED PRIVATE KEY.
-----BEGIN ENCRYPTED PRIVATE KEY-----
...
-----END ENCRYPTED PRIVATE KEY-----