Documentation index: llms.txt. This page is also available as markdown: append .md to this URL or send Accept: text/markdown.
BigQuery Connection Guide
In this guide, you'll learn how Google permissions work for Coalesce, how to set permissions in Google Cloud IAM, and how to authenticate in Coalesce. You can use OAuth (recommended) or a service account.
Prerequisites
- A Google Cloud project with the BigQuery API enabled.
- You must be an admin user.
OAuth Authentication
OAuth lets each user authenticate with their own Google identity instead of sharing a service account key file. Setup has two parts: a one-time Workspace configuration (admin), and per-user sign-in.
Step 1: Create an OAuth Consent Screen
Follow these steps if you don't already have an app created.
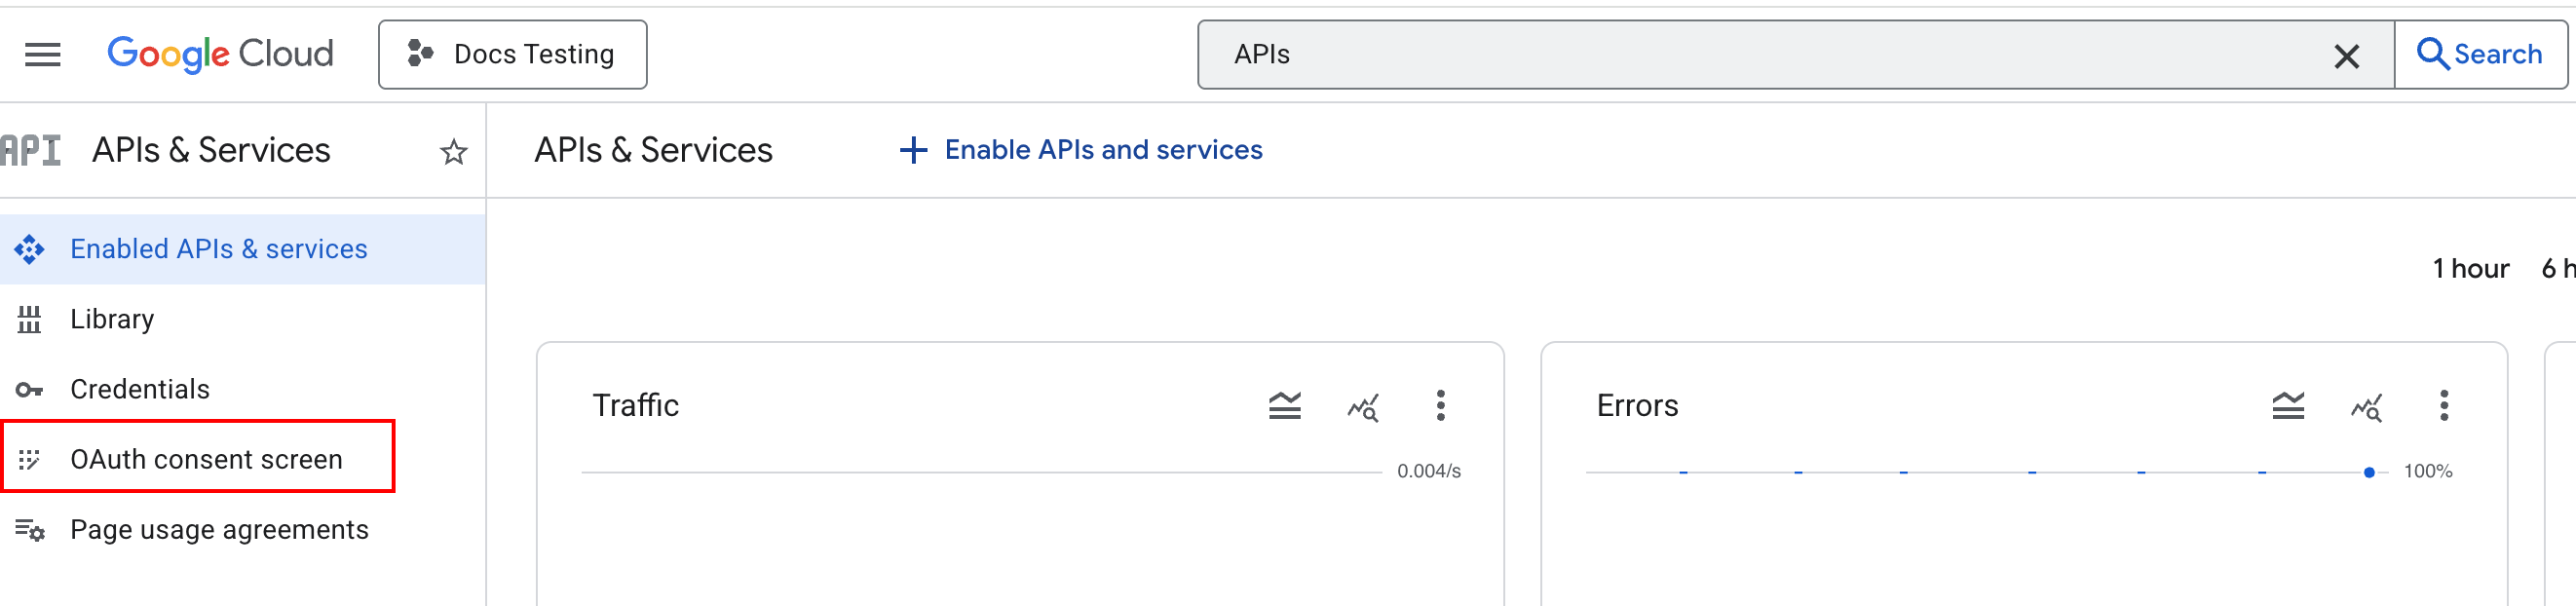
- Go to APIs & Services and click OAuth consent screen.
- Go through the steps to create an App.
- Select the Audience based on your organization policy. We suggest Internal for workspace organizations.
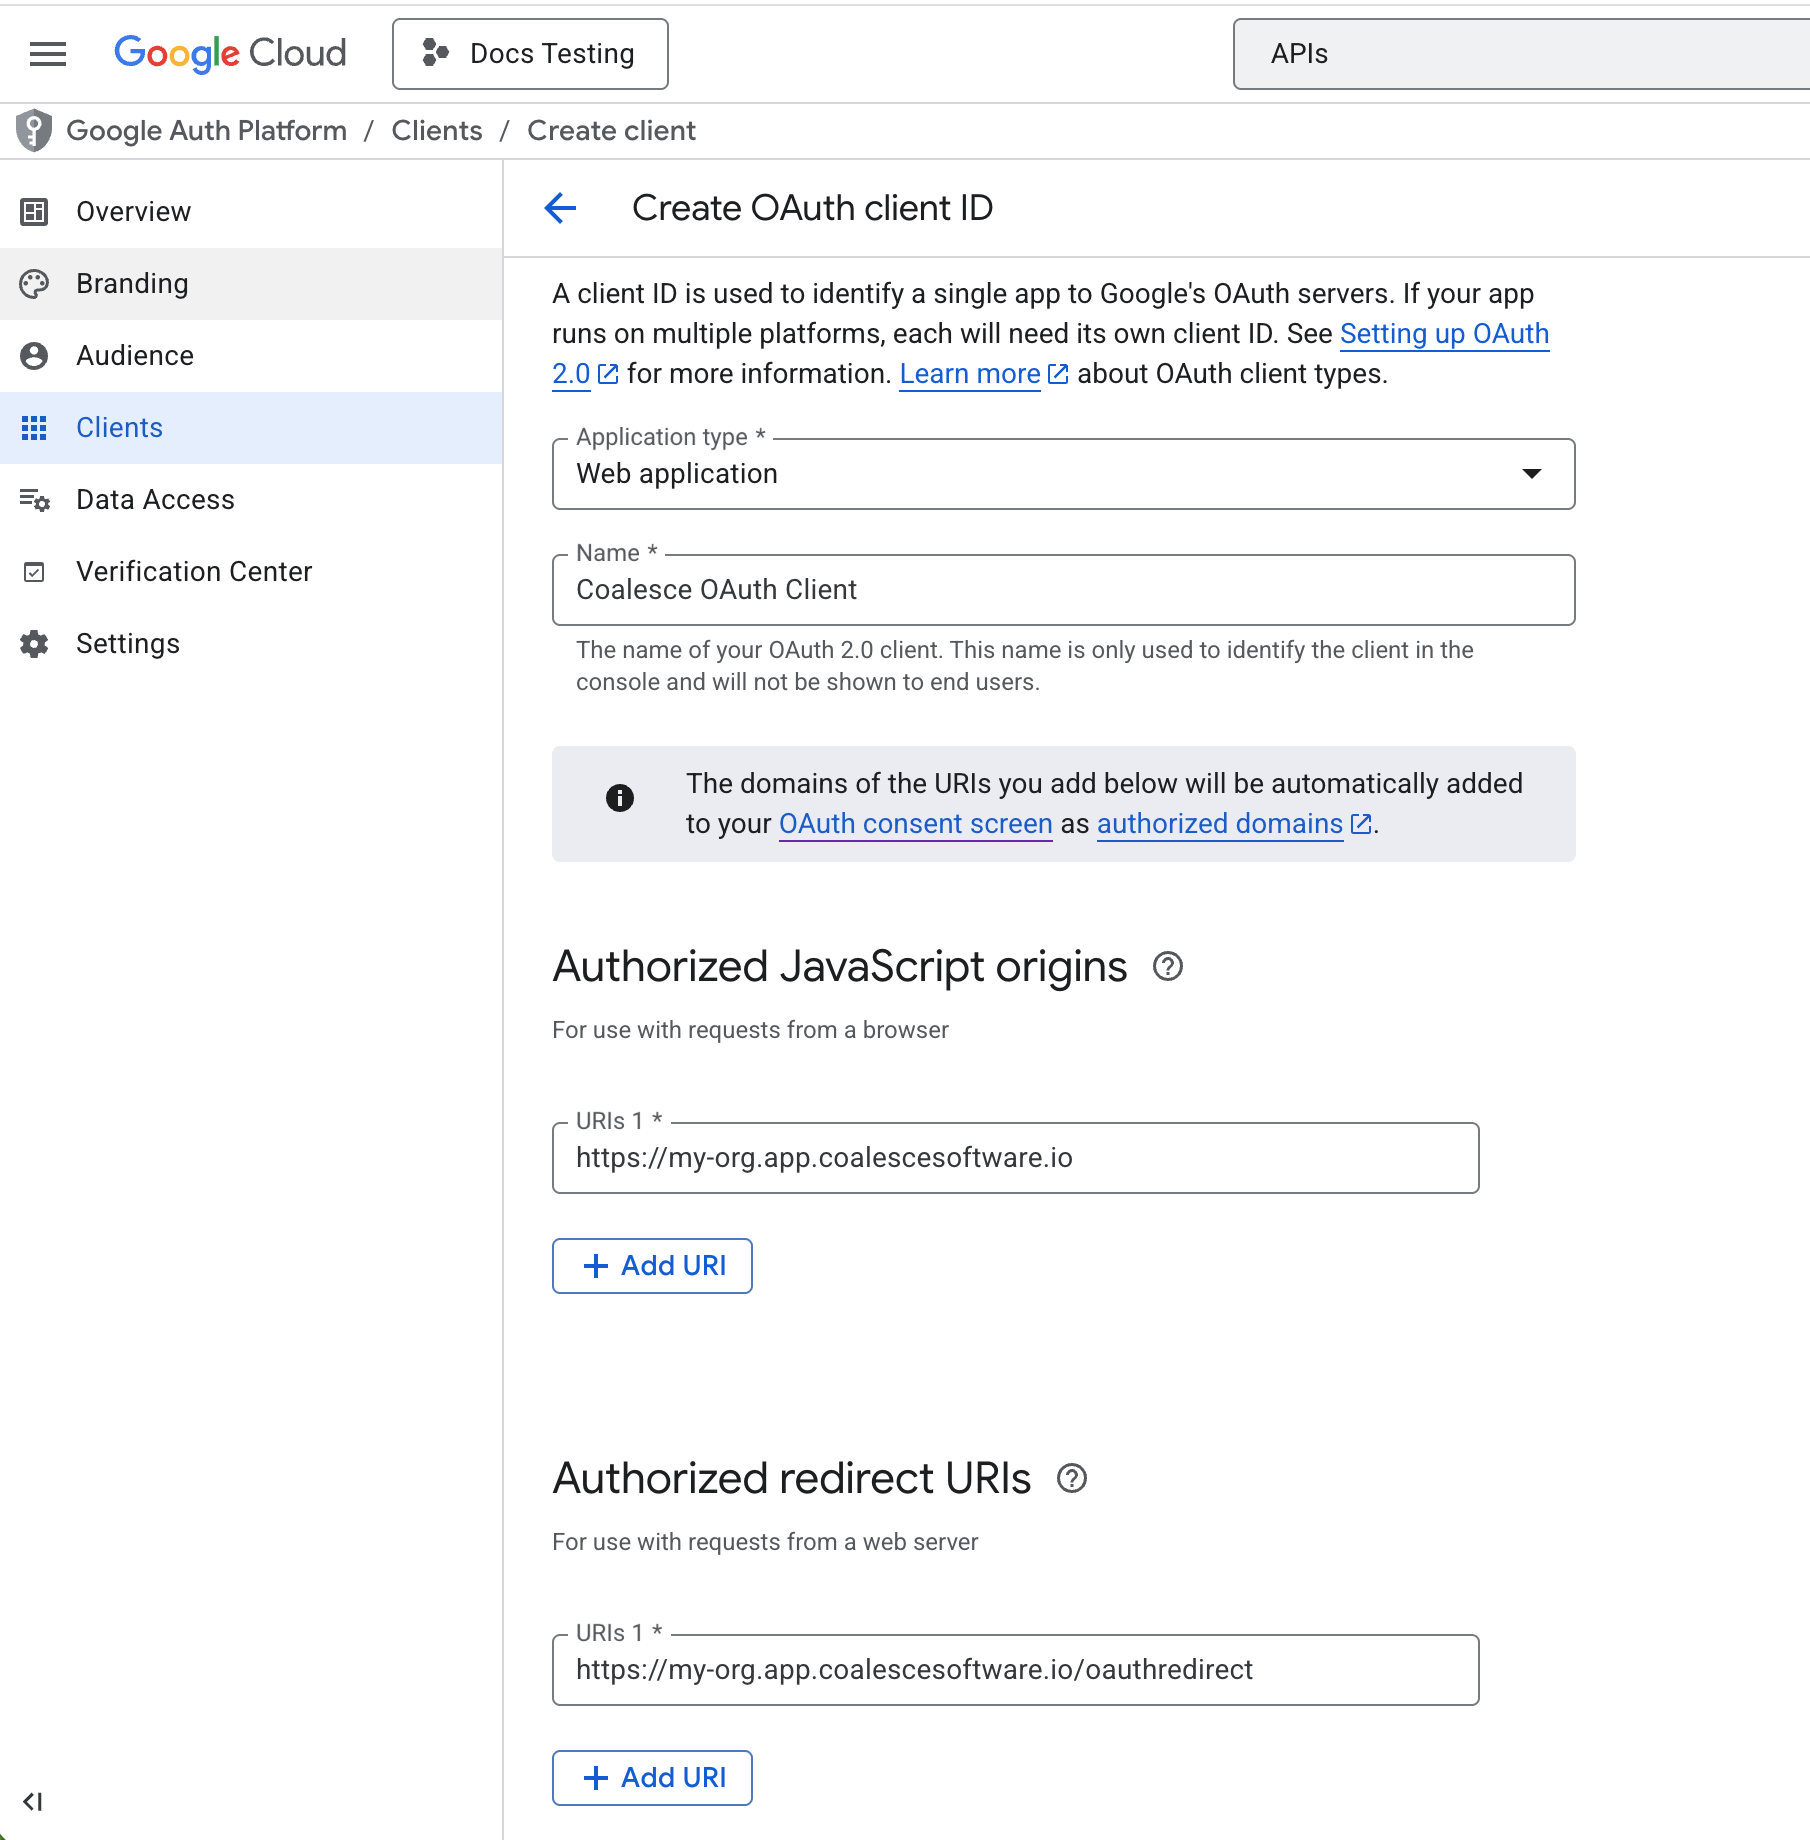
- Go to Clients or click Create OAuth client.
- Set Application type to Web application.
- Under Authorized JavaScript origins add your domain
https://<your-coalesce-domain>. For example,https://my-org.app.coalescesoftware.io. - Under Authorized redirect URIs add your domain and redirect.
https://<your-coalesce-domain>/oauthredirect. For example,https://my-org.app.coalescesoftware.io/oauthredirect. - Copy the Client ID and Client Secret.
Step 2: Add OAuth To Coalesce
-
In Coalesce, go to Workspace Settings.
-
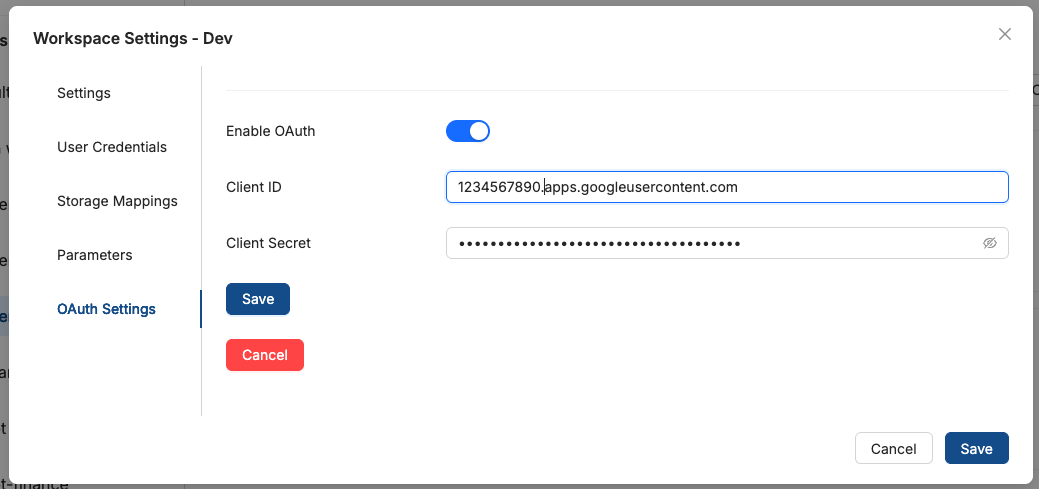
Open the OAuth Settings tab.
-
Toggle Enable OAuth on.
-
Click Edit OAuth Credentials and enter the Client ID and Client Secret from Google Cloud.
-
Save. A checkmark will confirm the credentials are stored.
-
In Coalesce, go to Build Settings > Environments and select your environment.
-
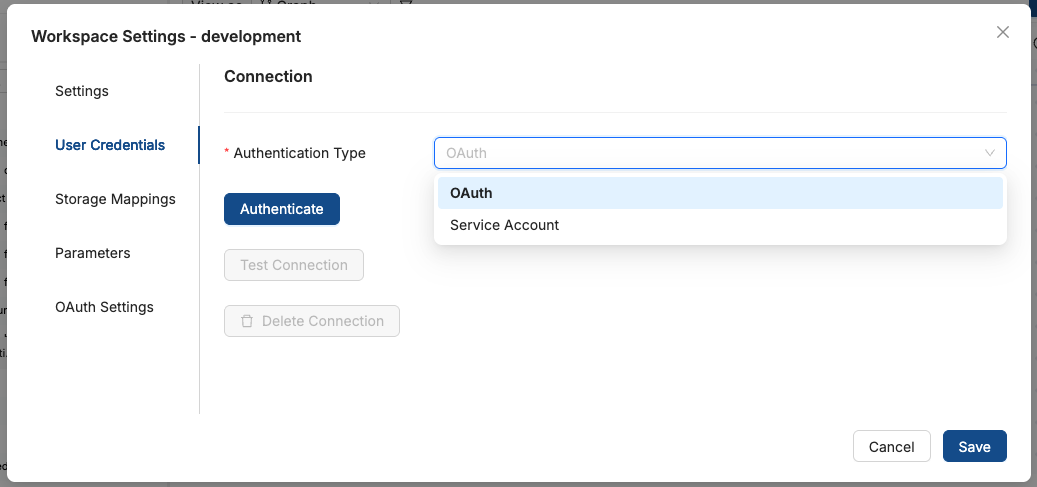
Open the User Credentials tab.
-
In the Authentication Type dropdown, select OAuth.
-
Click Authenticate. You'll be redirected to Google's consent screen.
-
Sign in with your Google account and grant BigQuery access.
-
You'll be redirected back to Coalesce. Your Google email will appear confirming the connection.
-
Click Test Connection to verify.
You've authenticated BigQuery in Coalesce. Add some data to get started.
Service Accounts
A service account uses a JSON key file instead of per-user OAuth. Use it when you want shared credentials for your Workspace, such as for automated jobs or when OAuth is not an option. You'll create a service account in Google Cloud, assign project and data set permissions, then upload the JSON key to Coalesce.
Understanding Service Account Permissions
Service account access in BigQuery is controlled at two levels: project and data set. Project roles define what the service account can do across the project; data set roles define access to specific data sets.
Project Level Permissions
Project permissions are roles assigned in Google Cloud IAM. These roles are inherited in data sets only when a service account is also granted permission to access that data set.
Data Set Level Permissions
Data set permissions control what the service account or principal can do with specific data sets. A hierarchy for common roles is Data Viewer < Data Editor < Data Owner.
| Role | Capabilities |
|---|---|
| Data Viewer | Can test a connection and view storage mappings, but can't add sources or build. This role isn't recommended. |
| Data Editor | Can do all things within your data transformation app. This role is recommended. |
| Data Owner | Can do all things within your data transformation app and gains extra permissions within BigQuery. |
Minimum Required Permissions
The minimum combination to use Coalesce with BigQuery:
| Level | Role |
|---|---|
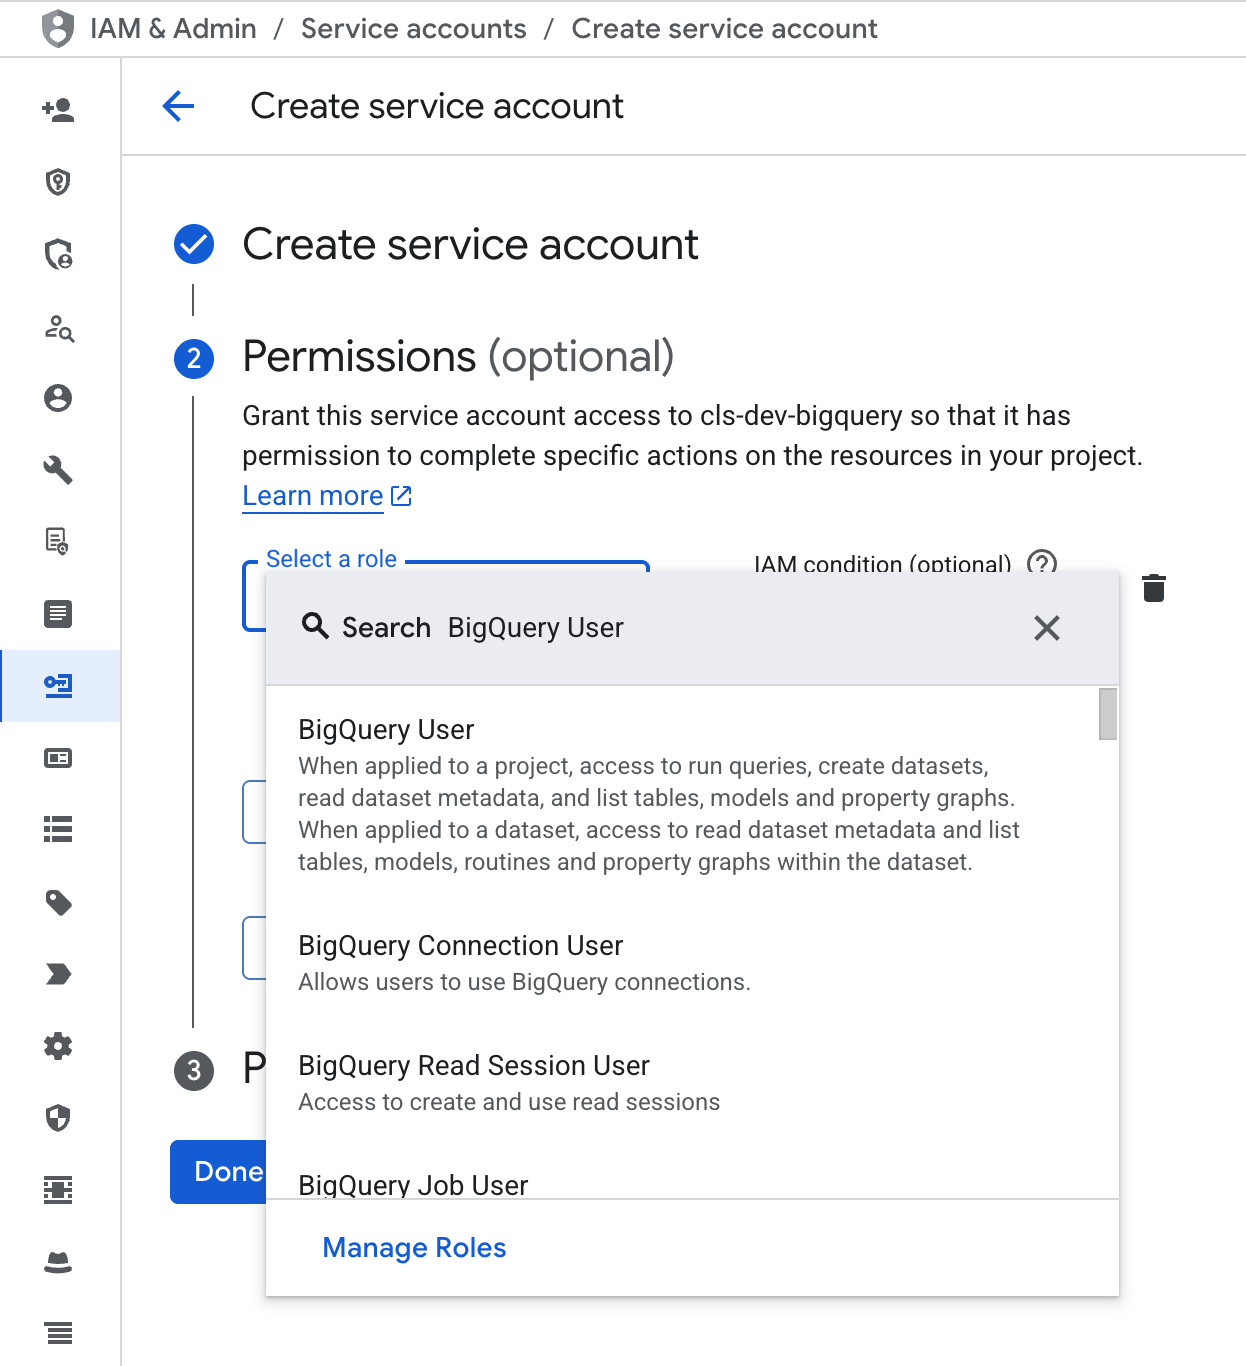
| Project | BigQuery User |
| Data Set | BigQuery Data Editor |
Set Up Project Level Permissions
-
Make sure you're in the project you want to add the service account to.
-
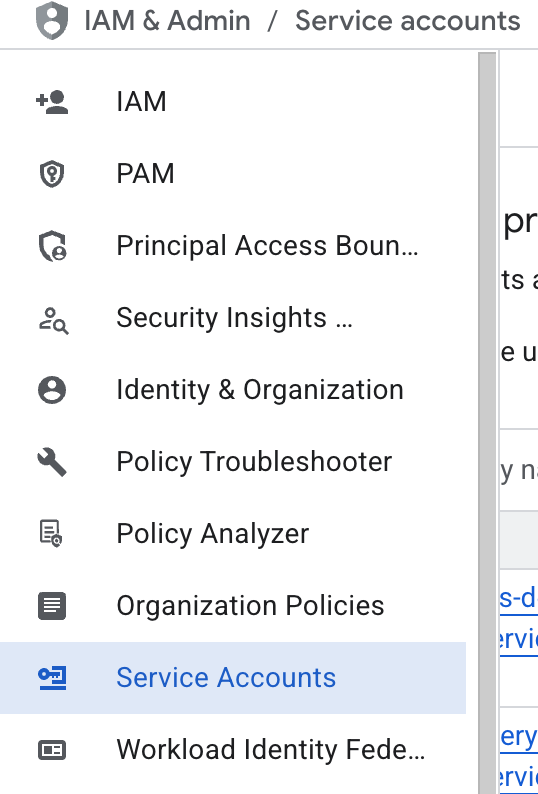
Go to IAM & Admin > Service Accounts in Google Cloud.
-
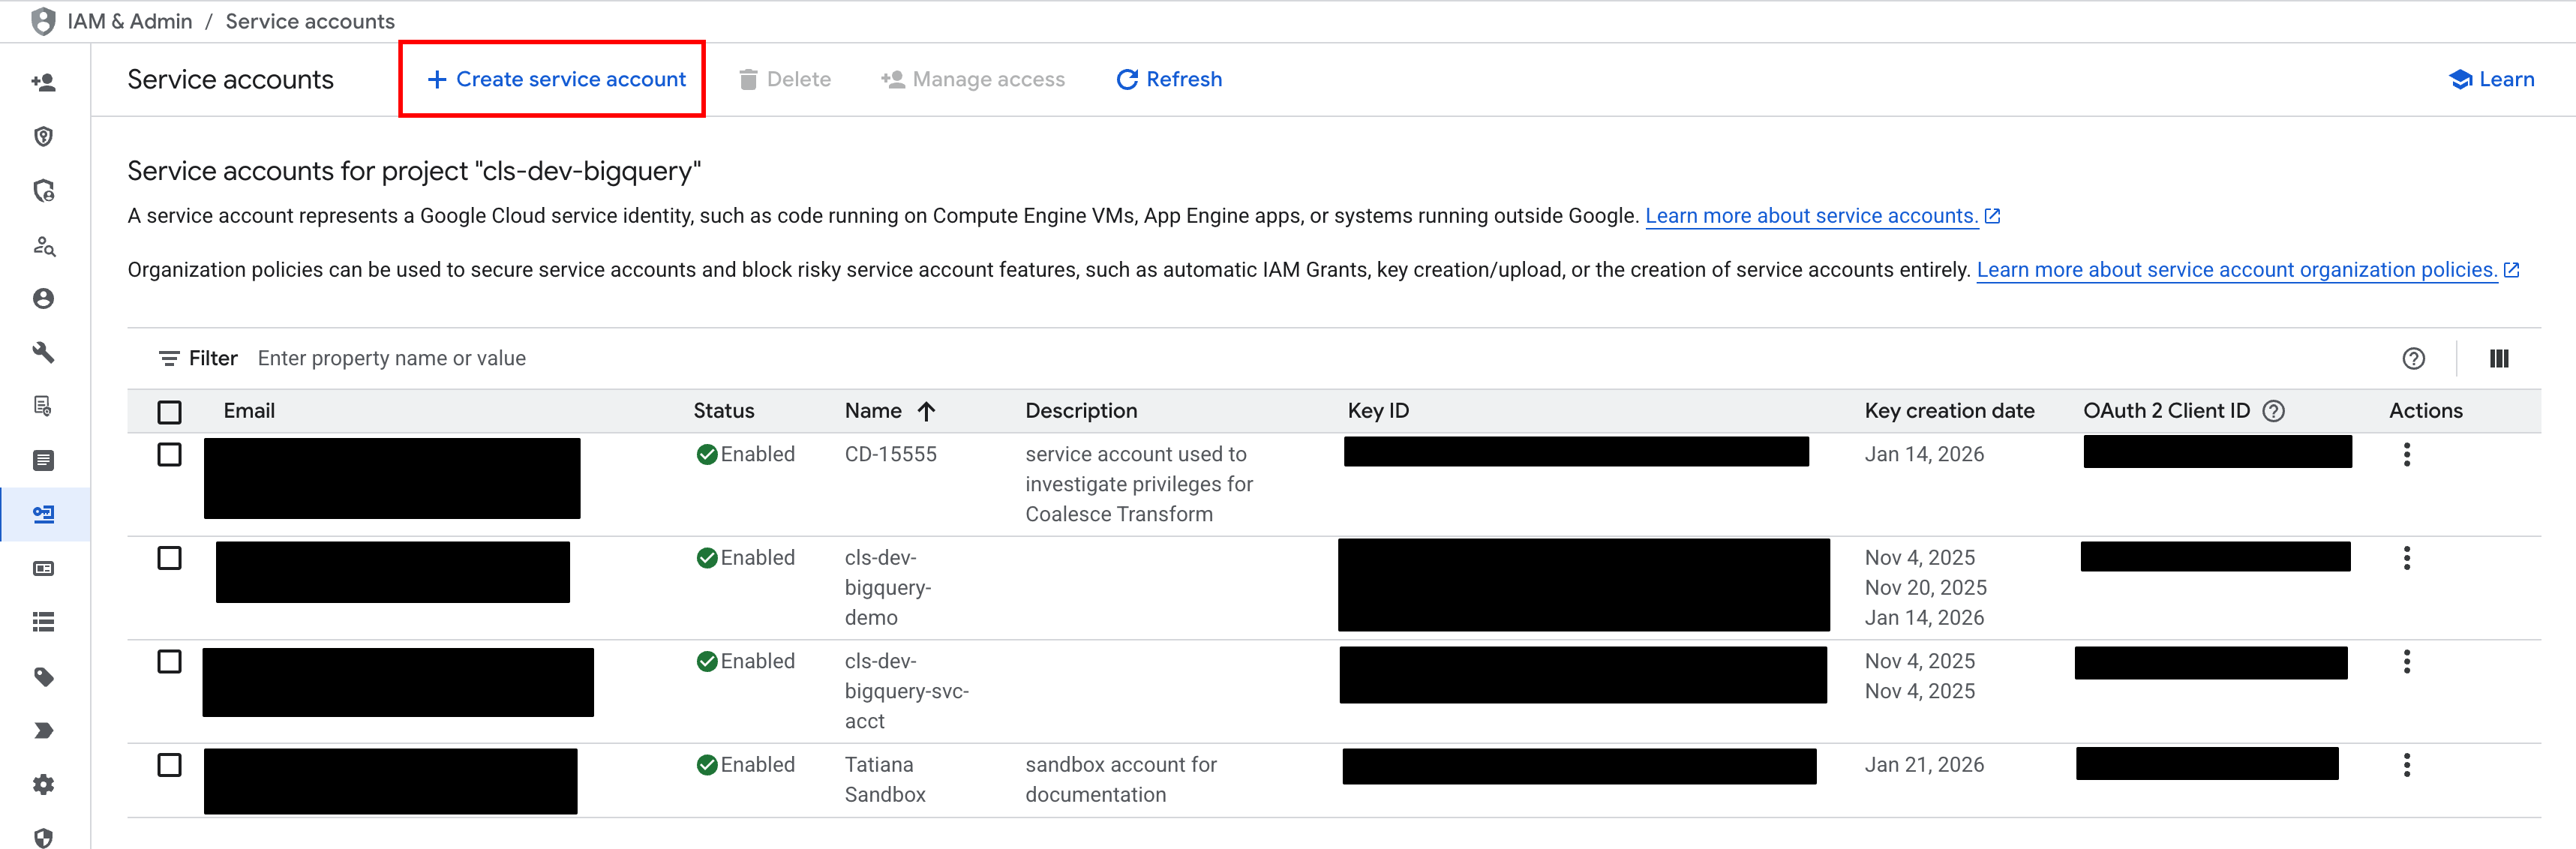
Click Create service account.
-
Fill out the required Service account ID and any other information required by your company's policy. Click Create and Continue.
-
Search for the role BigQuery User. Click Continue.
-
You can skip Principals with access. Click Done. Move on to setting data set level permissions.
Set Up Data Set Level Permissions
-
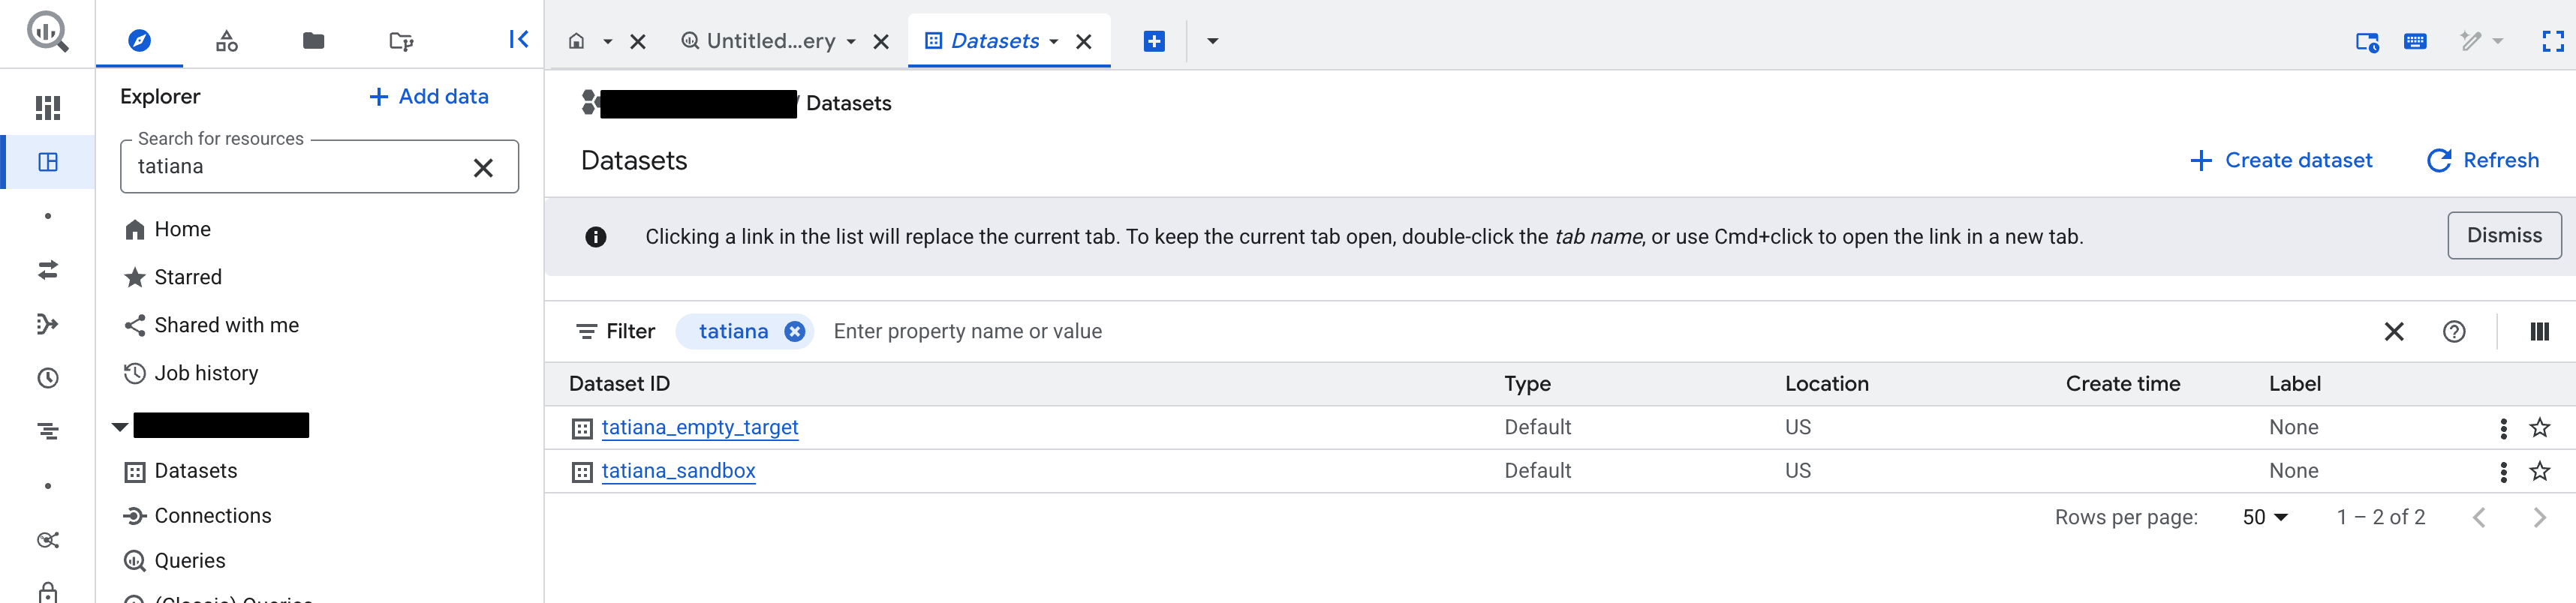
Go to BigQuery Studio.
-
In the Explorer, find the data set you want to add to Coalesce.
-
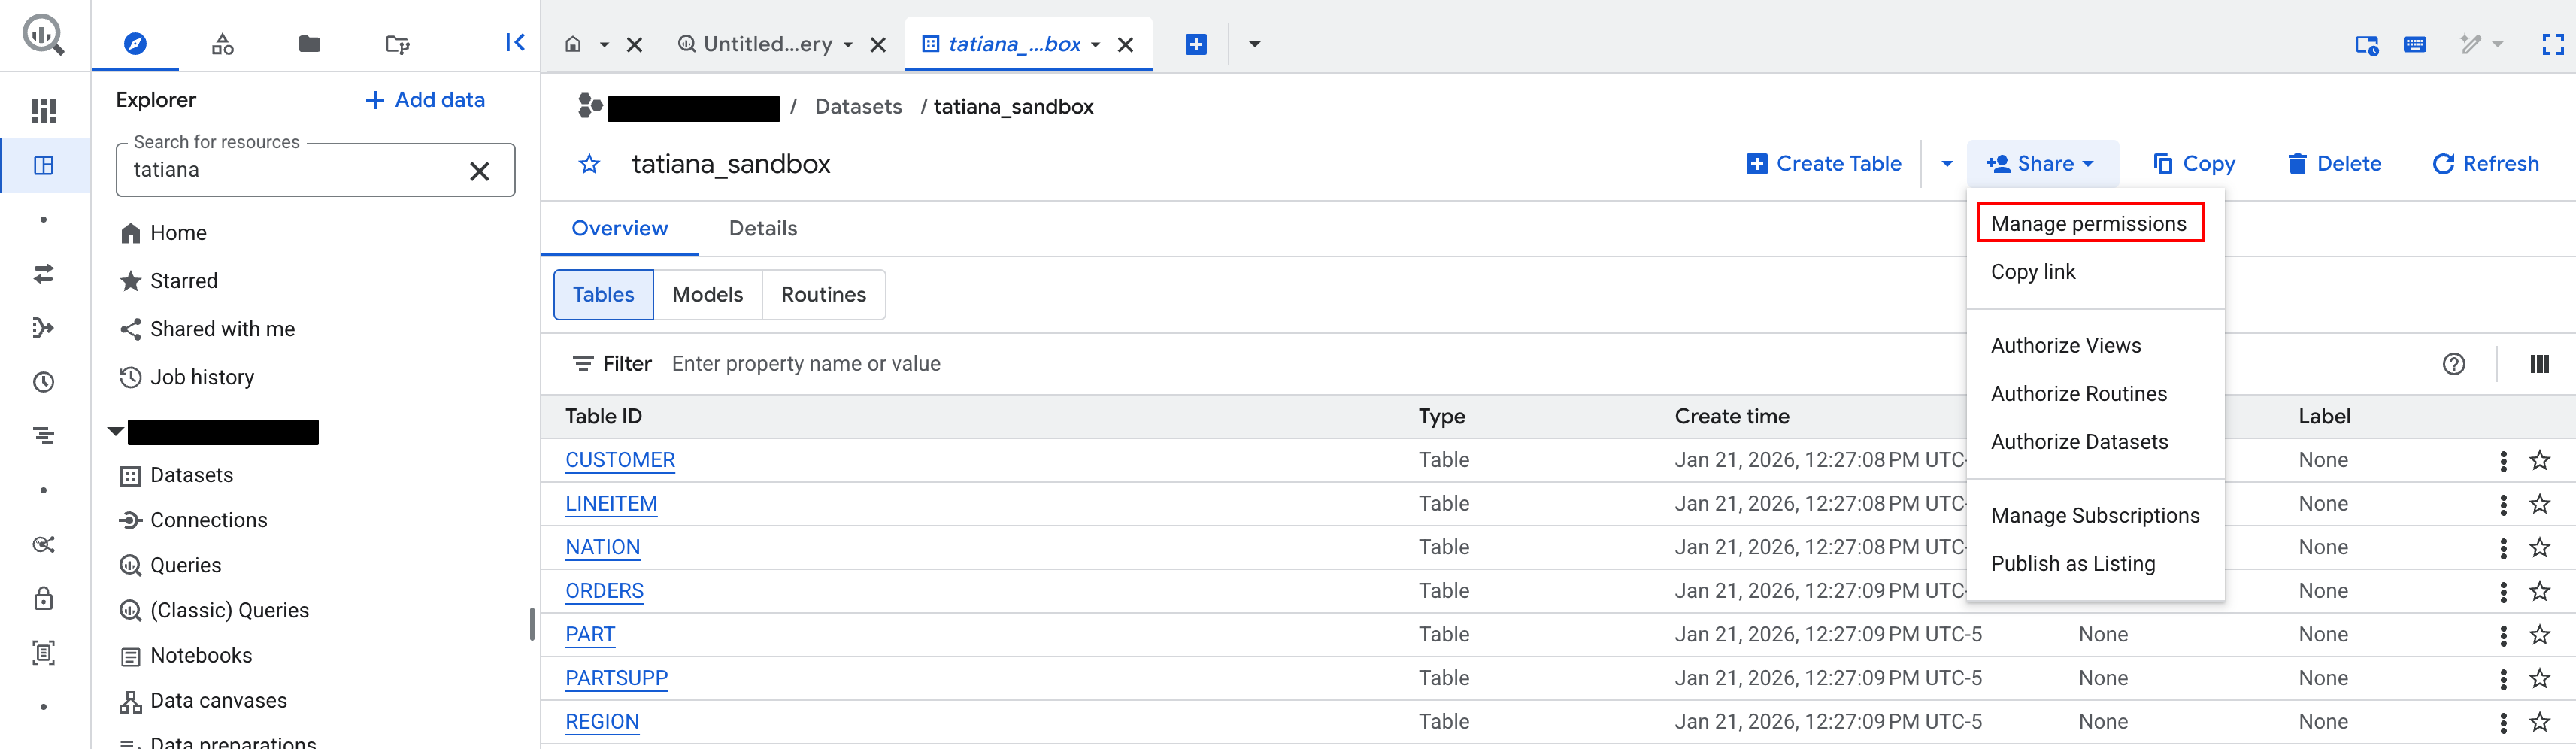
In the data set, click Share > Manage Permissions.
-
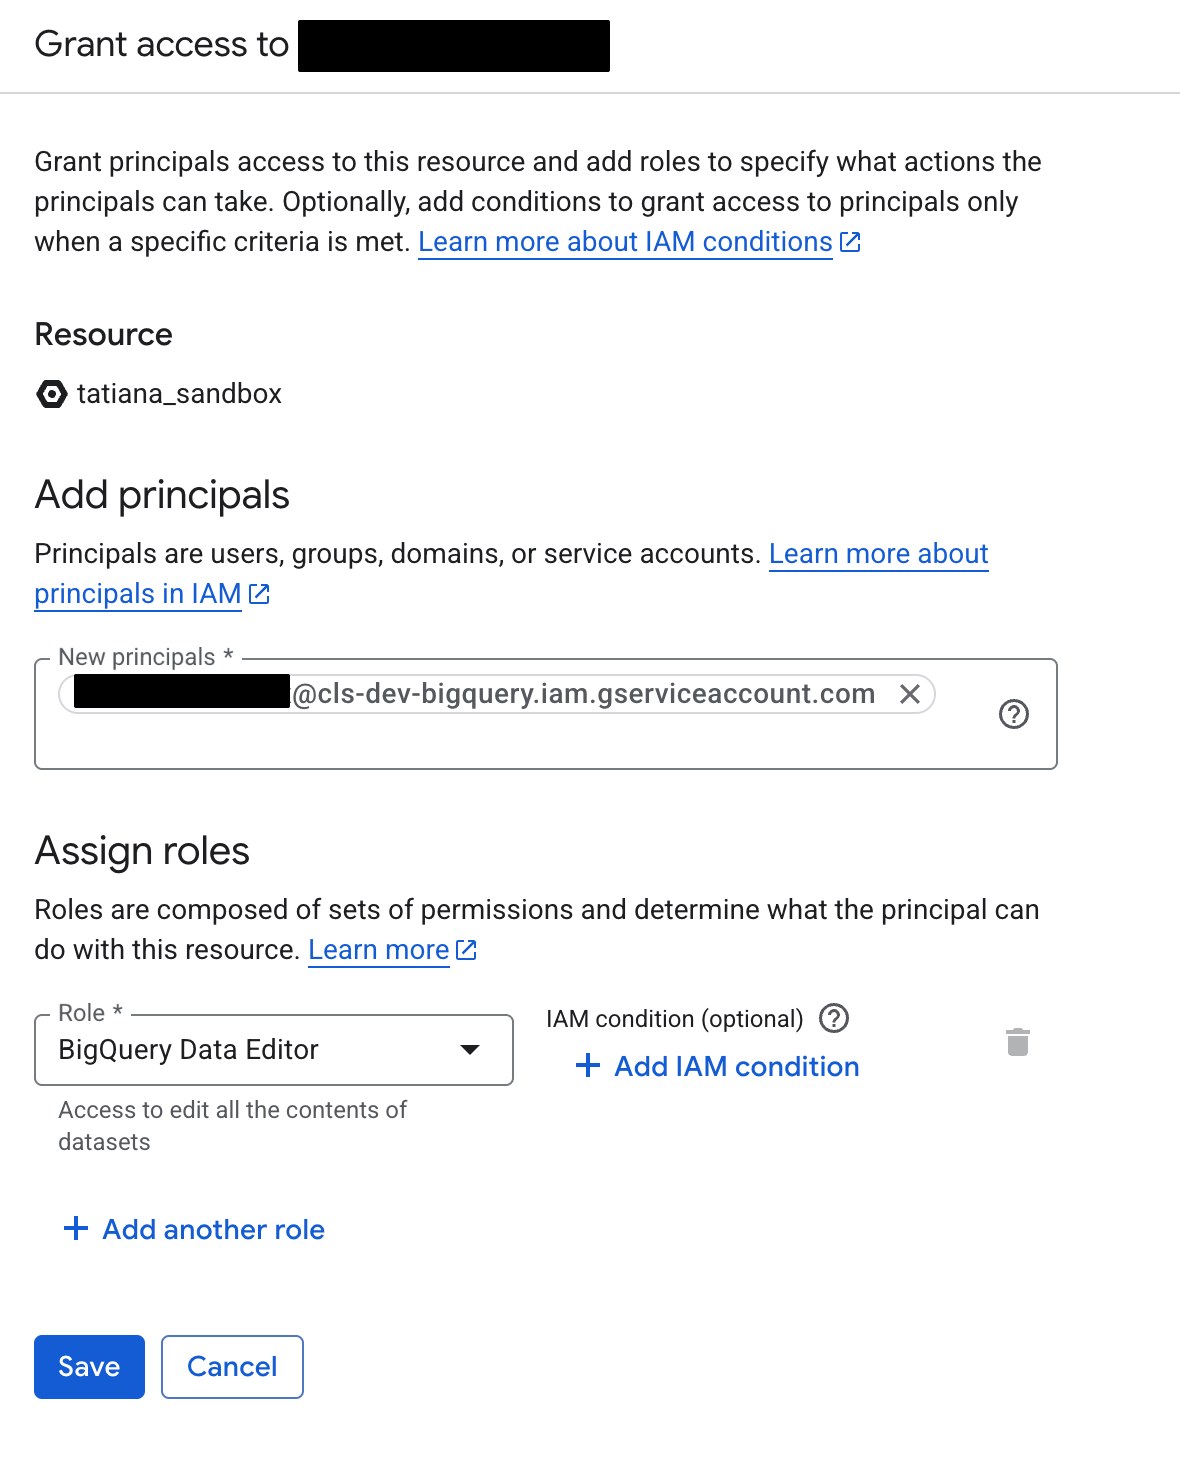
Click Add principal.
-
Search for your service account name. It should look similar to
name@projectname.iam.gserviceaccount.com. -
Then assign roles as BigQuery Data Editor.
Adding the Google Service Account to Coalesce
-
Go to IAM & Admin > Service Accounts in Google Cloud.
-
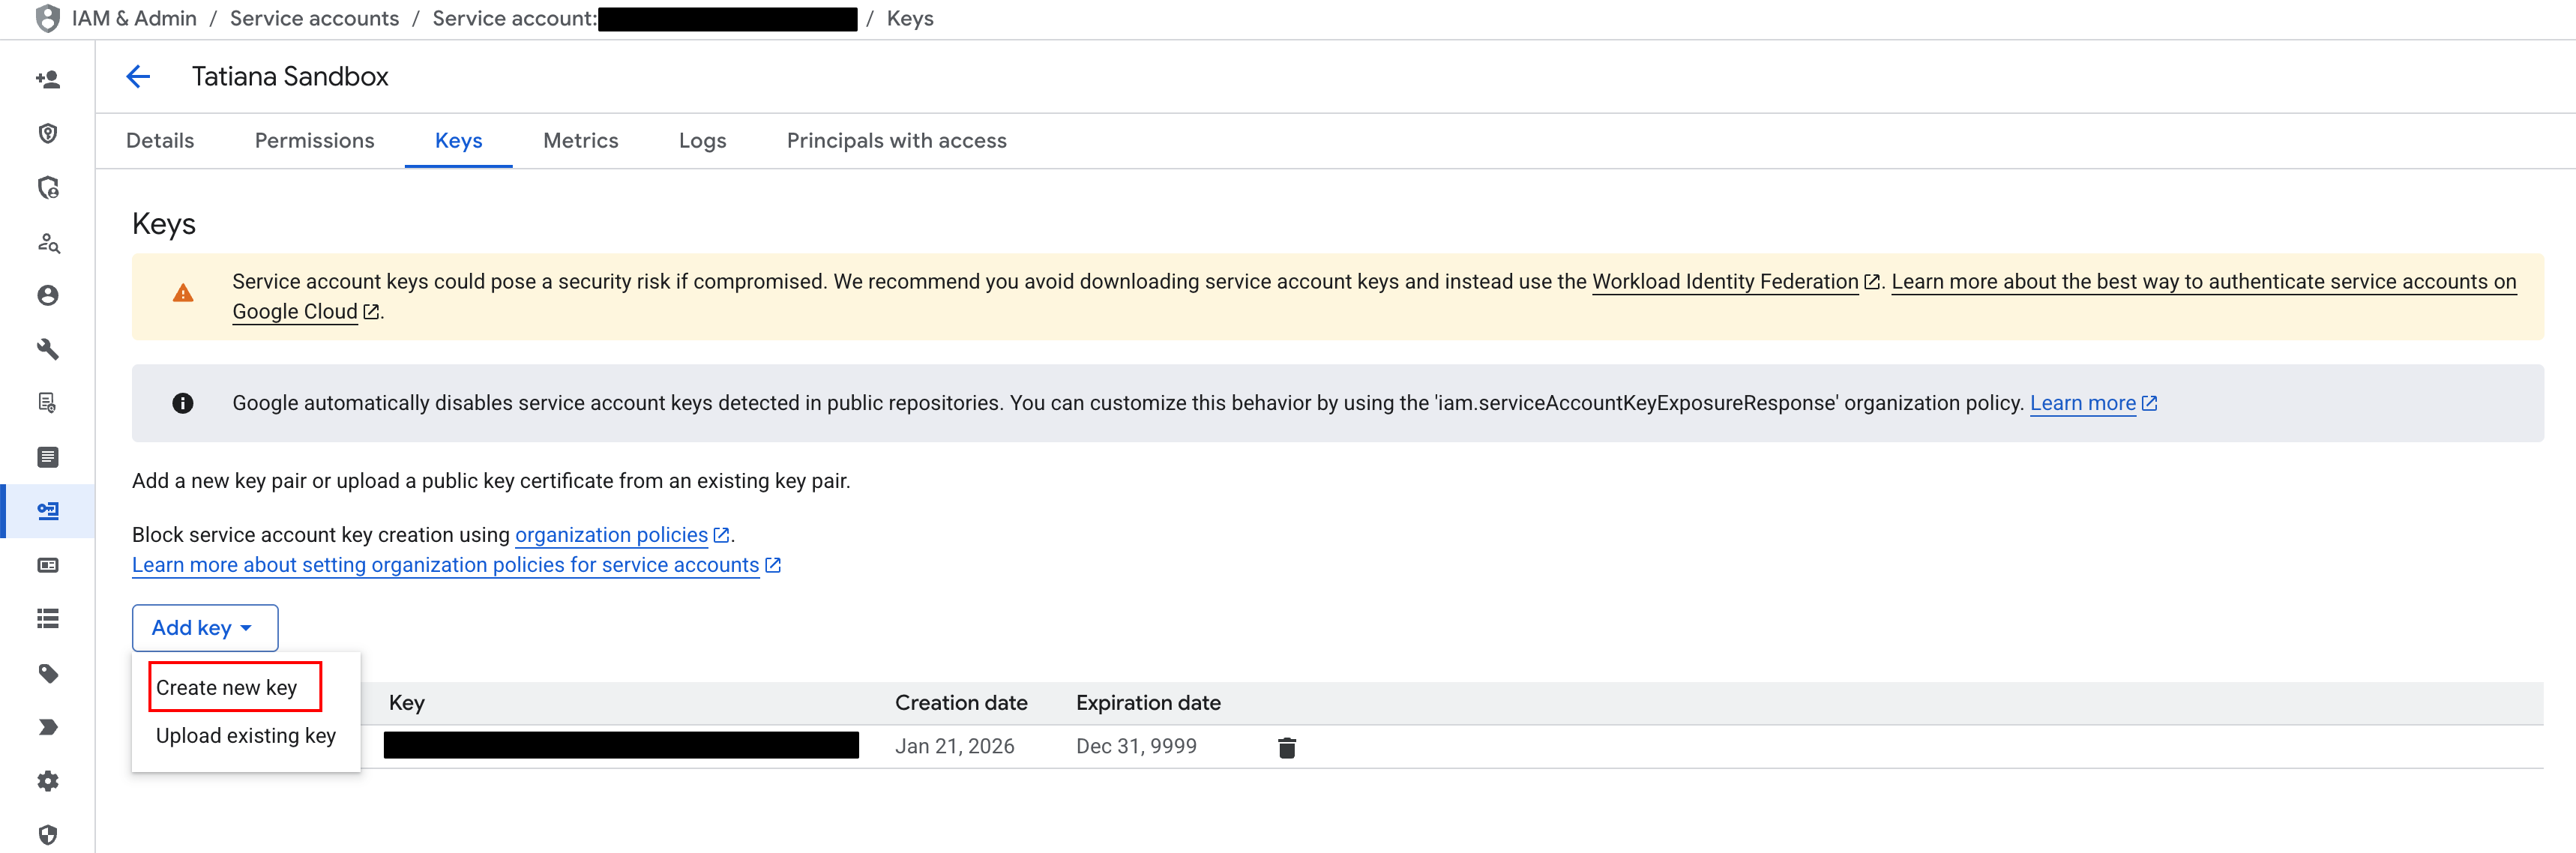
Click on the service account created for Coalesce.
-
Click Keys.
-
Then Add key > Create new key.
-
Download the JSON file.
-
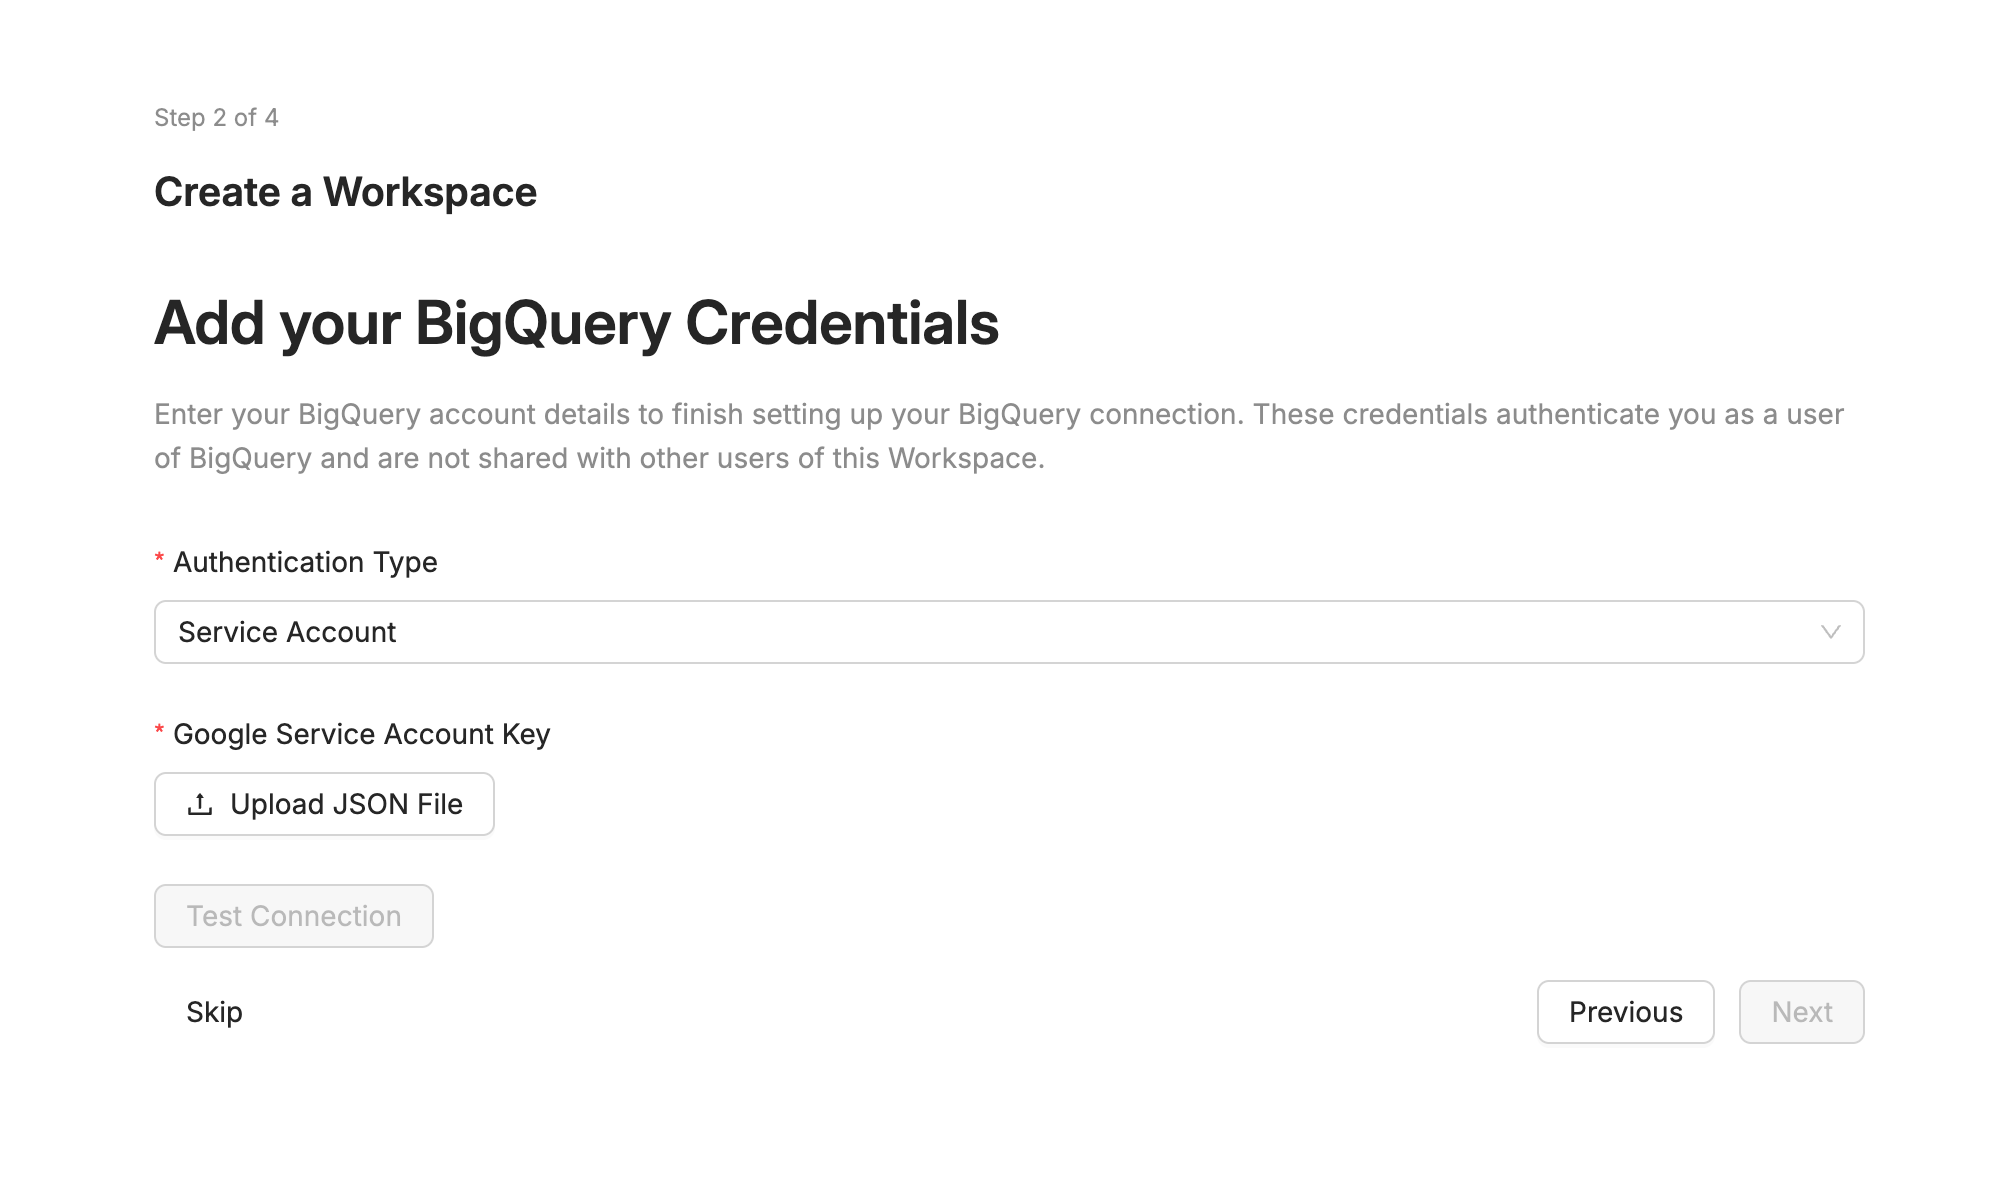
In Coalesce in Create Workspace step or in Workspace settings, upload the JSON file from Google Cloud IAM. Then click Test Connection.
You've authenticated BigQuery in Coalesce. Add some data to get started.
Make sure the permissions are set on the project and data set.
What's Next?
- Add some data to get started